
A bench guide for a fine mechanism, a watch movement, a lock, a small engine, lives or dies on its photographs. The reader needs to see exactly which screw, which spring, which orientation, and text alone cannot carry that. But close-up photography is unforgiving: shallow depth of field, harsh shadows, and camera shake all conspire to produce images that confuse instead of clarify. A modest rigging setup, built from ordinary shop and camera gear, turns macro photography from a struggle into a repeatable process.
The core rig: stability first
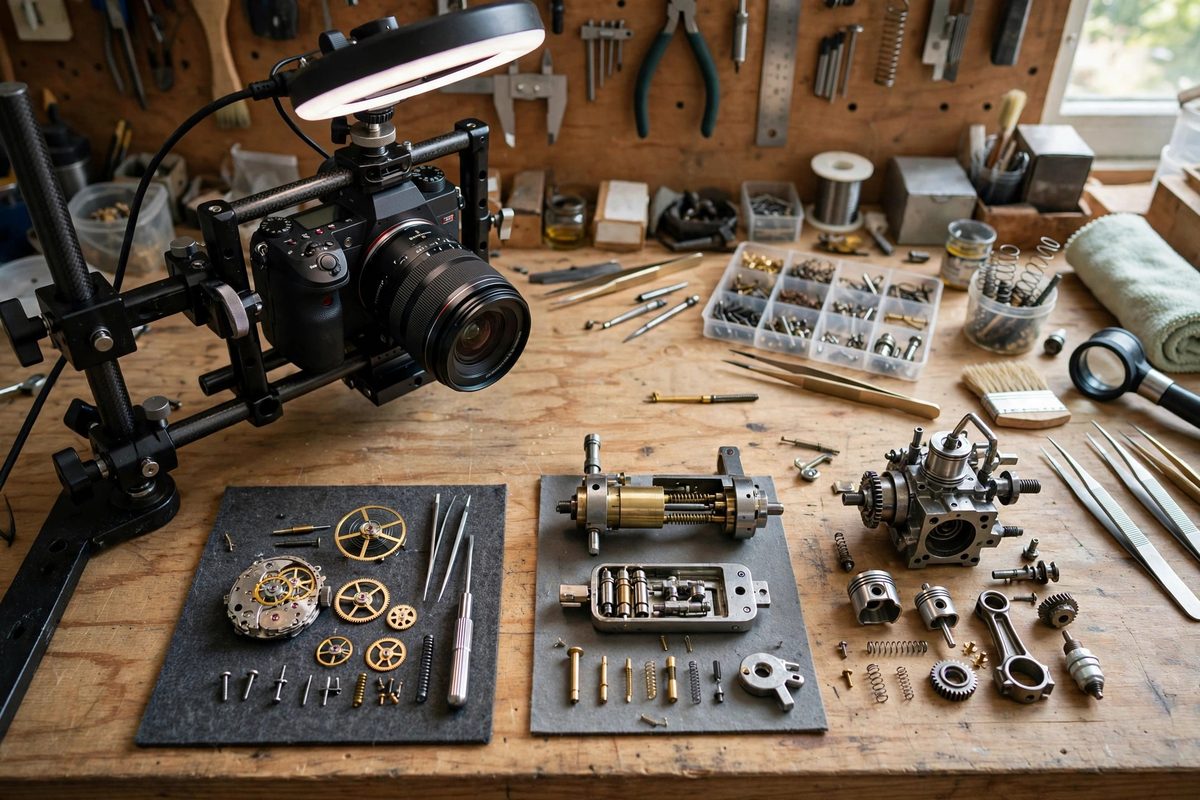
Every macro photography problem gets worse with camera movement, so stability is the foundation. A copy stand, essentially a column with a camera mount looking straight down at a baseboard, is the ideal rig for bench guides because most mechanism work is photographed from above on the bench. If you do not own one, a sturdy tripod with a horizontal arm or even a clamped mount achieves the same thing. The subject sits on the baseboard, the camera looks down, and nothing moves between shots. Use a remote shutter release or the camera's self-timer so pressing the button does not jar the rig. At macro distances, even the vibration of a finger on the shutter shows up as blur, and no amount of sharpness in the lens can fix a moving camera.
Light that reveals instead of hiding
Small mechanisms are full of tiny shadows that swallow detail. A single hard light source creates exactly those shadows, so the standard macro lighting setup uses large, diffused sources close to the subject. A pair of daylight-balanced LED panels shot through diffusion material, even a white shower curtain or a purpose-made softbox, gives soft, shadowless illumination that reveals engraving, screw slots, and surface texture. Position the lights at roughly 45 degrees on either side and slightly above, and add a dimmer fill from the front if the mechanism's recesses still go black. Avoid on-camera flash, which flattens everything and throws hard shadows behind small parts. Keep the color temperature consistent across all sources and set a custom white balance from a gray card, because mixed lighting tints metal surfaces and makes brass look like steel.
Depth of field: the macro tax
The cruel physics of close-up photography is that depth of field shrinks as magnification grows. At the magnifications a bench guide needs, the in-focus slice may be a millimeter or less, which means a gear's teeth can be sharp while its hub blurs. Fight this three ways. First, stop the lens down: apertures in the middle of the range give more depth, though going to the very smallest aperture softens everything through diffraction, so there is a sweet spot to find by testing. Second, align the subject's important plane parallel to the sensor: lay the mechanism flat under the copy stand so one focus plane covers the most detail. Third, for subjects with real depth, shoot a focus stack: a series of images focused at slightly different depths, combined in software into one fully sharp image. Focus stacking sounds advanced, but the capture is just patience, small focus steps, and a still rig; the software does the hard part.
Scale, background, and orientation cues
A close-up without scale reference is a riddle. Include a ruler, a coin, or a known-size tool in at least one shot of each setup so the reader can judge sizes; you can crop it out of the hero shots once scale is established. Keep backgrounds simple and non-distracting: a neutral gray or white surface that does not fight the subject for attention. Maintain consistent orientation across a procedure's photos: if the mechanism's top is up in step one, keep it up in step ten, because readers track parts by position and a rotated view resets their mental map. When a step requires showing the underside or a hidden detail, say so in the caption and consider a small inset showing the overall orientation. Captions are part of the rigging: every photo in a bench guide should have one, naming what the reader is looking at and what to notice.
Phone cameras and the good-enough rig
A modern phone camera, mounted steadily and lit well, produces bench guide photos that are genuinely good enough for most purposes. The phone's small sensor actually helps with depth of field, and its computational photography handles exposure gracefully. What the phone cannot do is overcome a bad rig: handheld shots in dim shop light will still disappoint. Mount the phone on the copy stand or a clamp, light the subject properly, tap to focus on the critical detail, and lock the exposure. Clean the lens, which lives in a dusty pocket, before every session. The rig matters more than the camera; a phone on a good rig beats a DSLR handheld in bad light every time.
Photograph like the reader is looking over your shoulder and cannot ask questions. Stable camera, soft light, honest depth of field, clear scale, consistent orientation: that is the whole rig, and it turns a fine mechanism from a mystery into a lesson.
Related Guides
- Focus Stacking Precision Rigs for Macro Mechanism Guides: Macro photography of small mechanisms, watch movements, lock internals, tiny gear trains, hits a hard wall called depth of field. At high
- Multi-Angle Workbench Macro Rigging for Fine Lathes: Photographing small lathe work at macro range is a battle against vibration, shadow, and depth of field, and the rig holding the camera matters as
- Diffused High-CRI Overhead Lighting for Assembly Guides: Assembly guide photos and videos are only as good as the light they are shot in. Harsh overhead shop lights create blown highlights, black shadows
- Focus Stacking Setup for Macro Tool Walkthroughs: Macro photography of tools, showing the grind of a chisel edge or the teeth of a saw at life size and beyond, runs into a physics problem: at high