
Macro photography of tools, showing the grind of a chisel edge or the teeth of a saw at life size and beyond, runs into a physics problem: at high magnification the depth of field shrinks to a fraction of a millimeter, so only a sliver of the subject is ever sharp. Focus stacking solves it by combining many shots, each focused at a slightly different depth, into one image that is sharp throughout. For tool walkthroughs, where the reader needs to see every detail, it is the difference between a pretty blur and a useful image.
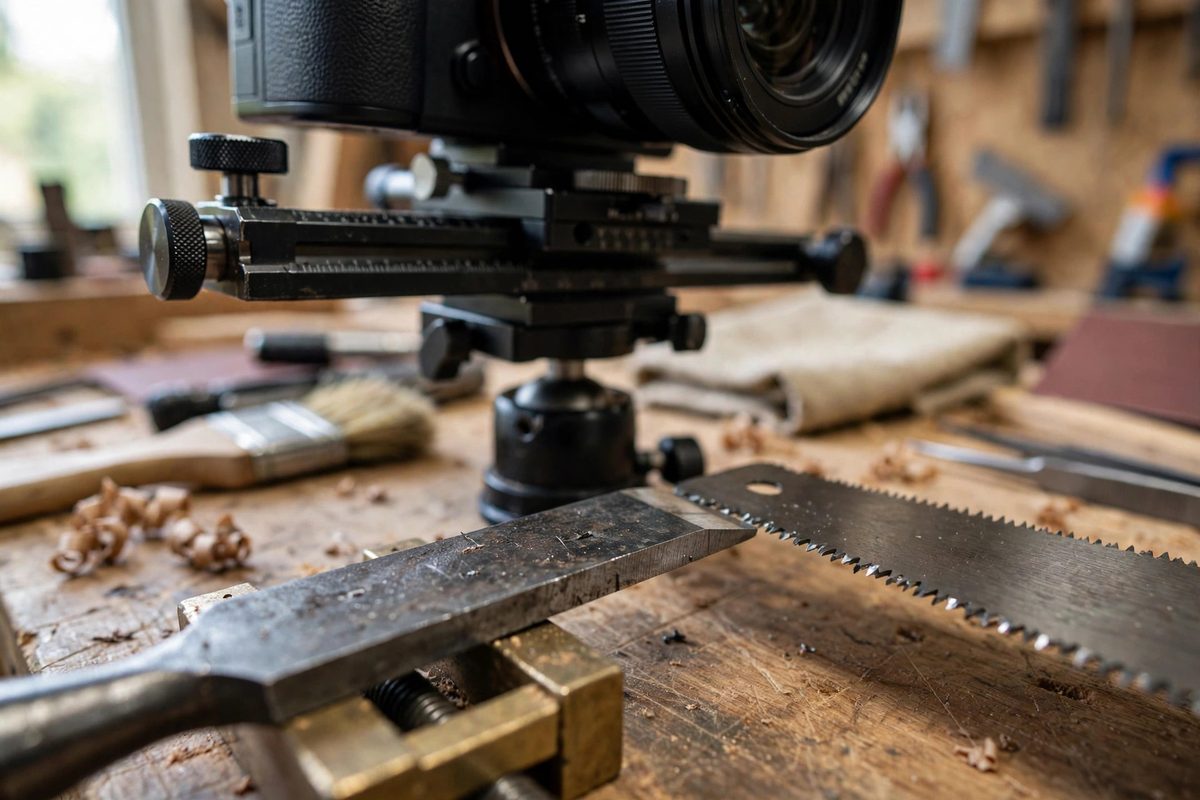
Why macro depth of field collapses
Depth of field shrinks as magnification rises and as the aperture opens. At 1:1 magnification with a moderate aperture, the sharp zone may be less than half a millimeter deep; a chisel bevel several millimeters tall cannot fit. Stopping down helps but quickly hits diffraction, which softens the whole image, and even at tiny apertures the depth never covers a three-dimensional tool. Stacking sidesteps the trade-off: shoot each slice at the lens's sharpest aperture and let software assemble the depth.
The shooting setup
Stability is everything. Mount the camera on a sturdy tripod and the tool on a solid surface; any movement between frames ruins the stack. Use manual focus and move the focus point in small steps through the subject, either with a focusing rail for precision or the lens's focus ring for speed. Overlap the sharp zones generously: steps of about one-third the depth of field ensure no soft bands in the final image. Lock the exposure, white balance, and focal length in manual mode; any variation between frames creates banding or color shifts in the stack. A remote release or timer prevents camera shake.
Lighting for stacked macro
Keep the lighting absolutely constant across the stack; flickering or shifting light creates inconsistent frames. Continuous LED panels are ideal since what you see is what the sensor gets, and they do not vary shot to shot the way some flashes can at high speed. Light from the side at a low angle to reveal surface texture: the grind marks, the file teeth, the honing scratches that the walkthrough is actually about. A simple diffuser, even a sheet of white plastic, softens harsh highlights on polished steel. Avoid mixed lighting; the color temperature must not drift mid-stack.
How many frames
Count on more frames than feels reasonable. A chisel edge at 1:1 might need twenty to forty frames to cover its depth with proper overlap. It is far better to shoot too many than too few; extra frames cost seconds, while a gap in the stack means reshooting. Work methodically from the nearest point of the subject to the farthest, and keep a consistent step size. If the stack software struggles to align, the usual cause is too-large steps or subject movement, not the software.
Assembling and finishing
Stacking software aligns the frames and blends the sharpest pixels from each into the final image. Review the result at full magnification, looking for halos around high-contrast edges or soft bands where the steps were too wide; both are fixed by restacking with adjusted settings or by shooting additional frames. Finish with the normal editing workflow: exposure, contrast, sharpening, and cropping. The final image should look like one impossible photograph, sharp from the cutting edge to the handle, because that is exactly what it is.
Lock everything down, step the focus in small overlaps, light for texture, and let the software build the depth. Your tool walkthroughs will show what words cannot.
Related Guides
- Focus Stacking Precision Rigs for Macro Mechanism Guides: Macro photography of small mechanisms, watch movements, lock internals, tiny gear trains, hits a hard wall called depth of field. At high
- Multi-Angle Workbench Macro Rigging for Fine Lathes: Photographing small lathe work at macro range is a battle against vibration, shadow, and depth of field, and the rig holding the camera matters as
- Micro Photography Rigging for Fine Mechanism Bench Guides: A bench guide for a fine mechanism, a watch movement, a lock, a small engine, lives or dies on its photographs. The reader needs to see exactly which
- Diffused High-CRI Overhead Lighting for Assembly Guides: Assembly guide photos and videos are only as good as the light they are shot in. Harsh overhead shop lights create blown highlights, black shadows