
Needle painting, the embroidery technique that renders images in thread the way a painter renders them in oils, depends on one thing above all: the direction of the stitches. On silk, where the thread itself has a luminous grain that catches light differently depending on angle, stitch direction is not just a technical choice but the actual medium of shading. Master directional grain stitching and your silk needle painting gains the depth and realism that separates craft from art.
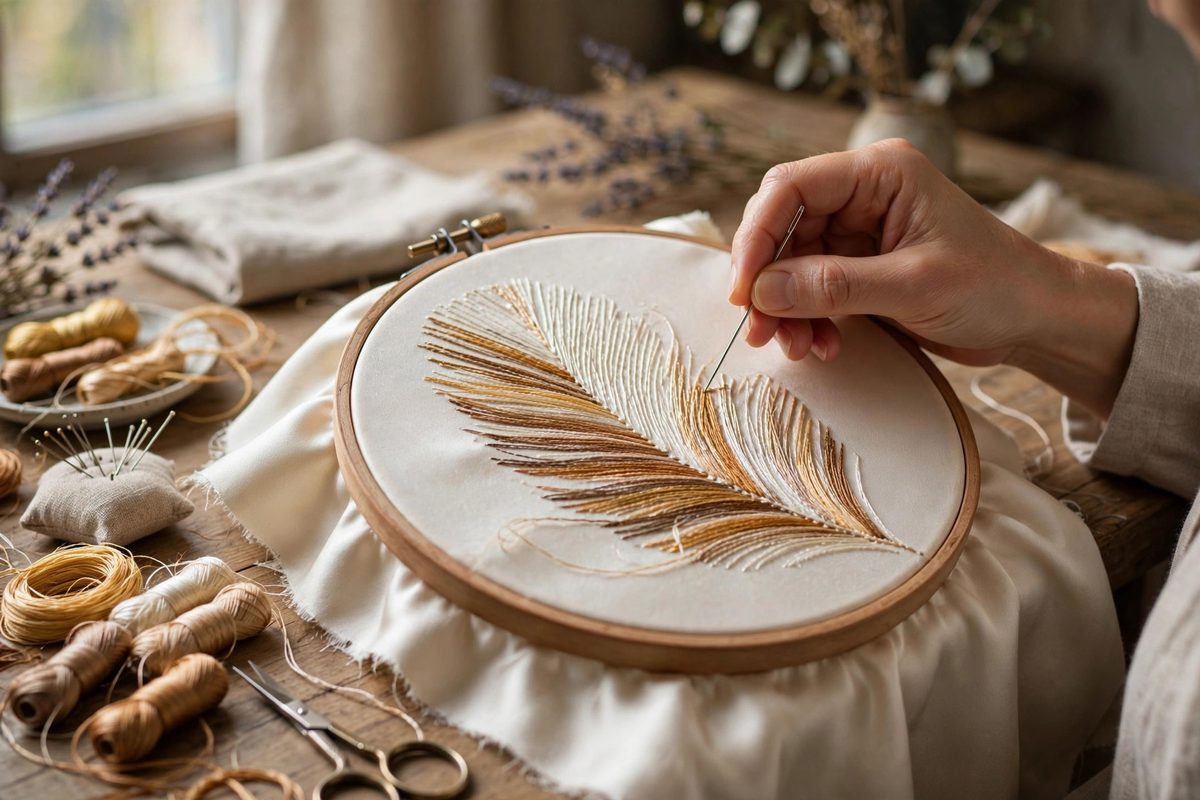
How Stitch Direction Creates Shading
A single strand of silk reflects light most strongly along its length. When you lay parallel stitches in one direction, that whole area catches light uniformly and reads as a smooth tone; when you change direction, the light response changes, and the eye reads it as a different shade even with the same thread color. This is the fundamental mechanism of needle-painted shading: direction does the work that a painter achieves with mixed pigments. Long, smooth direction changes model gradual curves like a petal or a cheek; abrupt direction changes create sharp tonal boundaries like the edge of a leaf. The stitch direction literally sculpts the form.
Following the Form's Grain
The governing principle is to stitch in the direction the real object grows or flows. Petals radiate from the flower's center; fur lies along the animal's body; water flows horizontally; tree bark runs vertically. This is not arbitrary convention: following the natural grain makes the embroidery read correctly because the viewer's eye expects light to behave on the stitched surface the way it behaves on the real thing. Before stitching an element, study the reference and map the direction field: draw light arrows on your pattern showing which way the stitches should run in each region. This planning step is what separates deliberate needle painting from stitching that merely fills shapes with thread.
Long and Short Stitch as the Vehicle
The stitch that carries directional work is long and short: rows of staggered stitches where each row penetrates the previous one, allowing smooth color and direction transitions. The "long and short" refers to alternating stitch lengths within a row, which lets the rows interlock without a visible seam line. Keep the stitches close together with no fabric showing through: gaps destroy the painted effect instantly. Angle each stitch along the local direction field, and let the direction curve gradually across the element: a petal's stitches should fan, not run parallel like a picket fence. The fanning is what makes the form read as three-dimensional.
Blending Color Through Direction
Direction and color work together. Within a single direction field, blend from one thread color to another by intermixing the stitches: the eye merges them into a gradient. Change direction at the same time as you change color for the strongest tonal shifts, which is how you model the sharp light-to-shadow transitions on rounded forms. Silk's sheen amplifies both effects: because each stitch is a tiny light reflector, even subtle direction changes produce visible tonal steps. Use this deliberately, and test on scrap: stitch a small gradient patch with your planned colors and directions, and view it in the lighting where the finished piece will hang, because silk looks dramatically different under different light.
Common Directional Mistakes
The classic error is stitching every element in the same convenient direction, usually vertical or horizontal, which flattens the image: everything catches light identically and the forms lose their modeling. Another is changing direction abruptly within what should be a smooth gradient, creating a visible seam where none belongs: direction changes should be gradual except at true form boundaries. A third is ignoring the background: background stitching has direction too, and a background stitched at random angles fights the subject instead of supporting it. Give the background a calm, consistent direction that contrasts gently with the subject's more varied field.
Silk-Specific Handling
Silk thread demands respect. Use short lengths to prevent wear and tangling as the thread passes through the fabric repeatedly; long lengths abrade and lose their sheen, which defeats the purpose. Keep the tension even and relaxed: overtightened silk stitches pucker the ground fabric and lose their luminous quality, while too-loose stitches look sloppy. And protect the work from handling: the oils on your fingers dull silk over time, so wash hands before stitching and consider covering finished sections as you work. The directional effects you are creating depend on the silk's surface being pristine.
Directional grain stitching is needle painting's core language: direction models form, direction blended with color creates shading, and silk's luminous grain makes every directional choice visible. Map the direction field, stitch with the form's grain, blend deliberately, and let the light do the painting.
Related Guides
- Directional Grain Tracking in Hard Silk Satin Stitch: Satin stitch on silk is unforgiving. Every stitch lies on the surface, fully visible, and the fabric's sheen amplifies any irregularity. Directional
- Split Stitch Directional Shading in Crewel Wool Work: Split stitch is one of the oldest stitches in embroidery, and in crewel wool work it does something remarkable: it sculpts light. Because each stitch
- Tensioning French Knots for Uniform Texture Relief: The French knot is embroidery's perfect little bump, a coiled knot that stands proud of the fabric, and a field of them creates a texture no other
- Long and Short Stitch Feathering for Realistic Shading: Realistic shading in hand embroidery, the petal that glows at its edge and deepens toward its heart, the bird's breast with its soft color