
Satin stitch on silk is unforgiving. Every stitch lies on the surface, fully visible, and the fabric's sheen amplifies any irregularity. Directional grain tracking, keeping every stitch aligned with the silk's weave and with its neighbors, is what separates a luminous satin-stitched motif from a lumpy one.
Reading the silk's grain
Woven silk has a visible grain: the warp and weft threads create a subtle directional texture. Satin stitches laid with the grain sink slightly between the weave threads and sit evenly; stitches laid across the grain ride on top and look rougher. Before stitching, study the fabric under good light and identify the grain direction in the area you will cover. Mark it lightly if needed. This thirty-second inspection determines the stitch direction for the whole motif.
Stitch direction within the shape
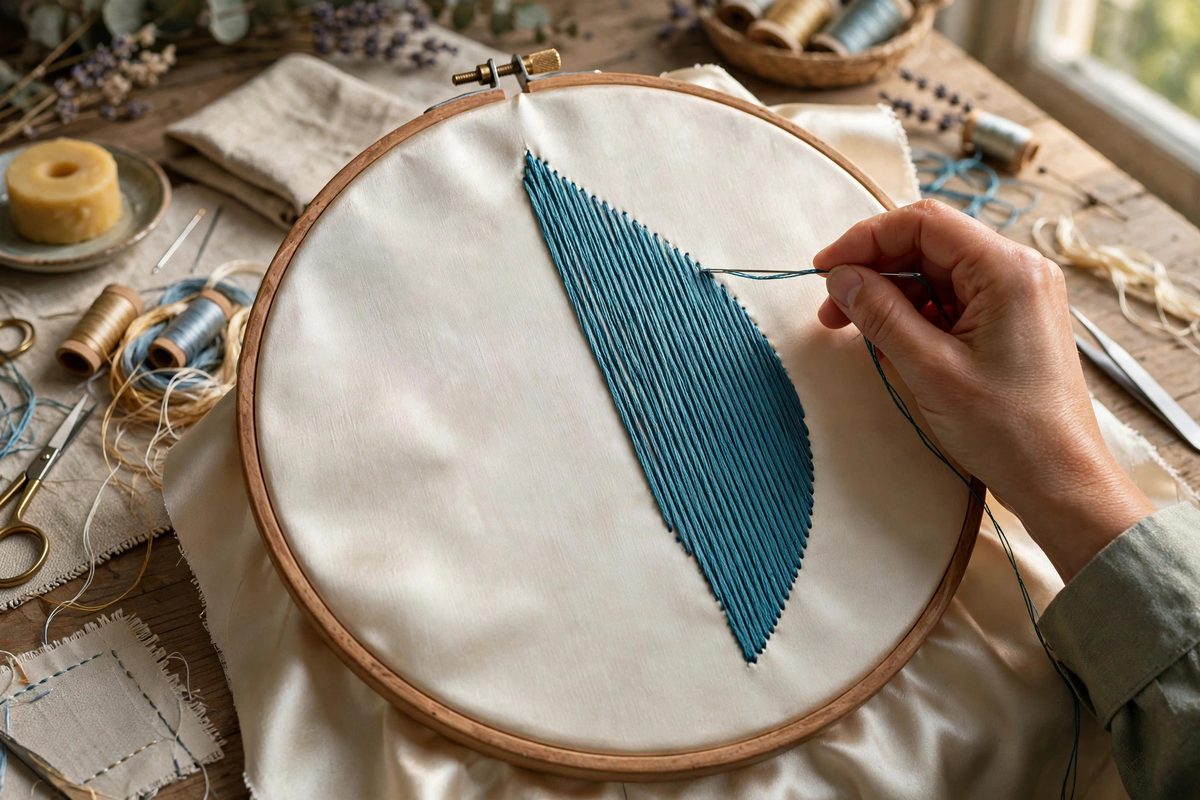
Within a motif, all satin stitches should run parallel to each other, following the shape's logic. For a leaf, that usually means stitching along the leaf's length, from tip to base or base to tip consistently. For a petal, the stitches often radiate from the base. The key rule is consistency: every stitch parallel, every stitch the same length relationship to its neighbors. A single stitch that veers off angle catches the light differently and reads as a flaw from across the room. Slow down at curves and direction changes; those are where discipline breaks.
Padding and the stitch bed
Satin stitch on silk usually needs padding underneath to give it body and to keep the stitches from sinking into the weave. The padding itself should follow the same directional logic: laid in the direction the satin will run, so it supports rather than fights the top layer. Keep the padding slightly inside the design lines so it does not peek out at the edges. A well-padded satin stitch has a gentle dome that catches light evenly; an unpadded one looks flat and tired.
Tension: the silk killer
Silk punishes uneven tension visibly. A stitch pulled too tight puckers the fabric around it; one left too loose sags and shadows. The correct tension lets the stitch lie flat on the surface with the thread's full sheen showing. Work with the fabric drum-tight in the hoop, and check the back periodically: the back should show neat, even stitches, not a bird's nest of loops. If the back is messy, the front will be too, even if it does not look it yet. Re-hoop if the fabric loosens; stitching on slack silk guarantees puckering.
Thread handling for sheen
Silk thread's beauty is its luster, and handling affects it. Use shorter thread lengths than you would with cotton, because silk abrades as it passes through the fabric and long lengths go dull and fuzzy. Let the needle dangle periodically to release the twist that builds up; over-twisted silk thread kinks and lays unevenly. Some stitchers run the thread through a thread conditioner, but test first: anything that dulls the sheen defeats the purpose of using silk.
Finishing and pressing
When the stitching is done, the piece needs careful finishing. Press from the back on a soft pad, never ironing directly on the satin stitch, which would crush the stitches and kill the sheen. A light steam from the back relaxes the fabric without flattening the work. Frame or mount the piece so the silk stays taut; satin stitch on slack silk will eventually ripple. The finishing deserves the same care as the stitching, because it is the last thing standing between the work and its viewer.
Track the grain, keep every stitch parallel and evenly tensioned, pad in the same direction, and handle the silk gently. The satin stitch will glow the way silk is supposed to, and the discipline will be invisible, which is exactly right.
Related Guides
- Directional Grain Stitching in Silk Needle Painting: Needle painting, the embroidery technique that renders images in thread the way a painter renders them in oils, depends on one thing above all: the
- Split Stitch Directional Shading in Crewel Wool Work: Split stitch is one of the oldest stitches in embroidery, and in crewel wool work it does something remarkable: it sculpts light. Because each stitch
- Long and Short Stitch Feathering for Realistic Shading: Realistic shading in hand embroidery, the petal that glows at its edge and deepens toward its heart, the bird's breast with its soft color
- Tensioning French Knots for Uniform Texture Relief: The French knot is embroidery's perfect little bump, a coiled knot that stands proud of the fabric, and a field of them creates a texture no other