
A 3D-printed drill jig lives a hard life: clamps squeeze it, drill bits wander against its guide holes, and bolts get threaded in and out dozens of times. Printed plastic threads strip under that abuse, sometimes on the first over-tightening. The professional answer is to put real metal threads in the plastic: hex nuts captured in printed pockets, or brass threaded inserts melted into place. Either method gives the jig metal threads where it counts while keeping the light, custom geometry of a print. Done right, the jig outlasts the project it was built for.
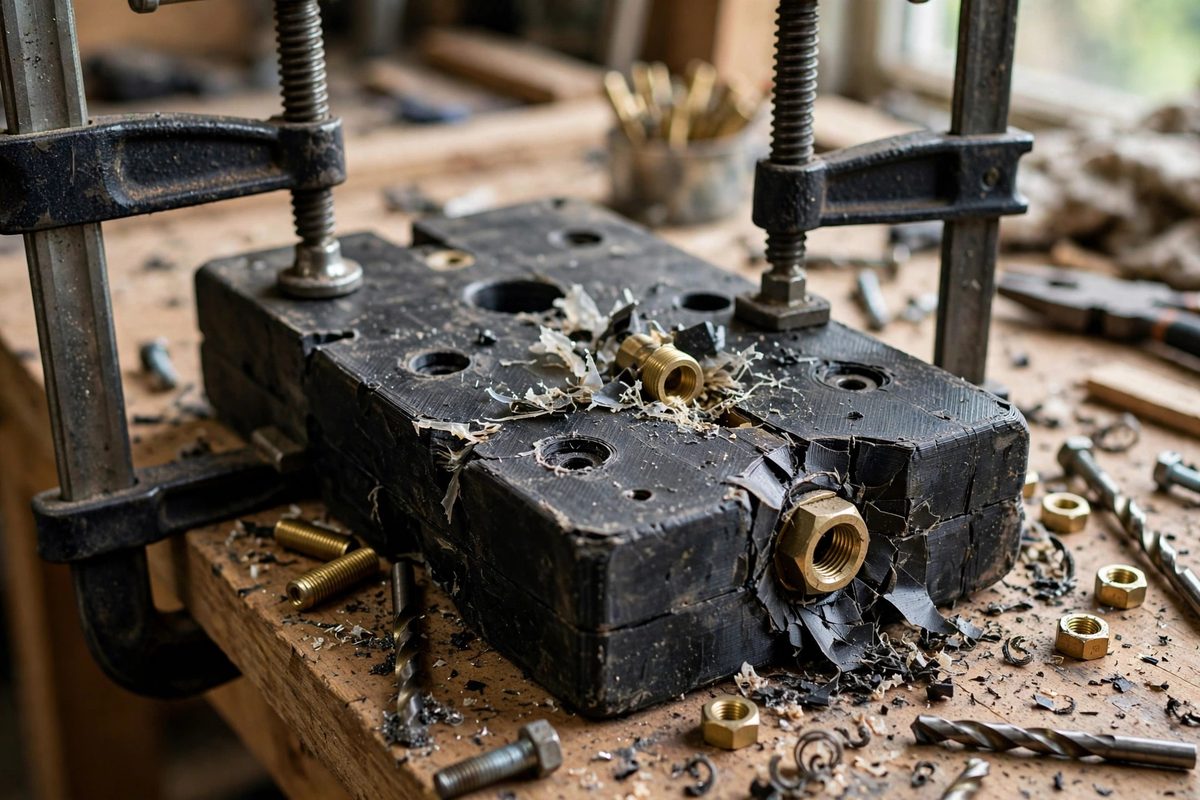
Why printed threads fail in jigs
A thread cut or printed directly in plastic fails for two reasons. First, the layer lines: threads loaded across the layer boundaries shear along them, since interlayer adhesion is the weakest property of a print. Second, creep: plastic under sustained bolt tension slowly flows, so a thread that felt tight on Monday is loose by Friday. Metal inserts solve both problems at once. The insert's external knurls or ridges grip the surrounding plastic over a large area, distributing the load, while the internal threads are real metal that neither shears along layer lines nor creeps. The plastic's job changes from holding threads to holding the insert, which is a job it does well. This is why commercial 3D-printer parts, which face the same problem, overwhelmingly use brass heat-set inserts rather than printed threads.
Pause-and-capture hex nuts
The simplest method is to design a hexagonal pocket in the model, pause the print at the right layer, drop in a standard hex nut, and resume printing so the nut gets trapped. The pocket should match the nut's across-flats dimension closely, with a small clearance, roughly a tenth of a millimeter or two, so the nut sits without rattling but does not need forcing. Depth matters: the pocket must be deep enough that the nut sits below the resume layer, with at least a millimeter or two of plastic printed over it to lock it in. Orient the nut so the bolt will pull it against the pocket floor rather than against the thin printed cap; the floor of the pocket carries the load in compression, which plastic handles well. Add a small script or manual pause in the slicer at the correct height, and test the pocket fit with a printed test piece before committing to a long print. A nut that spins in its pocket is useless, so verify fit first.
Heat-set threaded inserts
Brass heat-set inserts go in after printing: you press the insert into a printed hole with a soldering iron, the plastic melts around the knurls, and it solidifies into a permanent metal thread. Design the receiving hole slightly smaller than the insert's outer knurl diameter so there is plastic to displace; the insert manufacturer's guidance usually specifies the hole size, and when in doubt, print test holes. Keep the boss, the plastic surrounding the insert, generously thick: a wall of roughly one and a half to two times the insert diameter around it gives the knurls something substantial to grip. Press straight down with steady pressure and let the iron's heat do the work; forcing a cold insert cracks the boss. Let the joint cool fully before loading it. The result is a thread that accepts real bolt torque, survives repeated assembly, and can even be replaced by reheating if it ever wears.
Placement and load paths in jig design
Where you put the metal matters as much as how. Place inserts and captured nuts where the loads actually go: at clamping points, at the drill guide bushings if the design uses them, and at any joint that gets assembled repeatedly. Align the insert axis with the expected load so bolts pull along the insert rather than sideways across it; side loads pry inserts out of their bosses over time. For drill guide holes themselves, consider press-fit metal drill bushings rather than bare printed holes, since a spinning bit will wallow out a printed hole quickly. Bushings and inserts together turn a printed jig from a prototype into a tool: plastic where you need custom shape, metal where you need wear resistance and thread strength.
Common failures and how to avoid them
The classic failure is an insert that pulls out under load, which almost always means the boss was too thin or the hole too loose. The second classic is a captured nut that was placed upside down relative to the load, so the bolt pulls it through the thin printed cap instead of seating it against the pocket floor. The third is impatience: loading a heat-set insert before it cools, or resuming a paused print with the nut sitting proud of the pocket, which crashes the nozzle. All three are design or process errors, not material mysteries, and all three are cheap to prevent with a test print. Build the habit of testing every insert and pocket geometry once, then reusing the proven dimensions across jigs.
Metal threads in plastic jigs are a small effort that pays off every time a bolt tightens with that solid, trustworthy feel instead of the sickening crunch of stripping plastic. Design for the insert from the start, and the jig becomes a permanent part of the shop.
Related Guides
- Drill Guide Bushing Clearances in 3D Jigs: A 3D-printed drill jig earns its keep by placing holes exactly where they belong, repeatedly. The drill bushing, the hardened sleeve the bit runs
- Standard Steel Bushing Fits for 3D Drill Guides: A 3D-printed drill guide earns its keep when a spinning drill bit meets a hardened steel bushing instead of soft plastic. The bushing guides the bit
- Zero-Tolerance V-Groove Alignment in 3D Printed Guides: Printed jigs and guides often need to locate a rod, shaft, or edge with real precision: a drill guide, a cutting jig, a measurement fixture. The
- Hardened Steel Bushing Tolerances for Drilling Guides: Drill bushings, hardened steel sleeves pressed into jigs and fixtures, are what make a drilling guide a precision tool rather than a suggestion. The