
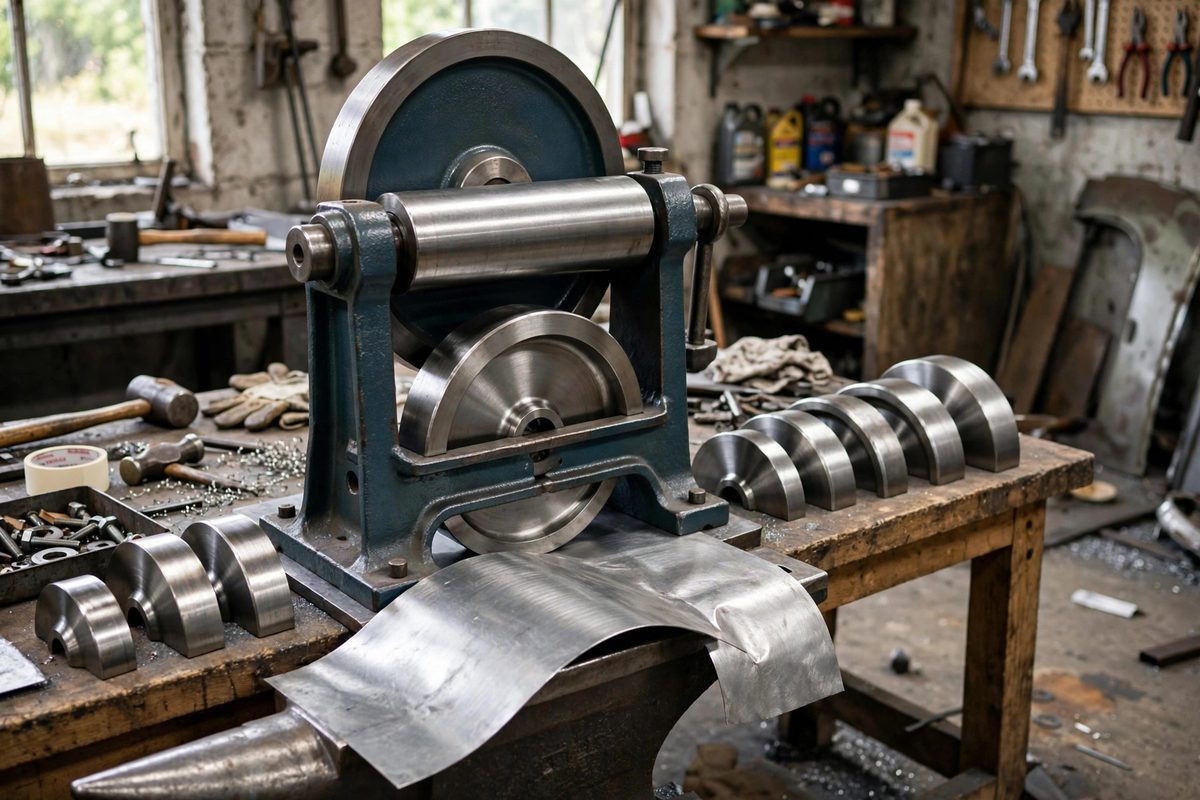
The English wheel shapes sheet metal by rolling it between a flat upper wheel and a curved lower anvil wheel, stretching the metal into compound curves. The anvil's crown, the curvature of its face, is the primary control over how aggressively the metal stretches and what shape results. Choosing the wrong anvil for the curve you need wastes hours and work-hardens the panel into uselessness. Anvil selection is the skill that makes the wheel predictable.
What the anvil crown does
As the panel passes between the wheels, the anvil's crown concentrates pressure on a narrow band of metal, stretching that band. A high-crown (sharply curved) anvil concentrates force on a small area and stretches aggressively, producing tight curves quickly. A low-crown (nearly flat) anvil spreads the pressure wider and stretches gently, for broad, subtle curves. The upper wheel stays flat in most work; all the shaping vocabulary comes from swapping anvil wheels. Think of the crown as the coarseness knob: high crown for rapid shaping, low crown for finishing.
Matching anvil to the curve
Start rough with a higher crown than you think you need, then finish with progressively flatter anvils. For a panel needing a deep compound curve, like a fender crown, begin with a pronounced crown anvil to establish the shape quickly, then step down through medium crowns to smooth and refine, finishing with a nearly flat anvil that plans the surface without adding stretch. The common mistake is trying to do everything with one medium anvil: it shapes too slowly for roughing and too aggressively for finishing, work-hardening the panel in the process. Own the progression and use it.
Reading the panel
The metal tells you whether the anvil is right. If the wheel leaves deep, narrow tracks, the crown is too high for the current stage; step down. If many passes produce no visible change, the crown is too flat; step up. If the panel starts to oil-can (pop between two stable shapes), it has been stretched unevenly, often from lingering too long with too aggressive an anvil in one area; the fix is careful shrinking or selective stretching elsewhere, both advanced techniques that are easier to avoid than to fix. Work the whole panel evenly, moving in overlapping passes, and check the shape against a template frequently.
Pressure and technique
Wheel pressure should be just enough to shape: excessive pressure with any anvil work-hardens the metal and embosses wheel marks. Let the anvil crown do the work rather than your arms. Keep the panel moving steadily; dwelling in one spot over-stretches it. Overlap passes by about half the track width for even stretching. And keep the wheels clean: a chip of debris on the anvil embosses itself into every panel until you notice, and by then the damage is done.
Safety and setup
The English wheel's nip point, where the wheels meet, will crush fingers without hesitation; keep hands clear and feed the panel with a grip well away from the wheels. Secure the machine solidly; wheeling pushes the panel around with real force, and a walking machine makes consistent work impossible. Wear gloves to handle sheet edges, which are razor sharp, but keep glove material away from the nip point. Ear protection is wise for long sessions; the wheel is not loud, but hours of rolling add up.
Rough with high crown, refine stepping down, finish nearly flat, and let the panel tell you when to change. The wheel rewards the patient and punishes the hurried.
Related Guides
- Hammer and Dolly Shrinking on Stretched Metal: Sheet metal stretches when it is damaged: a dent pushed outward, a panel worked with a hammer, a crease pulled straight, all leave the metal with
- Slapping Spoon Contouring on Reverse Curve Auto Panels: Reverse curves, the S-shaped transitions where a fender crown rolls into a body line or a door skin sweeps into a wheel arch, are the hardest panels
- Linear Stretching Mechanics on Curved Aluminum Fenders: An aluminum fender curves in ways that flat sheet cannot follow without changing its surface area. Linear stretching, elongating the metal along one
- Hammer and Dolly Shrinking on Thin Automotive Panels: Thin automotive sheet metal stretches when it is dented, welded, or overheated, and stretched metal will not sit flat no matter how much filler you