
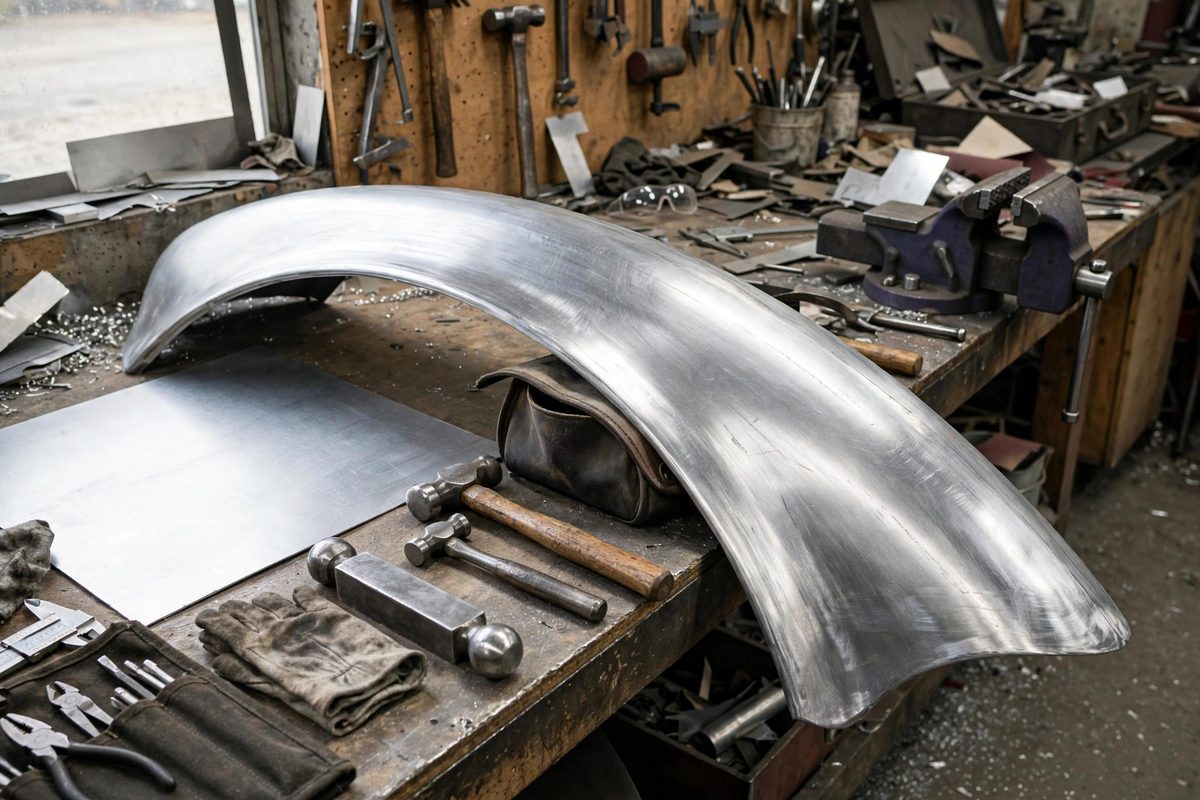
An aluminum fender curves in ways that flat sheet cannot follow without changing its surface area. Linear stretching, elongating the metal along one axis, is the fundamental operation that lets a flat blank become a curved panel. Understanding how the stretch distributes across the metal is what separates a fender with smooth flowing curves from one with lumps, thin spots, and tears.
How Stretching Forms a Curve
When you stretch metal along a line, the stretched zone gets longer and thinner, and the panel curves because the stretched area now covers more distance than the unstretched area around it. Stretch the center of a blank and the edges pull inward, forming a dome. Stretch along parallel lines and the panel takes on a cylindrical curve. The fender's compound shape comes from varying the stretch: more stretch where the curve is tighter, less where it is gentle. The metal has a finite stretch capacity before it thins to tearing, so the art is distributing the stretch evenly rather than concentrating it in one overworked zone.
Tools That Stretch Linearly
The English wheel stretches by rolling the metal between a flat lower wheel and a curved upper wheel, elongating the contact band with each pass. A planishing hammer with a stretching die does the same work faster but more aggressively. Even hand tools, slappers and spoons worked over a sandbag or shot bag, stretch the metal where they strike. Each tool stretches in the direction of its action: the wheel stretches along the rolling direction, the hammer stretches radially from each blow. Choose the tool whose stretch direction matches the curve you need, and work the whole area evenly rather than hammering one spot into submission.
Reading the Metal
Aluminum tells you what it needs if you watch. A panel that oil-cans, popping between two shapes, has uneven stretch with a loose low spot; shrinking the loose area or stretching around it restores stability. Shiny spots where the metal has thinned warn that the stretch limit is approaching; back off and spread the work wider. Use a flexible curve template or the mating panel to check progress constantly, because the eye adapts to gradual error and the template does not. Mark the areas needing more stretch with a marker so the work stays deliberate instead of wandering.
Aluminum-Specific Behavior
Aluminum work-hardens as you stretch it, getting stiffer and more resistant with each pass. Annealing, heating to relax the grain structure, restores workability when the metal starts fighting back; the classic soot-and-burn-off method with an acetylene flame marks the temperature without instruments. Aluminum also has less stretch capacity than mild steel before tearing, so take smaller bites and anneal sooner. Different alloys behave differently: soft pure grades stretch generously, while harder structural alloys resist and crack sooner. Know your alloy's temperament and work within it.
Avoiding Tears and Thin Spots
Tears start where the metal is thinnest, which is where you stretched the most. Distribute stretch across the widest area the shape allows, keep the tools smooth and polished so they do not score the surface, and anneal before the metal gets stubborn. If a small tear starts, stop immediately; a tear can sometimes be welded and reworked, but stretching a torn area only makes it worse. The fender that survives is the one that was coaxed, not forced.
Linear stretching is the language of curved panels: stretch where the curve needs length, distribute the work, read the metal's feedback, and anneal when it hardens. The fender emerges from the flat blank one even pass at a time.
Related Guides
- Hammer and Dolly Shrinking on Stretched Metal: Sheet metal stretches when it is damaged: a dent pushed outward, a panel worked with a hammer, a crease pulled straight, all leave the metal with
- English Wheel Anvil Selection for Crown Curves: The English wheel shapes sheet metal by rolling it between a flat upper wheel and a curved lower anvil wheel, stretching the metal into compound
- Slapping Spoon Contouring on Reverse Curve Auto Panels: Reverse curves, the S-shaped transitions where a fender crown rolls into a body line or a door skin sweeps into a wheel arch, are the hardest panels
- Hammer and Dolly Shrinking on Thin Automotive Panels: Thin automotive sheet metal stretches when it is dented, welded, or overheated, and stretched metal will not sit flat no matter how much filler you