
Sheet metal stretches when it is damaged: a dent pushed outward, a panel worked with a hammer, a crease pulled straight, all leave the metal with more surface area than it started with. That extra area shows up as oil-canning, bulges, and ripples that no amount of filler can honestly fix. Shrinking, deliberately compressing the stretched area back to its original size, is the metalworker's answer. The hammer and dolly method does it cold, with hand tools, by gathering the excess metal back into itself. It is one of the most satisfying skills in bodywork because it fixes the actual problem instead of burying it.
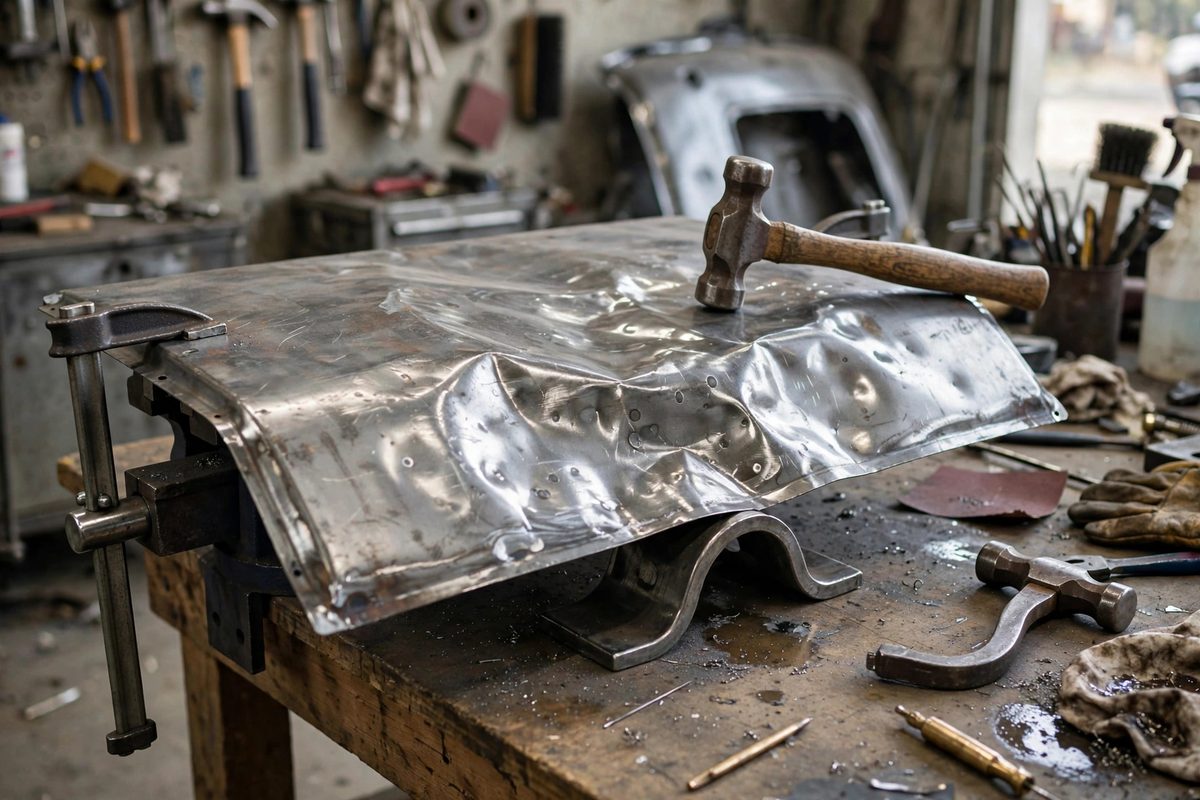
How metal stretches and what shrinking reverses
When sheet metal is dented outward, the metal in the dent is stretched: the same amount of steel now covers more area, so it is thinner and larger. Pushing the dent back flat does not un-stretch it; the panel now has surplus area that has to go somewhere, so it buckles into waves. Filler hides the waves cosmetically but the panel remains structurally wrong, prone to cracking and to telegraphing the repair through paint as temperatures change. Shrinking reverses the stretch by compressing the metal, thickening it slightly as its area decreases. Done correctly, the panel returns to its original dimensions: flat, stable, and the right shape without filler. The hammer and dolly technique achieves this compression mechanically, one small area at a time.
On-dolly technique for direct shrinking
In on-dolly work, you hold the dolly directly behind the spot you are hammering, so the metal is trapped between hammer and dolly. Each blow compresses the metal between the two faces, and the compression gathers the stretched area inward. The key is to work the high spots: the stretched area is the raised, oil-canning region, and that is where the hammer falls. Use light, rapid blows rather than heavy hits; heavy blows stretch the metal further, which is the opposite of the goal. The dolly's face shape matters: a flat dolly for flat panels, a curved dolly matching the panel's crown for curved areas. Work from the outside of the stretched area inward, shrinking the perimeter first so the center has somewhere to go. You will feel the panel tighten under the hammer as the excess area disappears; the oil-canning that flexed under your thumb goes still.
Off-dolly technique for smoothing
Off-dolly work holds the dolly beside the hammer blow rather than behind it, so the hammer's impact bends the metal down onto the dolly's edge. This stretches slightly rather than shrinking, which sounds contradictory, but it is the finishing step: after on-dolly shrinking has gathered the excess, off-dolly work smooths the small ridges and high spots the shrinking leaves behind. The two techniques alternate in practice: shrink the stretched area on-dolly, smooth the result off-dolly, check the panel, and repeat. Knowing which technique the panel needs at each moment is the craft. If the panel is still oil-canning, it needs more shrinking; if it is tight but lumpy, it needs smoothing. Reading the metal's response to your thumb pressure tells you which.
Heat shrinking for severe stretch
Some stretched areas resist cold shrinking, usually because the stretch is severe or the panel is constrained by surrounding structure. Heat shrinking handles these: heat a small spot, roughly the size of a coin, to a dull red with a torch, then quench it quickly with a wet rag while holding a dolly behind it. The heated spot tries to expand but is constrained by the surrounding cold metal, so it upsets, thickening; quenching locks in the contraction as it cools, and the net effect is a localized shrink. Work one spot at a time and check progress frequently, because it is easy to over-shrink and create a low spot that then needs stretching back out. Heat shrinking is powerful and therefore demands restraint; the torch is for areas where the hammer alone has proven insufficient, not for the first attempt.
Safety and panel assessment
Body hammers are heavy and dollies are harder than fingers: wear eye protection, since hammer faces can chip, and gloves to dampen vibration. With heat shrinking, the fire precautions are serious: remove interior trim, fuel lines, and anything flammable from behind the panel, keep an extinguisher at hand, and remember that the panel stays hot long after the color fades. Before shrinking any panel, assess whether the metal is worth saving: paper-thin rusted steel, previously overheated and brittle areas, and panels stretched beyond any reasonable recovery are better replaced. Shrinking is for panels with good metal that has been stretched; it cannot resurrect metal that is gone.
Find the stretched high spots, shrink them on-dolly with light rapid blows, smooth off-dolly, and reserve the torch for the stubborn cases. The panel will tell you when it is right: it goes quiet under your hand, flat and stable, with no filler required.
Related Guides
- Hammer and Dolly Shrinking on Thin Automotive Panels: Thin automotive sheet metal stretches when it is dented, welded, or overheated, and stretched metal will not sit flat no matter how much filler you
- English Wheel Anvil Selection for Crown Curves: The English wheel shapes sheet metal by rolling it between a flat upper wheel and a curved lower anvil wheel, stretching the metal into compound
- Slapping Spoon Contouring on Reverse Curve Auto Panels: Reverse curves, the S-shaped transitions where a fender crown rolls into a body line or a door skin sweeps into a wheel arch, are the hardest panels
- Linear Stretching Mechanics on Curved Aluminum Fenders: An aluminum fender curves in ways that flat sheet cannot follow without changing its surface area. Linear stretching, elongating the metal along one