
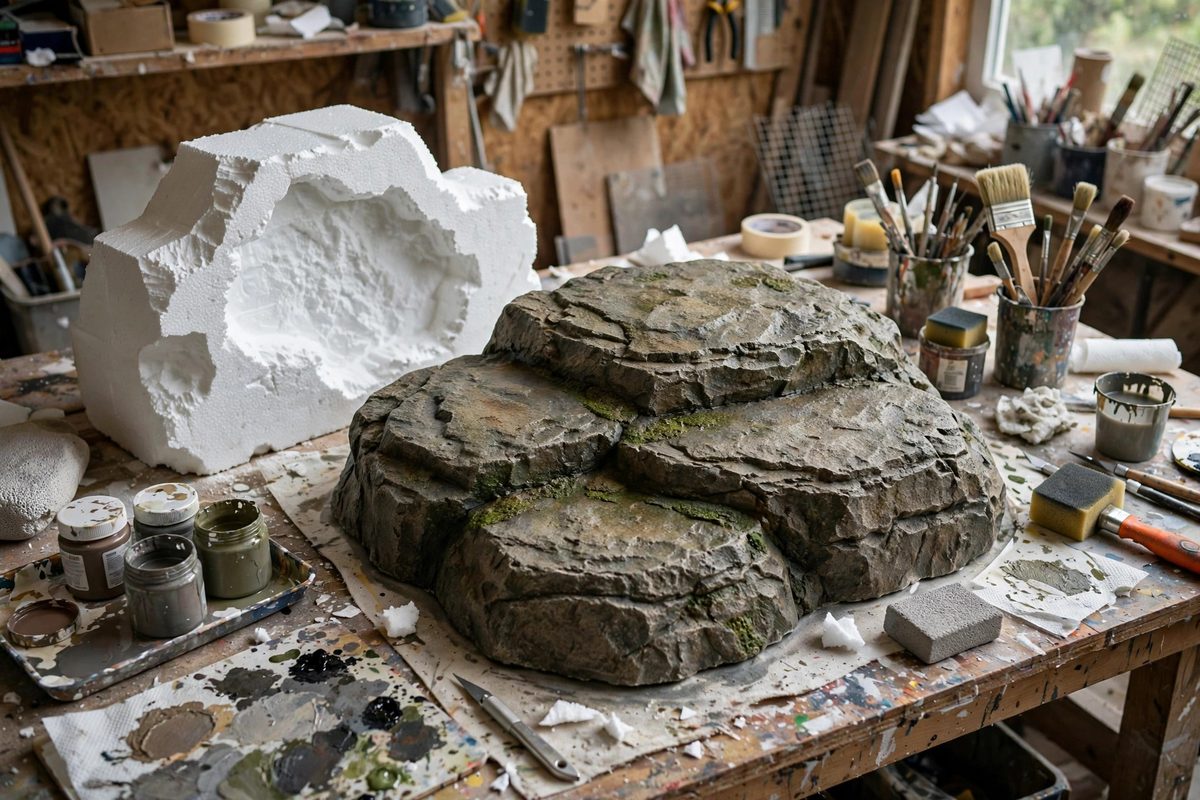
Carved polystyrene takes a stone shape beautifully and weighs almost nothing, which is why it is the backbone of scenic rockwork and masonry. But raw foam reads as foam until the paint treatment convinces the eye otherwise. Glazing, building up thin translucent layers of color over the carved texture, is what turns white foam into convincing stone.
Preparing the Foam Surface
Paint does not stick well to raw polystyrene, and solvents in many paints melt it. Seal the carved foam first with a compatible coating: water-based primer, scenic dope, or a brush coat of diluted PVA glue. The seal coat also fills the tiny bead texture of the foam just enough to read as stone grain rather than foam cells, while leaving the carved detail crisp. Apply the sealer in thin coats and let it dry fully; a thick gloopy seal coat fills in the carving you worked hard to cut. Test your full paint system on a scrap of the same foam before committing, because a melted test piece is a lesson and a melted set piece is a disaster.
Laying the Base Coat
The base coat establishes the stone's overall value and undertone. Real stone is rarely one flat color; pick a mid-tone base that sits between the lightest highlights and darkest shadows you plan. Brush or roll the base into all the carved recesses, since missed spots in deep texture read as glowing white errors under stage light. Let the base dry completely before glazing, because glazing over a tacky base lifts the color underneath and makes mud.
Glazing Technique
A glaze is paint thinned to translucency so the layers beneath show through. Work from dark to light: wash dark glaze into the recesses and carved joints to deepen the shadows, wiping the high spots clean so the base shows through. Then dry-brush or glaze lighter tones onto the high spots, letting the brush skip across the texture so only the raised areas catch color. Each glaze layer should be thin enough to dry quickly and to let the previous work show through. Build the stone in four to six glaze passes rather than trying to nail it in one; the depth comes from the layering, and no single coat can fake it.
Creating Stone Variation
Uniform stone looks fake. Vary the glaze colors across the surface: warmer tones on some blocks, cooler on others, a greenish wash suggesting moss in the damp recesses, a rusty streak below a "metal" fixture. Spatter and stipple with a nearly dry brush to break up large flat areas; real stone has mottling at every scale. Study reference photos of the actual stone you are faking and match its particular quirks, the way sandstone bands, the way granite speckles, the way limestone weathers at the edges. The reference is the difference between generic gray rock and a specific convincing stone.
Sealing for the Run
Scenic paint takes abuse: handling, lighting heat, and the occasional bump from a moving flat. Seal the finished glaze work with a compatible clear coat in the right sheen; most stone reads best in a matte or satin finish, since glossy stone looks wet and fake under stage lights. The sealer also protects the glaze layers from scuffing during load-in and the run. Touch up chips promptly with the same glaze colors, because a chip down to white foam breaks the illusion instantly and visibly.
Faux stone over polystyrene is carving plus glazing: seal the foam, base it in a true mid-tone, build depth with thin dark-to-light glazes, vary the color like real stone varies, and seal it for the run. The audience will swear it is heavy right up until someone carries it off with one hand.
Related Guides
- Scumble Glaze Texturing on Faux Masonry Backdrops: Faux masonry, painted stone or brick on a flat backdrop, succeeds or fails on texture. Flat, uniform paint reads as flat paint no matter how accurate
- Cast Shadow Trompe L'Oeil Glazing on Stage Flats: Trompe l'oeil (French for "fool the eye") is scenic painting's highest trick: flat surfaces painted to read as three-dimensional architecture. The
- Trompe L'Oeil Cast Shadow Values on Stage Flats: Trompe l'oeil, fool-the-eye painting, turns a flat piece of scenery into apparent three-dimensional architecture: moldings, panels, and stonework
- Spattering and Rag-Rolling Blends for Old Brick Effects: A flat painted brick wall reads as exactly that: flat paint. Old brick has centuries of soot, lime, patching, and weather in its surface, and two