
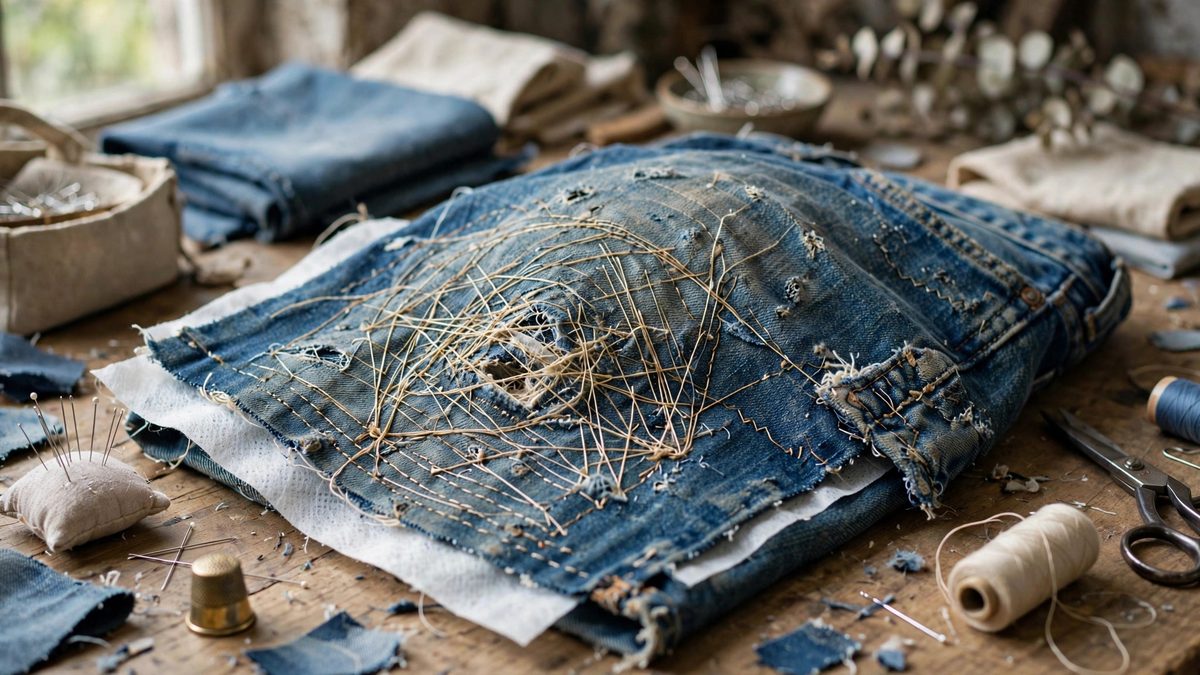
Denim wears out in predictable places: knees, inner thighs, pocket corners, the spots that take friction and stress every day. Free-motion darning rebuilds those areas with stitching, but stitching alone on worn-thin denim just perforates an already weak fabric. The repair that lasts pairs the darning with interfacing on the back: the interfacing carries the load, the darning locks everything together, and the worn spot becomes stronger than the surrounding fabric.
Why Interfacing Comes First
Darning stitches need something to bite into. When denim has worn to gauze thinness or torn outright, there is no fabric structure left for the stitches to anchor: each needle penetration just enlarges the hole. Fusible interfacing applied to the wrong side rebuilds the substrate: it bridges the worn area, stabilizes the surviving fibers, and gives the darning stitches a foundation. Choose a woven fusible interfacing in a weight suited to the denim: too light and it does not stabilize enough, too heavy and the repair becomes a stiff patch that stresses the surrounding fabric at its edges. For high-wear areas, err toward the sturdier side: the repair needs to outlast the forces that destroyed the original.
Preparing the Worn Area
Trim away only what is truly destroyed: dangling threads and frayed edges that will tangle in the darning, but leave every salvageable fiber in place, because existing fibers integrated into the darning add strength. Clean the area: dirt and body oils interfere with fusible adhesion, so wash and dry the garment first. Apply the interfacing to the wrong side with proper heat and pressure, extending well beyond the worn area onto sound fabric: the interfacing's bond to healthy denim is what anchors the whole repair, so skimping on the overlap guarantees edge failure. Let it cool fully before darning: the bond strengthens as it cools.
Setting Up for Free-Motion Darning
Free-motion means the feed dogs are down (or covered) and you move the fabric by hand under a hopping or darning foot. Drop the feed dogs, attach the darning foot, and set a straight stitch at a moderate length: the stitch length is determined by how fast you move the fabric, so start slow. Hoop the area if the garment allows: a hoop stabilizes the sandwich and gives you something to grip, though many denim repairs are done unhooped with the fabric held taut by hand. Use thread matched to the denim in weight and color: topstitching-weight thread in a matching shade makes the repair nearly invisible, while contrasting thread makes it a visible design feature. Both are legitimate; choose deliberately.
The Darning Technique
Darn in rows, working back and forth across the worn area like weaving: each row of stitching lies close to the last, building a new fabric of thread over the interfacing. Extend the darning well beyond the worn area onto sound denim: the transition zone is where the repair integrates with the garment, and darning only the hole leaves a hard edge that fails. Keep the rows even and the speed steady: jerky movement produces uneven stitch length, and uneven stitches concentrate stress. Work in multiple directions if the wear is severe: a first pass with the grain, a second across it, creates a woven structure far stronger than parallel rows alone. Cover the area densely but not excessively: the goal is a flexible reinforced fabric, not a bulletproof plate.
Handling High-Wear Placement
Repairs in knees, thighs, and other flexing, high-friction zones face ongoing punishment, so build accordingly. Make the darned area generous: a small repair in a high-wear zone just moves the failure to the repair's edge. Consider the direction of stress: reinforce along the lines of force, which usually means darning denser in the direction of the pull. And accept that some areas are consumable: inner thigh repairs on well-loved jeans may need redoing periodically, and that is normal maintenance, not failure. A repair that lasts a year of hard wear in the highest-stress spot on the garment is a success.
Finishing and Aftercare
Secure thread ends by weaving them into the darning rather than knotting on the surface: knots in a high-wear area chafe and work loose. Press the repair from the wrong side to settle the stitches. Wash the garment normally afterward: the first wash tests the repair, and any lifting edges or loose rows should be addressed now. With good interfacing and dense, well-anchored darning, the repaired area will typically outlast the surrounding denim: the repair becomes the strongest part of the garment, which is exactly the goal.
Interfacing rebuilds the foundation, free-motion darning weaves the new fabric, and generous coverage integrates the repair. Done right, the worn spot does not just get patched: it gets upgraded.
Related Guides
- Darning Heavy Denim Crotch Blowouts With Free Motion: The crotch of a well-loved pair of jeans takes more punishment than any other spot in a garment: constant flexing, friction between the thighs, and
- Ladder Stitch Seam Tension for Invisible Repairs: The ladder stitch, also called the slip stitch, is the repair stitch that disappears. Used to close a split seam in a jacket lining, reattach a
- Sashiko Grid Reinforcement for Worn Duck Canvas Workwear: Duck canvas workwear earns its wear honestly: knees thin, elbows fray, pockets pull. When the fabric is worn but not done, sashiko, the Japanese
- Whipstitch Seam Rebuilding on Heavy Canvas Workwear: Heavy canvas workwear, chore coats, duck overalls, tool aprons, earns its repairs honestly: seams blow out at stress points after years of hard use