
Heavy canvas workwear, chore coats, duck overalls, tool aprons, earns its repairs honestly: seams blow out at stress points after years of hard use, and the garment around the failure is usually still sound. Rebuilding those seams with a whipstitch, worked by hand with heavy thread, is the traditional repair that matches the garment's character: strong, visible, and honest. The whipstitch's diagonal wraps lock the seam allowances together with a flexibility that machine straight stitching cannot match, which is why workwear repaired this way often outlasts the original seam. This guide covers the assessment, the stitch, and the finishing that makes the repair permanent.
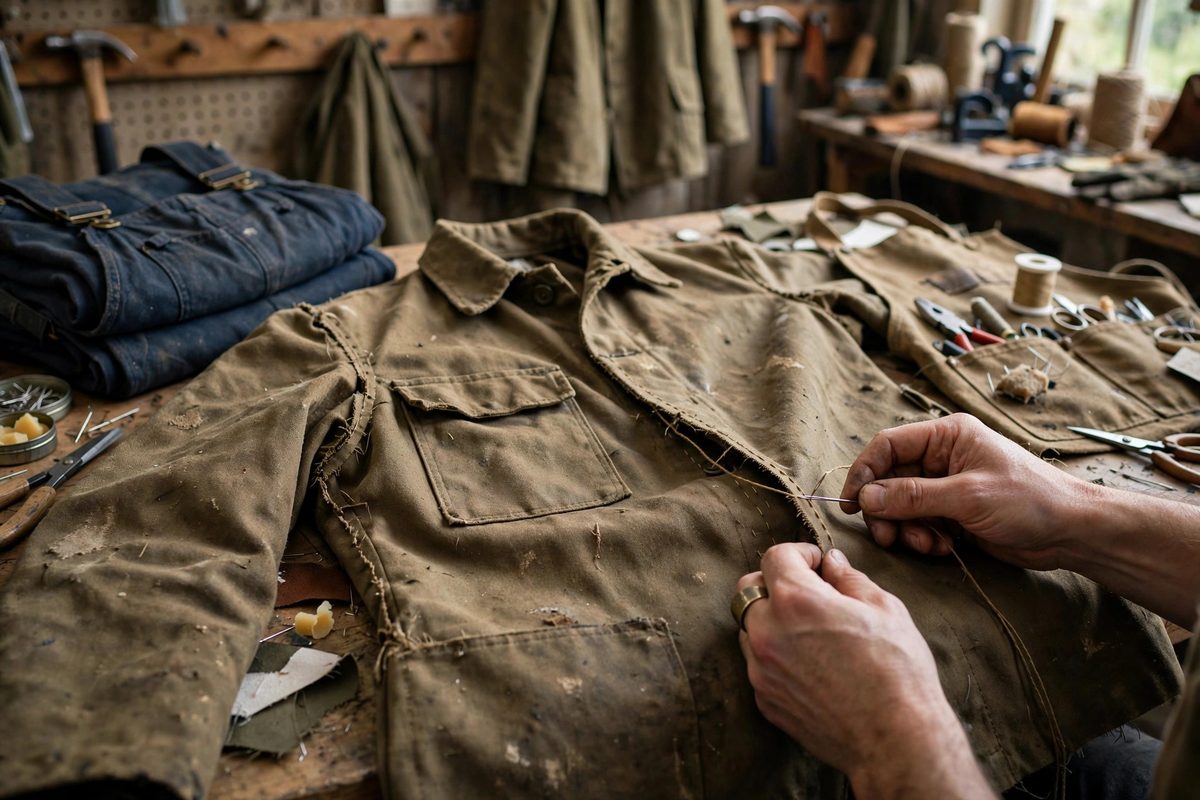
Assessing the failed seam
Before stitching, diagnose the failure. Most workwear seam failures are thread failures, not fabric failures: the original thread abraded or rotted while the canvas remains strong. In that case the repair reuses the original seam allowances and simply replaces the stitching. If the fabric itself tore along the stitch line, the seam allowances are compromised and the repair must capture sound fabric beyond the damage, which may mean narrowing the garment slightly or patching. Check the full seam, not just the open section; thread failure is usually systemic along the stressed length, and restitching only the gap leaves the next failure weeks away. Also inspect the mating seam allowances for the other failure mode of old workwear: fabric worn thin from the inside, which needs patching rather than stitching.
Materials for a lasting repair
Match the repair materials to the workwear's demands. Use heavy-duty thread, buttonhole twist, heavy upholstery thread, or waxed linen, strong enough that the thread is no longer the weak link; ordinary all-purpose thread in a rebuilt workwear seam is a repair scheduled to fail. Choose a needle that the thread fits without strain: a large-eyed sharp or a sailmaker's needle for the heaviest canvas. A thimble is not optional at this weight; pushing a big needle through multiple layers of duck canvas by bare fingertip is how repair projects get abandoned. If the seam allowances need reinforcement, cut patches from matching or complementary canvas, since the patch becomes part of the garment's story and should look intentional.
The whipstitch technique
The whipstitch wraps diagonally over the seam's edge: the needle comes up through the lower layer, crosses over the raw edges, and goes down through the upper layer a short distance along, emerging to repeat. Each stitch thus binds both seam allowances and the garment layers in a flexible spiral. Keep the stitches even in length and spacing, slanting consistently in one direction; the regularity is both structural, distributing load evenly, and aesthetic, giving the repair its characteristic ridged line. Work with firm, even tension: the stitches should close the seam snugly without puckering the canvas. For a blown seam being rebuilt, work slightly beyond the failed section in both directions, anchoring into sound original stitching so the repair does not start at a stress concentration. Backstitch or knot securely at both ends; a whipstitched repair that unravels from the end was never finished.
Rebuilding versus patching
Some failures need more than restitching. When the fabric along the seam line is torn or worn through, rebuild with a patch: position a canvas patch behind the damaged area, extending well beyond it in all directions, and whipstitch the patch's edges to the garment, then rebuild the structural seam through patch and original layers together. The patch distributes the seam's load across sound fabric, which is the engineering principle behind every good repair. For frayed seam allowances that cannot hold stitches, bind the raw edges first with a separate whipping, then join the bound edges; this two-stage approach salvages garments that look hopeless at first inspection. Judge each failure on its own: restitch where the fabric is sound, patch where it is not, and never ask stitches to hold what the fabric cannot.
Reinforcing the stress points
Workwear fails at predictable stress points: pocket corners, crotch seams, underarm junctions, the ends of heavy seams. When rebuilding, reinforce these points beyond the original construction, since the original already proved insufficient. Bar-tack the seam ends with dense hand stitching, add a second row of whipstitching at the highest-stress sections, or stitch a small reinforcing patch over the junction. These reinforcements are the repair's upgrade over the factory seam: the garment comes back stronger than it was. There is a workwear aesthetic to honest reinforcement, the visible mending tradition, that treats the repair as an improvement rather than a blemish. Lean into it; the garment earned its scars.
Finishing and breaking in
Finish the repair by trimming thread tails close and melting or knotting synthetic thread ends so they cannot work loose in the wash. Press the rebuilt seam flat to set the stitches into the canvas. Then wear the garment hard; a workwear repair proves itself in use, and the first weeks will reveal any section that needs attention while it is still easy to reinforce. Wash normally; a properly built whipstitch repair with appropriate thread handles laundering without complaint. The rebuilt seam, broken in alongside the rest of the garment, becomes simply part of the workwear's history, which is exactly what a good repair should be.
Rebuild heavy canvas workwear seams by diagnosing thread versus fabric failure, stitching with heavy thread in an even whipstitch anchored into sound construction, patching where the fabric is gone, and reinforcing the known stress points beyond original. The repair should outlast the original seam, because this time it was built with the knowledge of how the first one failed.
Related Guides
- Sashiko Grid Reinforcement for Worn Duck Canvas Workwear: Duck canvas workwear earns its wear honestly: knees thin, elbows fray, pockets pull. When the fabric is worn but not done, sashiko, the Japanese
- Ladder Stitch Seam Tension for Invisible Repairs: The ladder stitch, also called the slip stitch, is the repair stitch that disappears. Used to close a split seam in a jacket lining, reattach a
- Darning Heavy Denim Crotch Blowouts With Free Motion: The crotch of a well-loved pair of jeans takes more punishment than any other spot in a garment: constant flexing, friction between the thighs, and
- Free-Motion Darning Over High-Wear Denim Interfacing: Denim wears out in predictable places: knees, inner thighs, pocket corners, the spots that take friction and stress every day. Free-motion darning