
The handle of a hand saw is not just a grip; it is a lever arm that determines how cutting force reaches the teeth. The offset between the handle's axis and the blade's cutting line decides whether your push drives the teeth straight forward or twists the blade sideways with every stroke. Saw designers have tuned this geometry for centuries, and understanding the calculation lets you evaluate, restore, or even design saw handles that cut true instead of fighting you. A well-offset handle feels like the saw wants to go straight. A poorly offset one feels like steering a shopping cart.
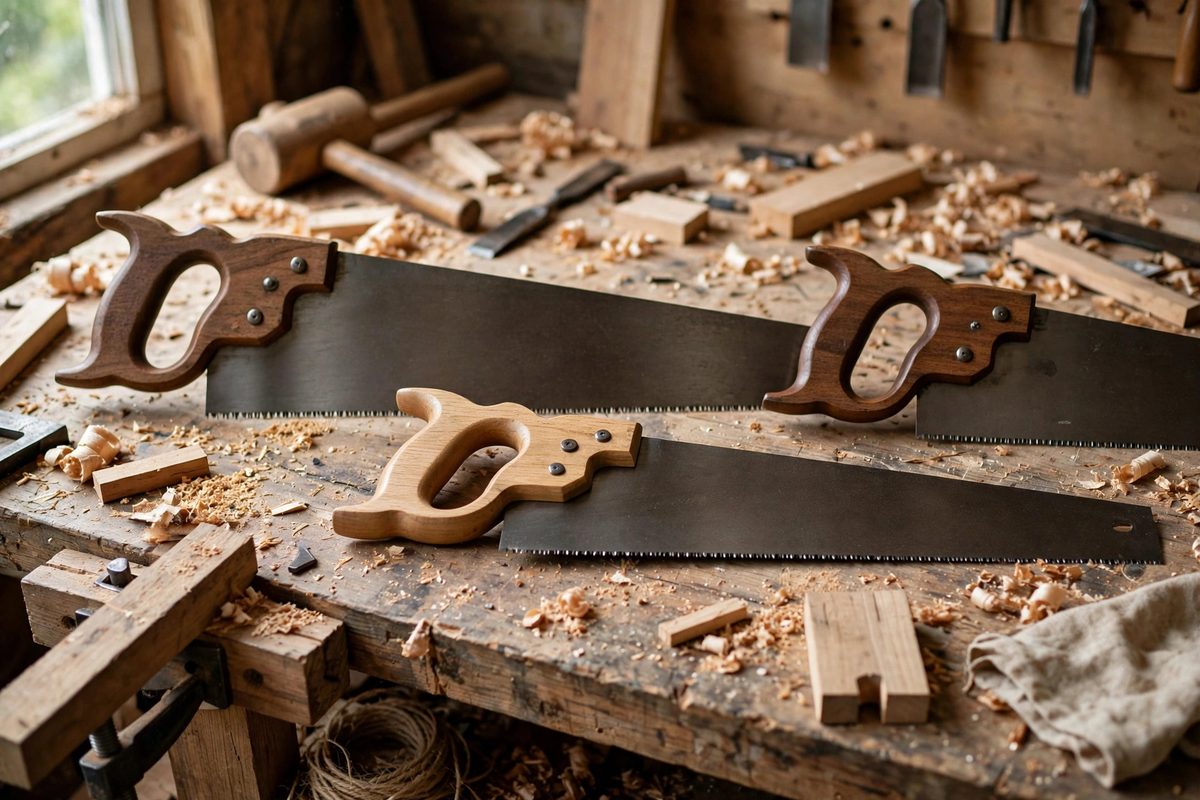
What the offset controls
When you push a saw, your hand applies force along some line, and the teeth resist along the cutting line. If those two lines are offset vertically or laterally, the push creates a torque that tries to rotate the blade. A handle positioned so the push line passes near the blade's center of resistance minimizes this torque, and the saw tracks straight with little steering effort from the wrist. Too much offset in the wrong direction and every stroke twists the blade, opening the kerf on one side, binding, and wandering off the line. The offset also affects comfort: a handle that aligns the push with the forearm's natural axis lets the larger arm muscles drive the cut, while a misaligned handle forces the wrist to both push and steer, which fatigues quickly and invites injury over long sessions.
Measuring the existing geometry
Start by establishing the blade's cutting line: the line along the tooth edge in the plane of the blade. Then locate the handle's force axis, approximated by the line through the grip where the hand's pressure concentrates, typically through the center of the grip area. Measure the perpendicular distance between these lines in the plane of the cut; this is the primary offset. Also note any lateral offset, where the handle sits to one side of the blade plane, common in some designs to clear knuckles. Record the handle angle as well, since a canted grip changes the effective force direction. These measurements, taken with calipers and a straightedge on the actual saw, give you the as-built geometry to evaluate or to replicate.
The torque balance calculation
The steering torque per stroke is approximately the push force times the offset distance, resisted by the user's wrist and by the blade's engagement in the kerf. For comfortable sawing, this torque should be small compared with what the wrist can supply without strain over hundreds of strokes. In practice, designers aim to place the handle's force axis within a modest distance of the tooth line, with the exact target depending on the saw's purpose: a coarse rip saw driven hard tolerates and needs a different geometry than a fine dovetail saw guided delicately. The calculation is not about hitting a universal number; it is about understanding the tradeoff. More offset gives knuckle clearance and a comfortable grip angle but demands more steering; less offset tracks effortlessly but may force an awkward wrist angle. The classic saw patterns represent centuries of settled compromises on exactly this tradeoff.
Designing or modifying a handle
When making or reshaping a handle, work from the tooth line outward. Establish where the hand should sit for a neutral wrist, then shape the handle so its force axis lands near the blade's resistance center. Mock up in a soft material first and test the feel with actual cutting strokes in scrap; the hand detects steering torque instantly, and a mockup that wants to wander needs its geometry revised, not its user trained. For restoration work, preserve the original geometry unless it is clearly damaged, since the original maker solved this problem deliberately. When modifying, change one variable at a time: adjust the grip position or the handle angle, test, then adjust again. Small changes in offset produce surprisingly large changes in feel, because the wrist is a sensitive torque sensor.
How offset interacts with tooth geometry
Handle offset does not act alone; it interacts with the blade's set, taper, and tooth sharpness. A blade with generous set tolerates more steering torque before binding, which can mask a poor handle offset, while a thin, fine-toothed blade with minimal set punishes every bit of sideways force. This interaction explains why a handle that feels fine on a coarse saw feels terrible on a fine one: the fine blade has no forgiveness to spare. Keep blades sharp, because a dull blade demands more push force, which multiplies the steering torque from any given offset. The system is multiplicative: sharp teeth plus good offset feels effortless, while dull teeth plus poor offset feels like the saw is broken.
Ergonomics beyond the offset
The offset calculation is the core, but the handle's shape, size, and material complete the ergonomics. Size the grip to the hand so the fingers wrap without strain; an oversized grip forces a weak open-hand push, an undersized one concentrates pressure painfully. Shape the handle to distribute pressure across the palm rather than focusing it on one ridge. Choose materials with a little warmth and texture; cold, slippery handles increase the grip force needed, which increases wrist load. And respect the saw's balance: the handle's weight and position affect how the saw feels at the start of the cut, before the teeth engage. A saw that is pleasant for the first hundred strokes and punishing for the next hundred has an ergonomic problem worth solving.
Handle offset is applied biomechanics: measure the distance between the hand's force line and the tooth line, understand the steering torque it creates, and shape the handle so the push drives the teeth straight. Mock up, test by feel, keep the teeth sharp, and size the grip to the hand. A saw with honest geometry disappears into the cut, leaving only the work.
Related Guides
- Offset Tote Handles for Reduced Wrist Strain on Saws: The tote handle of a handsaw, that closed grip your hand wraps around, looks like a simple thing, but its position relative to the blade determines
- Neutral Wrist Alignment on Pull Stroke Japanese Saws: Japanese pull saws cut on the pull stroke, which reverses the body mechanics that Western push-saw users have internalized: instead of driving the
- Center of Mass Balance in Hand Plane Grip Profiles: A hand plane's tote, the rear handle, is where the craftsman's hand meets the tool, and its profile determines comfort, control, and fatigue over a
- Wrist Supination Angles When Pushing Hand Planers: Push a hand plane for an hour and your wrist will file a complaint. The angle of the wrist during the push, specifically how much it supinates