
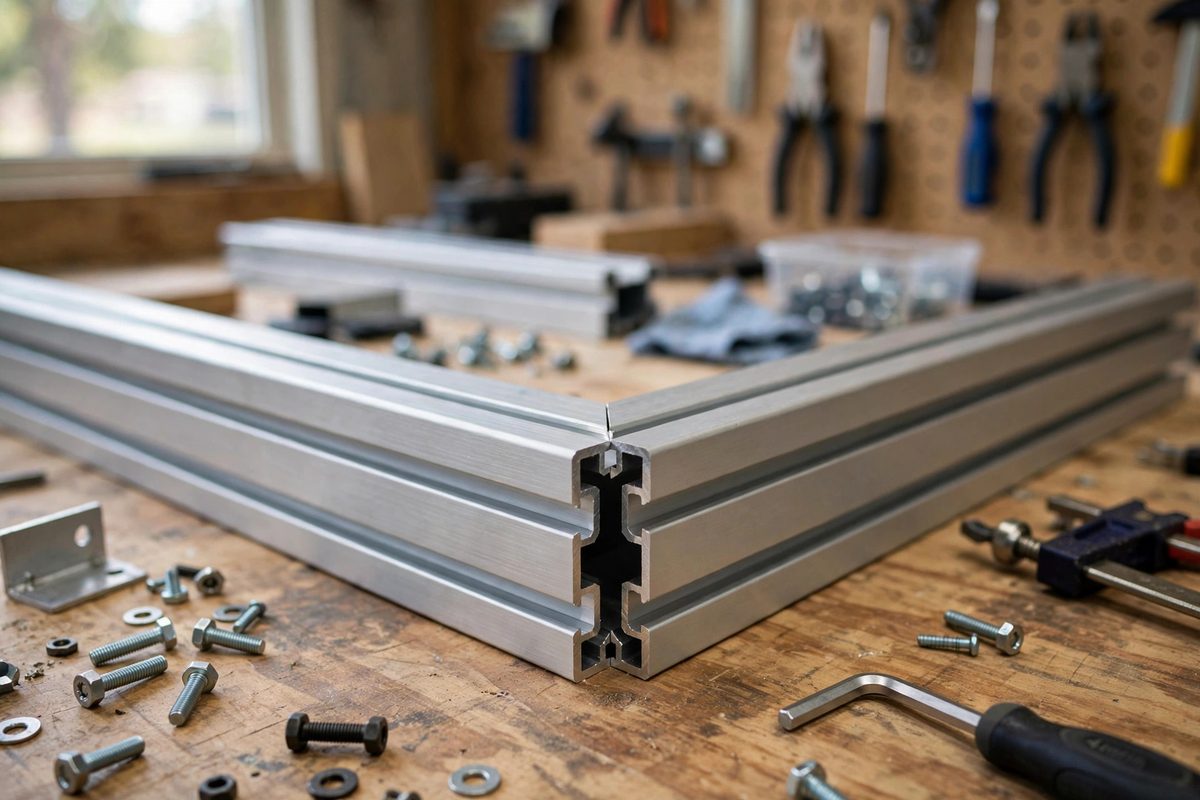
Aluminum extrusion rails, the T-slot building blocks of bench jigs and fixtures, join at corners to make frames. The mitered corner, two rails cut at 45 degrees meeting at 90, gives the cleanest look and the most compact joint, but mitering extrusion is trickier than mitering wood: the hollow profile, the T-slots, and the need for hidden fasteners all complicate the cut. Done right, mitered extrusion corners produce rigid, professional jig frames; done wrong, they produce wobbly joints with visible gaps. The technique is in the cutting accuracy and the fastening method.
Why Miter Instead of Butt-Joint
The alternatives to mitering are butt joints, one rail's end against the other's face, joined with corner brackets or gussets. Butt joints are simpler to cut, just square cuts, and brackets make them strong, but they have costs: external brackets intrude into the working envelope and snag workpieces, the joint shows an end-grain-like raw extrusion end, and the frame's outside dimensions grow by the bracket thickness. Mitered corners avoid all three: the joint is internal, the outside shows only clean miter lines, and hidden fasteners keep every face clear for T-slot accessories. For bench jigs where workpieces slide against the frame and accessories mount in the slots, those clear faces matter functionally, not just aesthetically. The price is cutting precision: a miter joint has no forgiveness, while a bracketed butt joint tolerates sloppy cuts.
Cutting Accurate Miters in Extrusion
Extrusion miters demand the same angular accuracy as fine woodworking, plus attention to the profile's quirks. Cut on a miter saw with a fine-toothed non-ferrous blade: coarse wood blades tear the thin walls and leave burrs that prevent the joint closing. Support the extrusion firmly on both sides of the cut; the hollow profile flexes under the blade, and flex during the cut produces a curved rather than flat miter face. Cut slightly proud and sneak up on the final dimension: extrusion is expensive, and a short rail cannot be stretched. Deburr thoroughly, inside the T-slots as well as the cut faces: a burr in the slot prevents fasteners seating, and a burr on the miter face holds the joint open. Check each miter against a reliable square before assembly; an error of half a degree, invisible on the saw, opens a visible gap at the joint's outer corner.
Hidden Fastening Methods
The miter's fasteners must hide inside the profile, and several methods serve. Miter connectors, specialized plates or blocks that fit into the T-slots of both rails and draw them together with set screws, are the purpose-made solution: they align the joint and clamp it, all invisibly. End-tap fastening, threading the extrusion's center bore and bolting through the mating rail's end, is strong but requires the miter faces to be drilled accurately, which is fiddly on the angled face. Corner cubes or internal brackets fit inside the profile at the corner, joining the rails without external hardware. Whichever method, the fastening must do two things: pull the miter faces tightly together, and resist the racking forces the jig will see in use. A connector that aligns beautifully but loosens under vibration produces a jig that drifts out of square, which defeats the purpose of the precision frame.
Achieving Rigid, Square Corners
Assembly order and verification produce the rigidity. Dry-fit the entire frame first, checking every corner's closure and the frame's overall squareness by measuring diagonals: equal diagonals mean square, regardless of what the individual corners look like. Tighten fasteners progressively, working around the frame rather than fully tightening one corner before the next; progressive tightening lets the frame settle into square instead of locking in stress. Verify squareness after final tightening, because the act of tightening can pull a frame out of the square it held dry. For jigs demanding lasting precision, consider adding a thin film of epoxy or retaining compound to the miter faces during final assembly: the adhesive makes the joint permanent and fills microscopic gaps, dramatically increasing rigidity. This sacrifices disassembly, so reserve it for jigs whose configuration is settled.
Designing Jigs Around Mitered Frames
Design the jig to exploit the mitered frame's strengths. Keep the T-slots accessible on the working faces: plan which slots carry fences, stops, and hold-downs before cutting, because a mitered corner consumes the slot ends at the joint. Size the extrusion profile to the jig's loads: light jigs suit small profiles, but a jig that takes routing or pounding forces needs the stiffness of larger extrusion, and no miter joint compensates for an undersized rail. Allow for the frame's own precision: a mitered extrusion frame is an excellent reference structure, often straighter and more stable than a wooden jig body, so use it as the datum for the jig's working surfaces. And document the fastener locations: a future modification is much easier when the hidden connectors' positions are recorded rather than discovered by disassembly.
Mitered extrusion corners reward precision cutting and thoughtful hidden fastening with jig frames that are rigid, square, and clear on every face. Cut accurately, deburr completely, fasten invisibly but strongly, verify square at every stage, and the frame becomes the reliable foundation the jig's accuracy builds on.
Related Guides
- Extrusion Profile Deflection Limits Under Spindle Load: Aluminum extrusion is the default construction set for machine frames: modular, straight, and easy to assemble. But a CNC gantry or a 3D printer
- T-Track Extrusion Rigidity Limits Under Lateral Loads: T-track is the backbone of modular jigs and fixtures: a slot in the bench or fence that accepts sliding bolts and hold-downs anywhere along its
- Standardized T-Track Spacing for Modular Jigs: T-track turns jigs from single-purpose contraptions into a modular system: stops, hold-downs, and fences slide, lock, and reposition along
- Standardized Miter Slot Detents for Swappable Sleds: Every table saw owner eventually builds a small fleet of sleds: a crosscut sled, a miter sled, a tapering jig, a box-joint sled. Each one rides in