
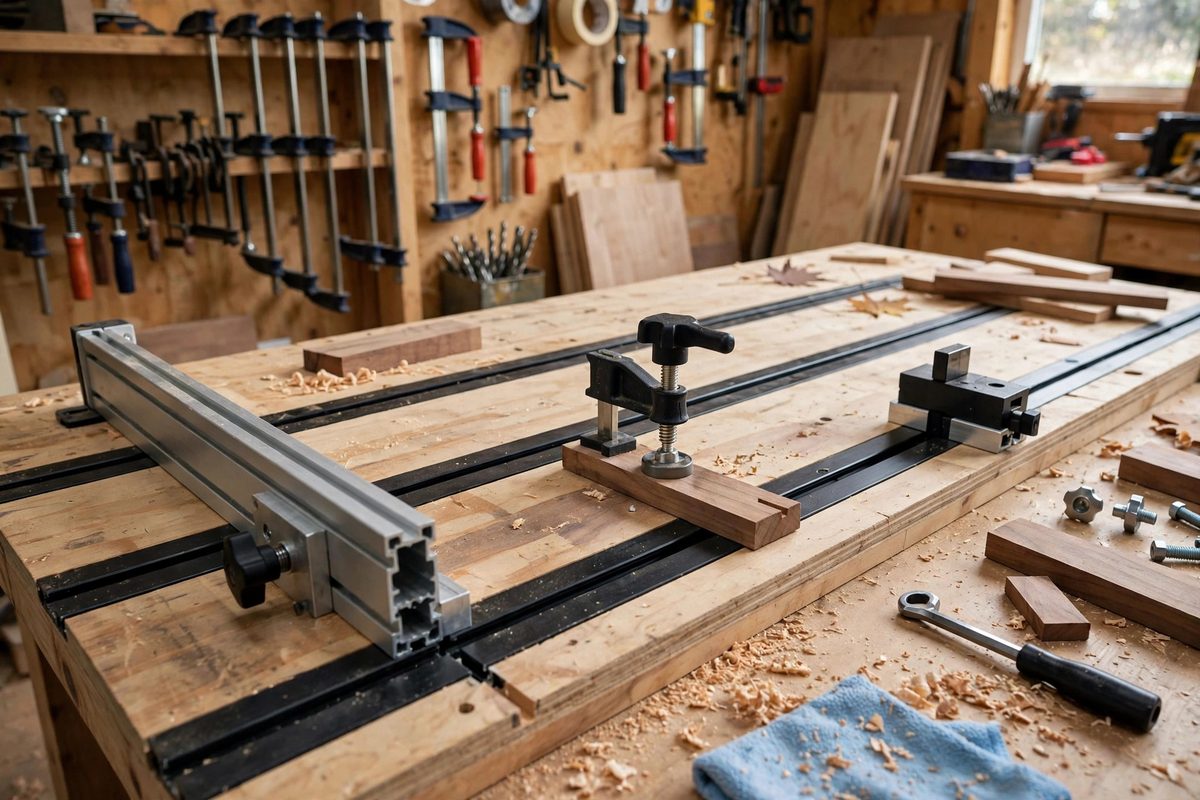
T-track turns jigs from single-purpose contraptions into a modular system: stops, hold-downs, and fences slide, lock, and reposition along standardized slots. But modularity only works if the track spacing is standardized across your jigs, so a stop built for the crosscut sled also fits the router table fence and the drill press table. Choosing and committing to a spacing standard is a small decision with large long-term payoff, and it is best made early, before you own a dozen incompatible jigs.
Why standardize spacing
Every jig with its own ad-hoc track layout is an island: accessories do not transfer, setups cannot be shared, and each new jig reinvents the mounting. A shop standard, one track profile and one spacing convention used everywhere, means every accessory fits every jig, setups move between stations in seconds, and new jigs get faster to build because the mounting question is already answered.
The standardization also compounds in skill: you learn exactly how your hold-downs behave in your track, what clamping force to expect, how stops register, and that knowledge transfers to every jig you own. Consistency is a force multiplier.
Choosing the track profile
Pick one T-track profile and buy it in quantity. The common profiles accept standard 1/4-inch or 5/16-inch T-bolts and hex bolts; verify that your chosen profile's slot dimensions match readily available hardware, not just the track manufacturer's proprietary bolts. Proprietary hardware locks you into one supplier; standard-dimension slots accept hardware-store bolts forever.
Consider the track's depth and mounting: tracks that mount in a dado with screws from below sit flush and stay put; surface-mounted tracks are easier to retrofit but stand proud. For a shop standard, the dado-mounted flush track is usually the right call for new jigs, with surface-mount reserved for retrofitting existing tables.
Setting the spacing standard
Choose spacing dimensions that serve your work and stick to them. A common convention spaces parallel tracks at fixed intervals, for example on a regular grid, so that fences, stops, and hold-down assemblies built to the standard drop onto any jig. Document the standard: track centerlines at defined distances from reference edges, so every new jig is laid out from the same datum.
Design accessories to the standard, not to individual jigs. A stop block should reference the track spacing, not the sled it was first built for; a hold-down should assume the standard slot position. This is the discipline that makes the system modular rather than merely track-equipped.
Installation accuracy
Tracks must be parallel to the reference edges and to each other within the tolerance your work demands. Rout the dadoes with a guide or on the table saw with careful setup; a track that wanders relative to the fence introduces error into every setup that uses it. Check parallelism with a dial indicator or a careful test-cut before fixing the track permanently.
Seat tracks fully and fasten securely along their length. A track that lifts at the ends under clamping load ruins repeatability; screws at close intervals into solid substrate prevent it. Keep the slots clean: sawdust packed in T-track is the slow death of smooth sliding, so blow out slots as shop routine. A quick blast with compressed air at the end of each session takes seconds and keeps every accessory gliding.
Growing the system
Build new jigs to the standard from the start, and retrofit the most-used old jigs when time allows. Each conversion increases the system's value; prioritize the jigs you set up most often. Keep a small stock of the standard track and hardware on hand so new jigs do not stall waiting for parts.
Review the standard annually. If you find yourself repeatedly wishing for a track where the standard does not put one, the standard may need an amendment, applied going forward, not a pile of exceptions. A standard with documented amendments stays a standard; a standard with undocumented exceptions becomes folklore.
Standardized T-track spacing turns a collection of jigs into a system: one profile, one spacing convention, accessories built to the standard, tracks installed true. The setup time saved on every job repays the planning many times over, and the shop starts to feel like the jigs were designed together, because they were.
Related Guides
- Standardized Miter Slot Detents for Swappable Sleds: Every table saw owner eventually builds a small fleet of sleds: a crosscut sled, a miter sled, a tapering jig, a box-joint sled. Each one rides in
- T-Track Extrusion Rigidity Limits Under Lateral Loads: T-track is the backbone of modular jigs and fixtures: a slot in the bench or fence that accepts sliding bolts and hold-downs anywhere along its
- Mitering Dual Extrusion Rail Corners for Bench Jigs: Aluminum extrusion rails, the T-slot building blocks of bench jigs and fixtures, join at corners to make frames. The mitered corner, two rails cut at
- Extrusion Profile Deflection Limits Under Spindle Load: Aluminum extrusion is the default construction set for machine frames: modular, straight, and easy to assemble. But a CNC gantry or a 3D printer