
Penelope canvas, with its paired warp and weft threads, is the workhorse ground for needlepoint, but it has a known weakness: under the tension of stitching, the whole grid can skew into a parallelogram. This diagonal warp skewing, sometimes called going off-grain, turns rectangles into rhombuses and makes finishing, especially blocking and mounting, a fight. It is preventable with the right setup and habits.
Why penelope skews
Penelope canvas is woven with threads in pairs, which makes counting easy but leaves the weave relatively open and mobile compared to a tight mono canvas. Every stitch you place pulls the canvas threads slightly in the direction of the stitch. Stitches that all lean the same way, like rows of continental tent stitch, apply thousands of tiny diagonal pulls in one direction, and the canvas slowly shears. The skew is cumulative and largely invisible while you work; it reveals itself when you unmount the piece and the edges no longer meet at right angles.
Frame it drum-tight from the start
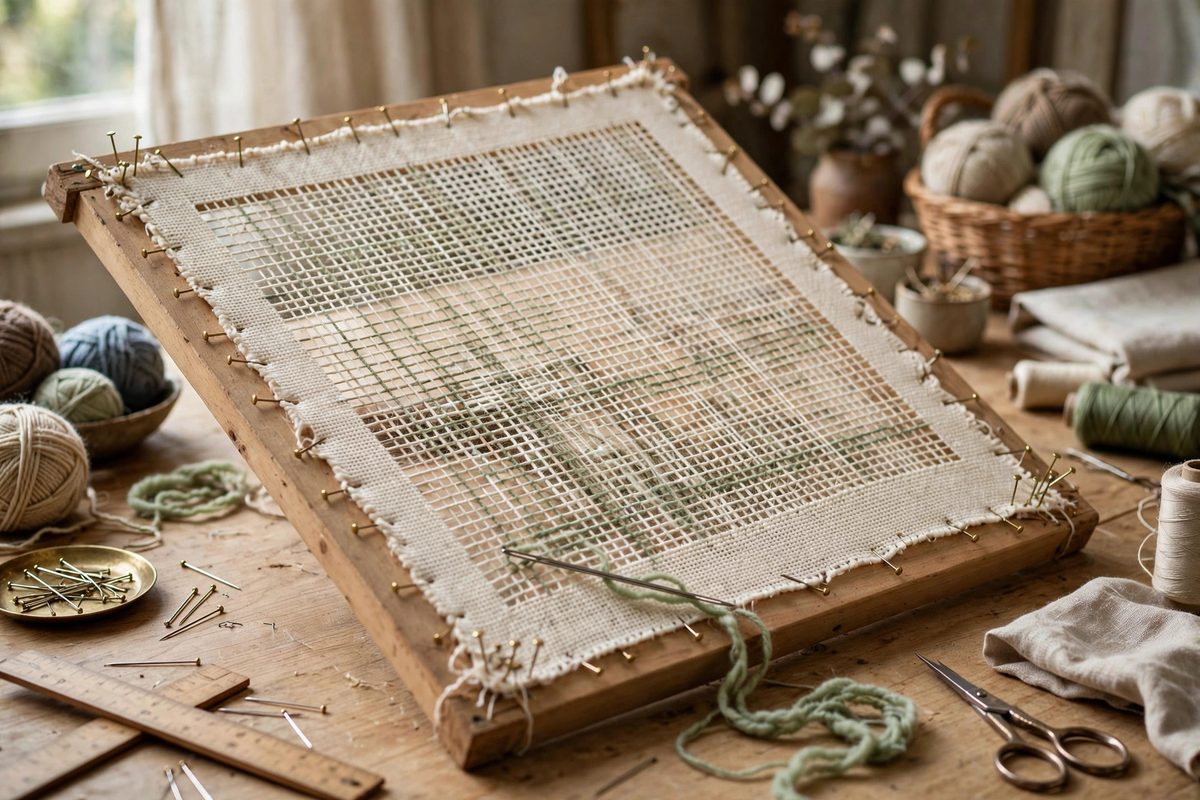
The single most effective prevention is a proper frame. Stitching in hand, letting the canvas flex and flop, guarantees some skew on any piece larger than a coaster. Mount the canvas on stretcher bars or a scroll frame and tension it until it rings when tapped. Tack or staple the canvas with its threads running true: sight along the warp threads and make sure they run parallel to the frame's edge before you fasten. A canvas mounted crooked will stitch crooked, and no amount of blocking fully corrects a piece that was skewed from the first stitch.
Stitch choices that fight skew
Stitch direction is the root cause, so stitch selection is the cure. Basketweave tent stitch, which alternates diagonal directions in a woven pattern, is famous precisely because it does not skew the canvas; the opposing pulls cancel out. If your design demands continental stitch throughout, compensate by working alternate rows or sections in the opposite slant where the design allows, or by stitching the piece in quadrants that balance each other. Decorative stitches with built-in directional variety skew less than uniform tent stitch. When a large background must be one stitch in one direction, that is exactly the piece to watch most closely.
Monitoring and correcting as you go
Check for skew periodically, not at the end. Lay a ruler along the canvas threads every few sessions and compare against the frame edges; if the threads are drifting, you will catch it while correction is easy. To correct early skew, adjust your stitching: add counter-directional stitches in the affected area, or simply switch the problem section to basketweave. Some stitchers rotate the frame 180 degrees halfway through a large background so the second half's pull opposes the first. Keep the canvas tension even across the frame; a loose corner lets that quadrant shear while the rest holds.
Blocking out residual skew
Even well-stitched pieces usually need blocking to finish square. Dampen the finished piece, pin it to a blocking board with the threads pulled true, and let it dry completely before unpinning. For penelope with significant skew, block in stages: pull it partway true, let it dry, then dampen and pull the rest. Forcing a badly skewed piece square in one session stresses the stitches and can distort the design. If a piece resists blocking, the skew was baked in by the stitching, and the lesson goes into the next project's frame setup.
Skew is not a mystery and not bad luck. Frame tight, balance your stitch directions, check your grain as you go, and the canvas stays square.
Related Guides
- Preventing Tramming Warp Skewing on Duo Canvas Mesh: Tramming, laying a thread along the canvas before stitching over it, gives needlepoint its smooth, padded coverage. But on duo canvas, with its
- Interlock Mono Canvas Mesh Distortion Under Tension: Needlepoint canvas is a grid, and the stitcher's contract with it is simple: the grid stays square, the stitches follow, and the finished piece
- Mono Canvas Mesh Distortion Under Continental Stitches: Mono canvas, the single-thread needlepoint ground with its open, even weave, is a pleasure to stitch on until you notice the finished piece is no
- Mono Canvas Weft Distortion Under Continental Stitches: Every needlepointer meets the same disappointment: a canvas that started square and true comes off the frame pulled into a parallelogram, the design