
Tramming, laying a thread along the canvas before stitching over it, gives needlepoint its smooth, padded coverage. But on duo canvas, with its paired mesh, tramming can pull the warps out of alignment, skewing the grid the whole piece depends on. Preventing that skew keeps the canvas true and the stitches even.
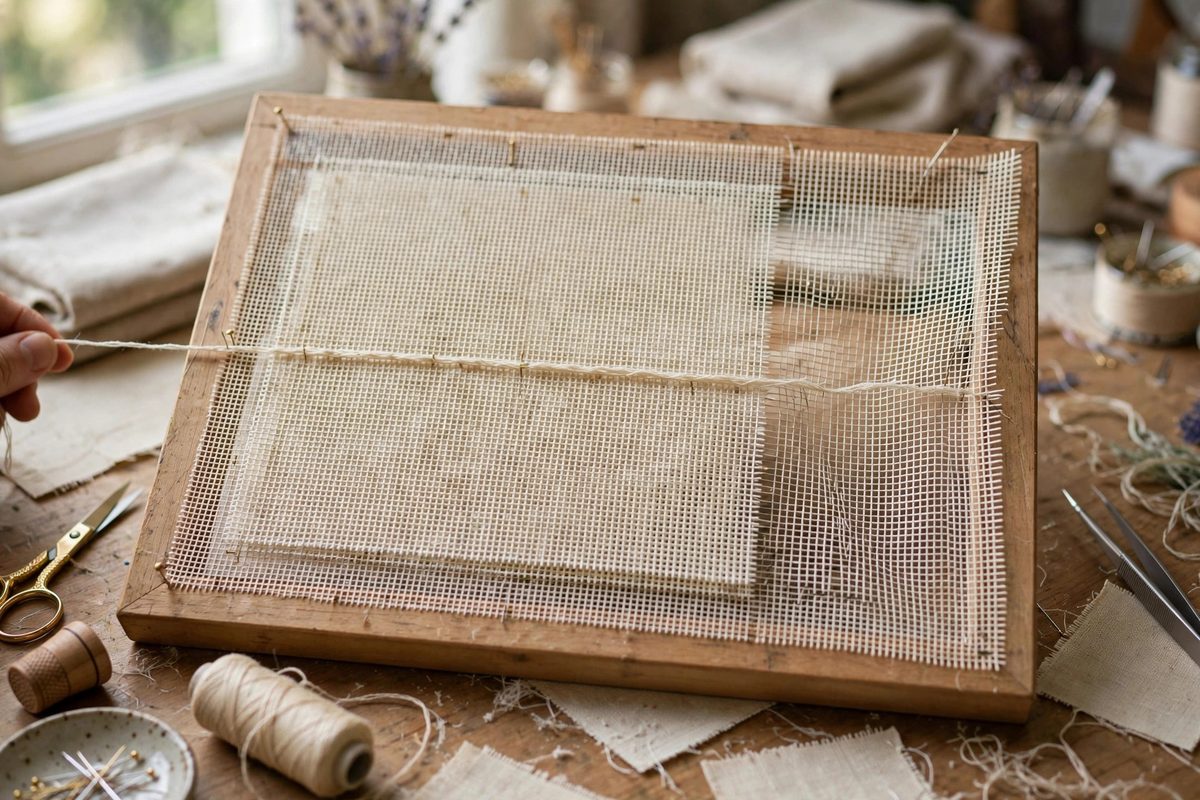
What warp skew looks like
Skewed warps show up as stitches that lean when they should stand straight, pattern lines that drift off the grid, and a canvas that no longer sits square. On duo canvas, where the mesh comes in pairs, the skew often appears as the pairs separating unevenly or the trammed thread riding to one side of its channel. The eye catches it as a general wrongness before identifying the cause. Once the warps have skewed significantly, correction is difficult; prevention is the strategy.
Why tramming causes skew
The trammed thread lies in the channel between warps, and if it is tensioned unevenly or laid off-center, it pushes the warps aside. Repeated passes in the same direction compound the push. Duo canvas is more vulnerable than single mesh because the paired threads can separate, giving the tram a wedge to drive between them. The skew is mechanical: a thread under tension, pressing sideways against warps, moves them. The fix is to remove the sideways pressure.
Laying the tram correctly
Lay the tramming thread in the center of its channel, not riding against one warp. Keep the tension moderate and consistent; a tram pulled drum-tight is a tram exerting maximum sideways force. Work the tram in the direction that follows the canvas's natural lay, and avoid dragging it across warps at an angle. For long tram runs, lay the thread in sections rather than one continuous pull, which distributes any tension unevenly instead of concentrating it. The tram should lie in the channel, not fight it.
Stitching over without distortion
The covering stitches lock the tram in place, and they can either correct or cement the skew. Stitch with even tension, and let the needle find the canvas holes rather than forcing it; forcing the needle between skewed warps pushes them further. If you notice the warps drifting as you stitch, stop and ease the tram before continuing. Stitching over a skewed tram just buries the problem under thread, where it will show in the finished piece as uneven coverage.
Blocking and trueing the canvas
Needlepoint canvas is blocked at the end, and blocking can correct mild skew. Dampen the piece, pin it square to the true grid, and let it dry; the warps relax back toward alignment. But blocking has limits: it corrects the canvas, not the stitches, and stitches worked over badly skewed warps will still look uneven after blocking. Treat blocking as the final trueing of a well-stitched piece, not as a rescue for a skewed one. The goal is a piece that barely needs blocking.
Choosing canvas and tram wisely
Some projects do not need tramming at all; a well-chosen stitch on the right mesh covers beautifully without it. When tramming is warranted, match the tram thread to the job: a smooth, even thread that lies flat, in a weight appropriate to the mesh. An oversized tram crowds the channel and guarantees skew. The simplest prevention is to tram only where the design benefits and to choose materials that cooperate with the canvas rather than fighting it.
Center the tram, tension it moderately, stitch without forcing, and block as a final trueing. The warps stay straight, the stitches sit even, and the duo canvas does what it was made to do.
Related Guides
- Preventing Diagonal Warp Skewing on Penelope Canvas: Penelope canvas, with its paired warp and weft threads, is the workhorse ground for needlepoint, but it has a known weakness: under the tension of
- Interlock Mono Canvas Mesh Distortion Under Tension: Needlepoint canvas is a grid, and the stitcher's contract with it is simple: the grid stays square, the stitches follow, and the finished piece
- Mono Canvas Mesh Distortion Under Continental Stitches: Mono canvas, the single-thread needlepoint ground with its open, even weave, is a pleasure to stitch on until you notice the finished piece is no
- Mono Canvas Weft Distortion Under Continental Stitches: Every needlepointer meets the same disappointment: a canvas that started square and true comes off the frame pulled into a parallelogram, the design