
Winding the warp onto the loom's back beam is the foundation of every weaving project, and the raddle is what keeps the warp threads evenly spaced during the winding. Miscalculate the raddle spacing and the warp goes on unevenly: some sections tight, some loose, and the weaving suffers from the first pick. The math is simple; skipping it is expensive.
What the raddle does
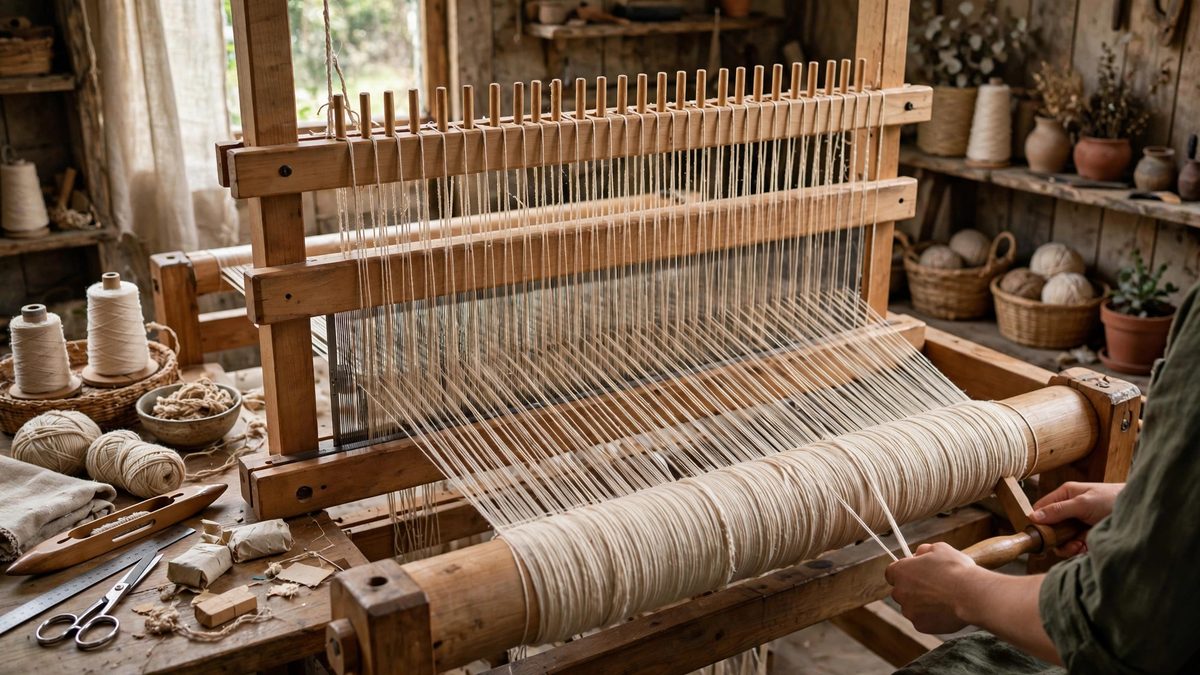
The raddle is a comb-like tool, mounted on the loom during beaming, that holds the warp threads at even intervals as they wind onto the beam. Without it, the threads drift sideways and pile up, creating thick and thin spots in the warp. Those irregularities become tension variations in the weaving, which become visible flaws in the cloth. The raddle's spacing, how many threads per inch it holds, must match the project's warp density, or the warp will need to be redistributed later, which defeats the purpose.
Calculating the spacing
The calculation starts with the project's ends per inch and the total warp width. Divide the total number of warp threads by the raddle's working width to get the required dents per inch, then set the raddle's dividers or choose the raddle accordingly. If the raddle's fixed spacing does not divide evenly into the warp, distribute the remainder across the width rather than bunching it at one end; a few extra threads spread over several feet are invisible, while a clump at the selvedge is not. Write the calculation down with the project notes; beaming is stressful enough without mental math.
Sectional versus plain beaming
In sectional beaming, the warp is wound in narrow sections, each the width of one raddle section, and the spacing calculation applies per section. In plain beaming, the full width winds at once and the raddle spans the whole warp. Sectional beaming gives more control over tension and is more forgiving of spacing errors, since each section is small; plain beaming is faster but demands the spacing be right across the full width. Choose the method that matches the project's demands and your patience.
Tension during winding
Even spacing means nothing without even tension. The warp threads must wind onto the beam under consistent, moderate tension: too loose and the warp shifts on the beam, too tight and it stretches or the beam bows. Maintain tension with a consistent pull or a tensioning device, and wind slowly enough to keep control. One person cranking while another guides the warp is the traditional arrangement, and it works because beaming is genuinely a two-person job at any real width.
Checking the wound warp
After beaming, check the warp before threading. Sight along the beam: the warp should lie in even layers with no ridges or valleys. Press a hand across the width; the tension should feel uniform. If one section feels looser, it can sometimes be corrected by re-winding that section, but a badly beamed warp is often faster to redo than to fix. The honesty to re-beam a bad warp is a weaving skill in itself, and it pays off in every pick that follows.
Records for repeat projects
Record the raddle spacing, the beaming method, and any adjustments with each project. Warps get re-beamed, projects get repeated, and the notes turn a solved problem into a permanent solution. A weaving notebook with the beaming details is worth more than a perfect memory, because beaming happens infrequently enough that the details fade between projects.
Calculate the spacing from the project's density, distribute evenly, wind under consistent tension, and check the beam before threading. The weaving that follows will be as even as the warp it starts from.
Related Guides
- Warp Beam Flange Friction on Large Four-Shaft Looms: On a large four-shaft loom, the warp beam holds hundreds or thousands of warp threads under tension, and the flanges, the discs at each end of the
- Batten Tap Dynamics for Uniform Weft Sett Spacing: The weaver's batten, the swinging beater that packs each weft pick into place, is the metronome of the cloth: every tap sets the weft's spacing, and
- Warp Tension Parity on Rigid Heddle Loom Apron Bars: A rigid heddle loom is beautifully simple: warp threads run from the back apron bar, through the heddle, to the front apron bar, and the whole system
- Beater Bar Angle Consistency on Floor Looms: The beater bar, the swinging frame that carries the reed, is the weaver's metronome: every pick of weft gets pressed into place by its beat. But the