
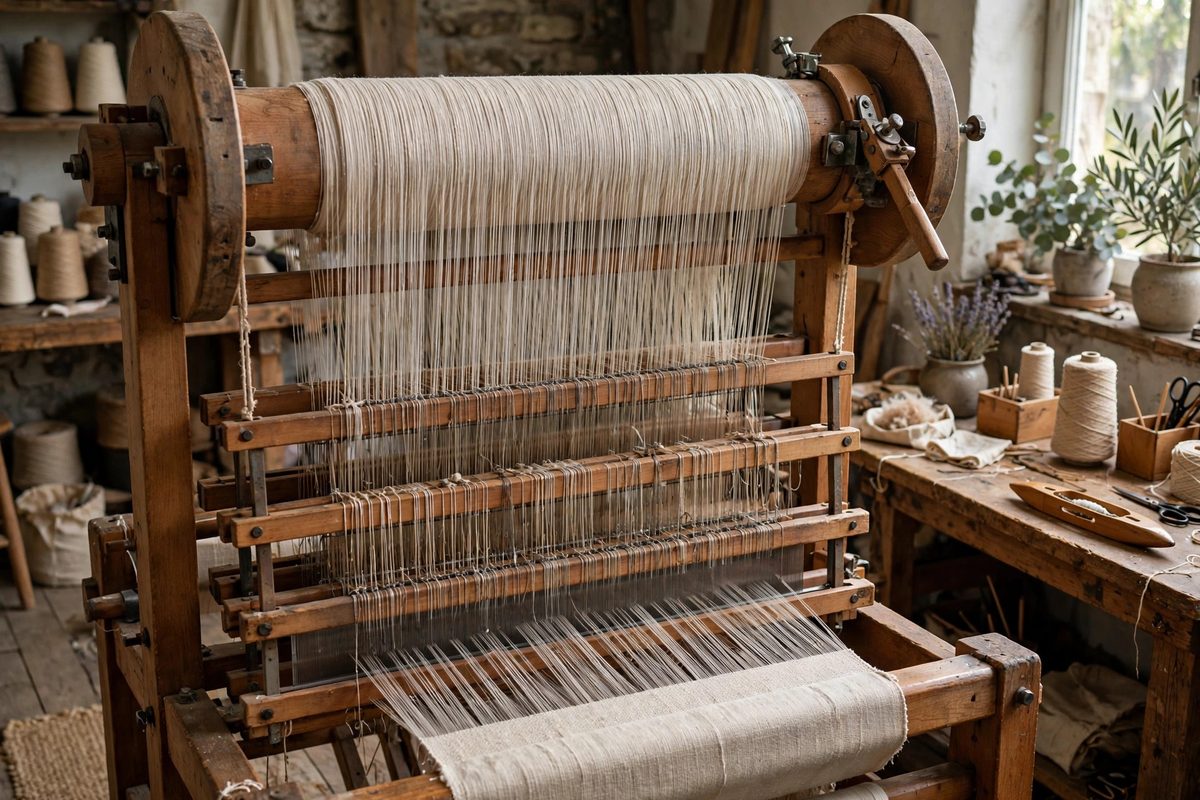
On a large four-shaft loom, the warp beam holds hundreds or thousands of warp threads under tension, and the flanges, the discs at each end of the beam, keep that warp from sliding off the sides. But the flanges do more than contain: as the beam rotates during weaving, friction at the flanges affects warp tension, and on wide warps that friction becomes a significant, often troublesome, variable. Understanding flange friction is key to even tension across the full width of a large warp.
Where Flange Friction Comes From
As warp winds onto the beam, the outermost threads press against the flanges, and as the beam turns, those threads drag across the flange faces. The wider the warp and the higher the winding tension, the greater the contact pressure and the greater the friction. Additionally, the warp package itself can shift slightly sideways during weaving, pressing the whole mass of threads against one flange: this is especially common if the warp was not wound perfectly centered or if the loom vibrates. The friction is not constant: it varies with beam diameter (a full beam has different geometry than a nearly empty one), with humidity (which changes thread-to-flange grip), and with the weaver's own tension adjustments.
How Flange Friction Shows Up in the Cloth
The symptom is uneven tension across the warp width: the edge threads, dragging on the flanges, run tighter than the center threads, or sometimes looser if the friction is grabbing and releasing stick-slip fashion. In the woven cloth this appears as edges that draw in more than the center, selvedges that look different from the body, or a subtle widthwise tension gradient that shows up as uneven take-up. Because the effect changes as the beam empties, a warp that wove beautifully at the start can develop edge problems halfway through: the weaver blames the threading or the sett, but the beam diameter changed, and with it the flange friction geometry. Diagnosing this correctly saves hours of misdirected troubleshooting.
Flange Design and Condition
The flanges themselves matter. Smooth, true flanges with no warping or rough spots minimize friction: inspect them for damage, because a dented or rough flange grabs threads aggressively. The flange faces should be perpendicular to the beam axis: a flange that tilts inward pinches the warp edge constantly. Some weavers apply a smooth, low-friction treatment to flange faces, or use flange liners, to reduce drag: anything that lets the edge threads slide rather than grab helps. And the beam must rotate freely in its bearings: a stiff beam forces the weaver to use higher warp tension to pull the warp forward, which increases the flange contact pressure and compounds the friction problem.
Winding the Warp to Minimize Problems
Many flange friction issues are created at winding time. Wind the warp centered on the beam with even tension across the width: an off-center warp rides against one flange from the first pick. Keep the warp width appropriate to the beam: a warp wound right out to the flanges maximizes edge contact, while leaving a modest margin reduces it. Wind with consistent, moderate tension: excessively tight winding increases the radial pressure that drives threads into the flanges. Use a consistent cross and even distribution: lumps and thin spots in the wound package create pressure variations that translate into friction variations. Good winding is preventive maintenance for the entire warp.
Managing Friction During Weaving
Once weaving, manage what winding left you. Check edge tension regularly by feel: the edge threads should feel like the center threads, not tighter. If the edges run tight, try reducing overall warp tension slightly: less tension means less flange contact pressure. Advance the warp in small, frequent increments rather than large occasional ones: small advances disturb the flange contact less. Some weavers place smooth guides or lease sticks near the flanges to keep the edge threads from pressing hard against the flange faces. And keep the beam brake adjusted properly: the brake sets the baseline warp tension, and an over-tight brake amplifies every friction effect downstream.
When Flanges Are Not the Problem
Not every edge tension issue is flange friction: check the usual suspects too. Uneven reed denting, a misaligned breast beam, inconsistent selvedge technique, and threading errors all produce edge symptoms. The diagnostic clue for flange friction is its correlation with beam state: if the problem appeared or changed as the beam emptied, or if it affects both edges symmetrically in a way that tracks beam rotation, suspect the flanges. Isolate variables methodically: the loom has many adjustments, and changing several at once teaches nothing.
Flange friction is a quiet variable in large warps: invisible until it distorts the cloth, predictable once understood. Wind centered and even, keep flanges smooth and true, manage tension thoughtfully, and diagnose by correlating symptoms with beam state. Even edges start at the beam.
Related Guides
- Beater Bar Angle Consistency on Floor Looms: The beater bar, the swinging frame that carries the reed, is the weaver's metronome: every pick of weft gets pressed into place by its beat. But the
- Raddle Spacing Calculations for Even Beam Spooling: Winding the warp onto the loom's back beam is the foundation of every weaving project, and the raddle is what keeps the warp threads evenly spaced
- Warp Tension Parity on Rigid Heddle Loom Apron Bars: A rigid heddle loom is beautifully simple: warp threads run from the back apron bar, through the heddle, to the front apron bar, and the whole system
- Batten Tap Dynamics for Uniform Weft Sett Spacing: The weaver's batten, the swinging beater that packs each weft pick into place, is the metronome of the cloth: every tap sets the weft's spacing, and