
A bodysuit is the most demanding garment most cosplayers will ever sew: it must stretch in every direction, recover instantly, survive lunges and lifts, and look smooth doing it. Standard seams fail in bodysuits because standard thread does not stretch; the fabric elongates, the thread does not, and the seam pops at the worst moment. Reinforced spandex seam stitching solves this by matching the seam's stretch to the fabric's stretch and reinforcing the points where stress concentrates. The techniques are specific, but they are learnable on a practice swatch before the real suit is cut.
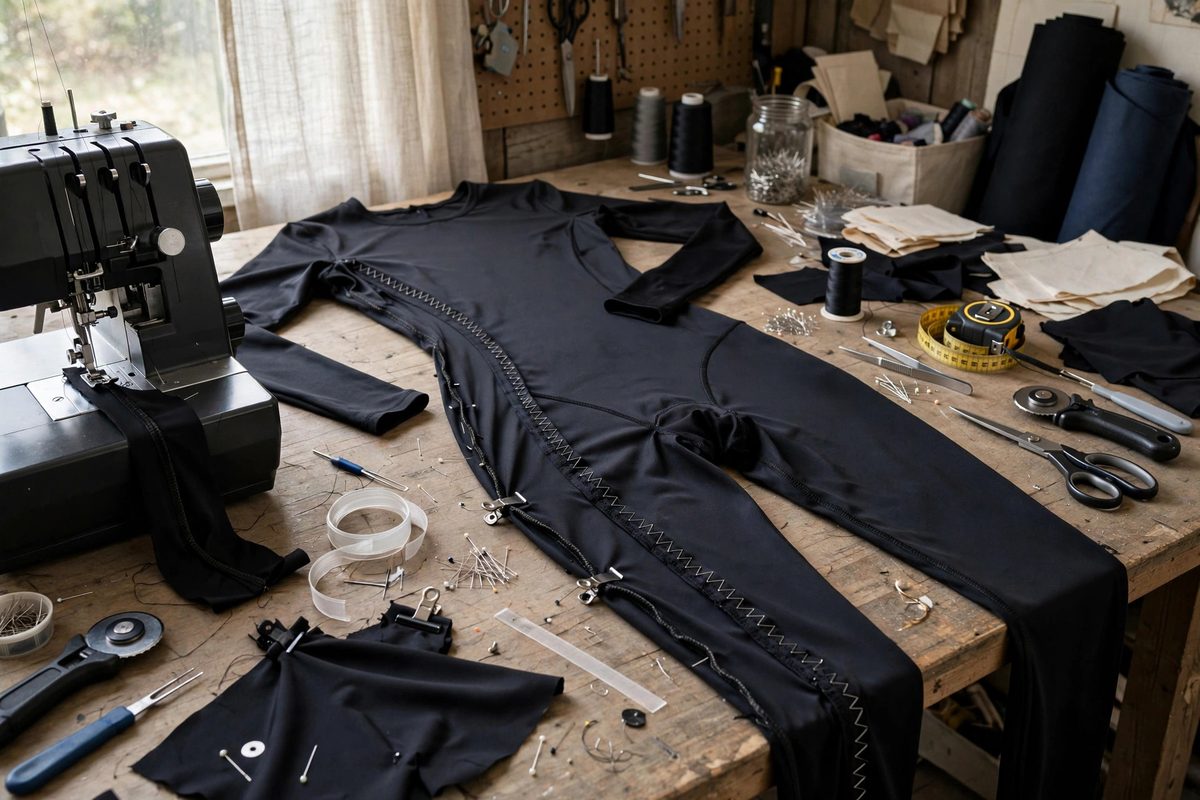
Why seams pop and how to prevent it
A seam fails when the thread reaches its breaking extension before the fabric reaches its working extension. Woven garments never test this because woven fabric barely stretches; a bodysuit tests it with every movement. The fix has two parts. First, use stitches that stretch: a narrow zigzag, a lightning-bolt stretch stitch, or a serger's overlock, all of which give the thread room to elongate with the fabric. Second, use thread with some give: woolly nylon in the serger loopers, or a quality polyester thread that has a little natural elasticity, rather than brittle cotton. The seam should stretch to nearly the fabric's full extension without the thread going taut. Test every seam recipe on a doubled scrap of your actual spandex, stretching the sample hard; if stitches break in the test, they will break in the suit, and it is far better to learn that on a scrap.
Machine setup for spandex
Spandex punishes poor machine setup visibly: skipped stitches, wavy seams, and chewed fabric. Use a stretch or ballpoint needle in a size suited to the fabric weight; the rounded point slips between the knit loops instead of piercing them, which prevents the tiny holes that become runs. A walking foot or even-feed foot keeps the stretchy layers moving together instead of letting the bottom layer feed ahead. Reduce presser foot pressure if your machine allows it, since heavy pressure stretches the fabric as it sews, baking waviness into the seam. Lengthen the stitch slightly from the default; very short stitches perforate spandex like a postage stamp. And sew with the fabric relaxed, never stretched, unless you are deliberately adding elastic; stretching while sewing builds in tension that puckers the moment you let go.
Reinforcing the stress points
Certain seams in a bodysuit carry far more load than others: the crotch curve, the underarm, the center back where a zipper goes in, and any point where straps or attachments anchor. These get reinforcement. Sew the structural seam, then sew a second row of stitching just inside the seam allowance, which distributes stress across two thread lines instead of one. At curve apices, the crotch and underarm, add a small patch of the same spandex or of power mesh on the inside, stitched into the seam, to spread the load into surrounding fabric. For zipper installations, stabilize the opening first with fusible knit interfacing so the teeth have something stable to anchor to; a zipper sewn directly into unstabilized spandex waves and eventually tears out. Bar-tack or backstitch every seam start and finish, because an unsecured thread end in a stretch seam works loose with shocking speed.
Closures and edges
Bodysuits need to get on and off, which means closures, and closures in stretch garments need planning. A back zipper is standard: use an invisible or standard coil zipper long enough to clear the hips, installed over stabilized tape. Test the zipper's full travel before finalizing; a zipper that stops an inch short turns dressing into a wrestling match. Leg openings and necklines get finished with elastic or with bands of the same spandex folded and stitched with a stretch stitch; a coverstitch machine gives the professional twin-needle finish, but a zigzag or twin needle on a regular machine works. Keep edge finishes snug but not tight: elastic that digs in will be cut out or abandoned, defeating its purpose.
Fitting and the muslin habit
Spandex forgives some fitting sins through stretch, but a bodysuit still needs to fit. Make a test version in cheap spandex first, mark the adjustments on your body, and transfer them to the pattern; an hour of muslin work saves a ruined cut of expensive printed spandex. Pay attention to vertical measurements especially: a bodysuit that is too short in the torso pulls the crotch uncomfortably and stresses every horizontal seam, while one with enough length hangs correctly and lets the seams rest. Remember that the suit will grow slightly with wear as the spandex relaxes; fit it snug but not strained when new. A well-fitted, well-reinforced bodysuit moves with the wearer and survives the convention; a poorly sewn one announces its failures publicly.
Stretch stitches, stretch-compatible thread, doubled reinforcement at the stress points, and a muslin first. Sew the suit like it will be doing action poses, because it will.
Related Guides
- Twin Needle Tension Calibration on High-Spandex Knits: Twin needle hems give cosplay bodysuits and stretch garments that clean, professional double row of stitching, but high-spandex knits punish bad
- Differential Feed Calibration for Four-Way Spandex: Four-way spandex stretches in every direction, which is why it makes perfect bodysuits and terrible seams when the feed is wrong. A serger's
- Differential Feed Settings for Four Way Stretch: Four-way stretch fabrics, the spandex blends behind bodysuits, leggings, and fitted armor undersuits, defeat ordinary sewing machine settings: the
- Differential Feed Tension on Double Brushed Poly Knits: Double brushed poly knits, the buttery fabric behind countless cosplay bodysuits and leggings, stretch in every direction and punish sloppy feeding