
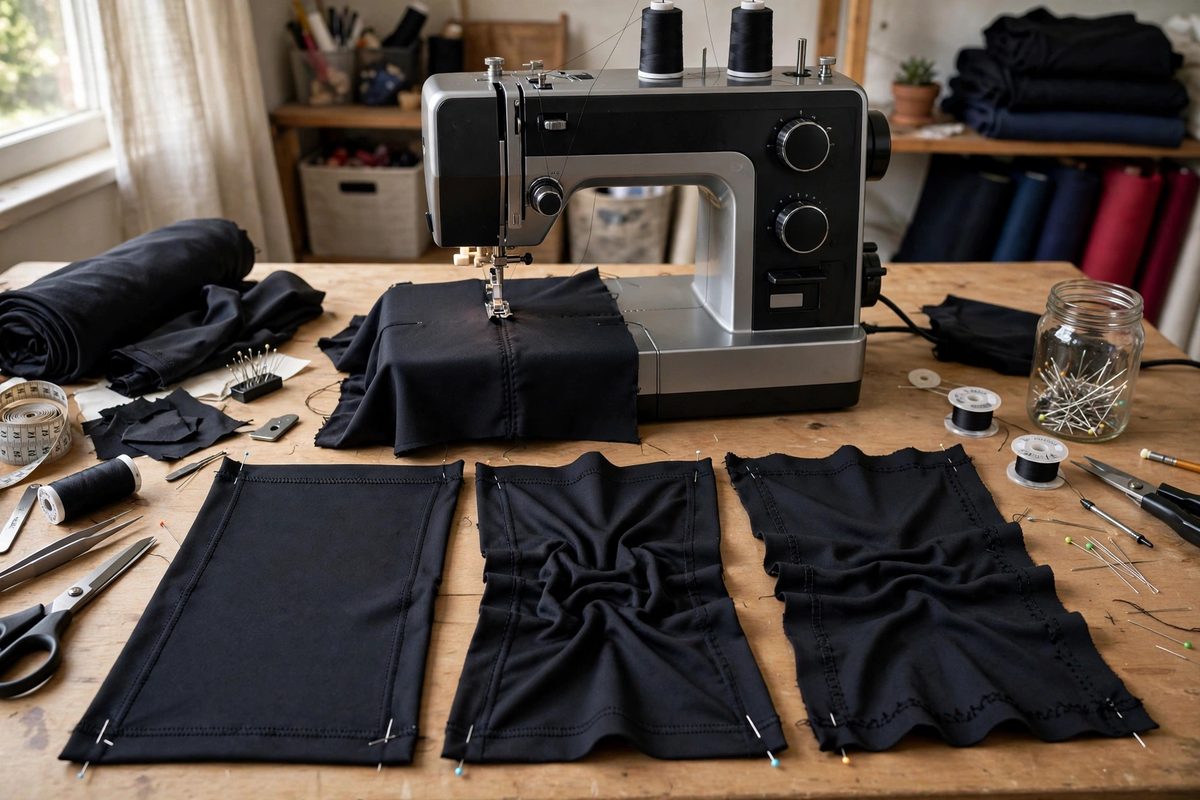
Twin needle hems give cosplay bodysuits and stretch garments that clean, professional double row of stitching, but high-spandex knits punish bad tension calibration with tunneling, skipped stitches, and wavy hems. A twin needle is really two independent needle threads sharing one bobbin thread, which means the tension balance is more delicate than a single needle setup. Calibrating it methodically saves yards of ruined fabric.
Why High-Spandex Fabric Fights the Twin Needle
Fabrics with high spandex content, like dance knits and swim fabrics, stretch under the presser foot and then snap back after the stitch forms. The twin needle lays down two parallel rows, and each row must have enough thread to accommodate the fabric's recovery without puckering. If the needle tension is too tight, the threads pull the fabric into a ridge between the two rows, the classic tunneling defect. If tension is too loose, the stitches loop on the underside and snag. The bobbin thread is the shared anchor for both needle threads, so its tension effectively serves two masters; a small bobbin adjustment has roughly double the visible effect compared to single-needle sewing. Test on scraps cut from the actual garment fabric, because spandex percentage and knit structure change everything.
Setting Up Before You Touch the Dials
Start with the mechanical basics. Use stretch or ballpoint twin needles in the right width for the fabric weight, and a fresh needle; a slightly bent or burred twin needle skips stitches on one side only, which looks exactly like a tension problem but is not. Thread both needles following the machine's twin-needle path exactly, keeping the two threads separated on their guides and discs so they do not twist around each other. Use a walking foot if the machine struggles to feed both layers evenly, and lengthen the stitch slightly, since short stitches on stretch fabric invite puckering. Wind a fresh bobbin and seat it properly. Only after all of this is correct should you adjust tension, because calibrating around a mechanical fault just moves the problem.
Calibrating Needle Tension Step by Step
Sew a test strip at the machine's default tension and examine both sides. Tunneling between the rows means needle tension is too tight, so reduce it in small increments and test again. Loops on the underside mean tension is too loose, so increase it. The goal is a hem that lies flat when the fabric is relaxed, with both stitch rows even and the bobbin thread just barely visible in the center of the zigzag-like interlock on the underside. Change one variable at a time and keep the test strips, labeled with the settings, so you can compare objectively. Many machines need the needle tension noticeably lower than the single-needle setting for the same fabric; that is normal, not a sign of a broken machine. Write down the final numbers for the fabric, because you will want them again.
Stabilizing the Hem Area
Tension calibration goes much easier when the fabric cannot distort under the foot. A strip of wash-away stabilizer or lightweight fusible knit interfacing along the hem line keeps high-spandex fabric from stretching as it feeds, and the stitches form on a stable base. This is especially valuable on curved hems like necklines and leg openings, where the fabric wants to grow as you sew. Another trick is to reduce presser foot pressure if the machine allows it, letting the feed dogs move the fabric without compressing it. Some sewists also switch to woolly nylon in the bobbin for extra forgiveness; the textured thread fills the interlock and hides minor tension imperfections while adding stretch to the seam itself.
Pressing and Finishing the Hem
Pressing sets the stitches and relaxes residual distortion. Use a press cloth and steam, and press from the wrong side so the needle threads are not flattened into a shiny line. For a bodysuit hem that must stretch over hips or shoulders, test the finished hem by stretching it to its wearing extension; the stitches should give without popping. If threads snap, the tension is still too tight or the stitch length too short. Trim seam allowances neatly and consider a narrow zigzag overcast on raw edges before hemming, since high-spandex knits curl and fray at the cut edge. A well-calibrated twin needle hem should survive repeated stretching, which is the whole point of sewing the garment in a stretch fabric.
Calibrate on scraps, stabilize the hem, adjust needle tension down until the tunneling disappears, and verify by stretching the finished seam. The twin needle is unforgiving of guesswork but completely reliable once the numbers are dialed in for the fabric.
Related Guides
- Differential Feed Calibration for Four-Way Spandex: Four-way spandex stretches in every direction, which is why it makes perfect bodysuits and terrible seams when the feed is wrong. A serger's
- Differential Feed Tension on Double Brushed Poly Knits: Double brushed poly knits, the buttery fabric behind countless cosplay bodysuits and leggings, stretch in every direction and punish sloppy feeding
- Reinforced Spandex Seam Stitching for Bodysuits: A bodysuit is the most demanding garment most cosplayers will ever sew: it must stretch in every direction, recover instantly, survive lunges and
- Differential Feed Settings for Four Way Stretch: Four-way stretch fabrics, the spandex blends behind bodysuits, leggings, and fitted armor undersuits, defeat ordinary sewing machine settings: the