
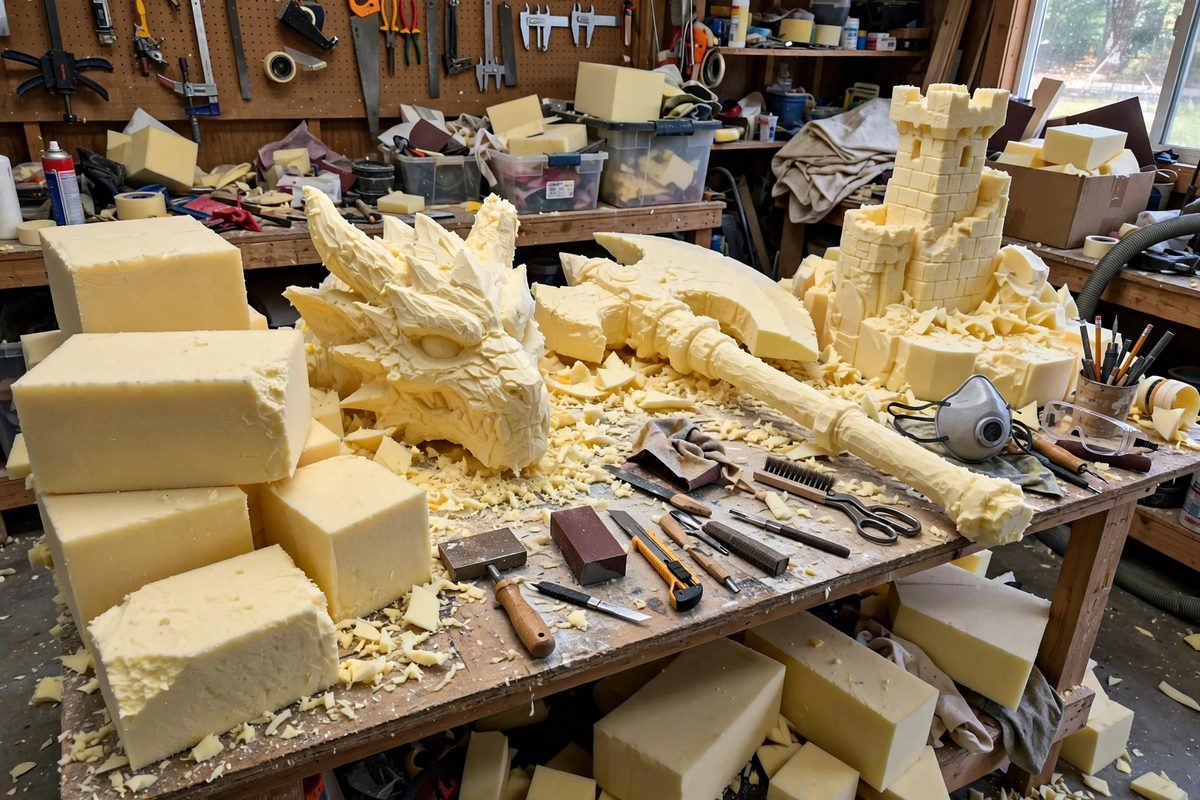
Some cosplay props are too large, too sculptural, or too organically shaped for EVA foam sheets: oversized weapons, creature heads, architectural set pieces. Rigid polyurethane foam, the dense carving foam sold in blocks and sheets, is the material for these. It carves like soft wood, holds fine detail, weighs almost nothing, and takes a hard shell that paints beautifully. Working it is closer to sculpture than to craft foam construction, and the techniques reward a different set of habits.
Why rigid foam for large props
The defining virtue of rigid polyurethane foam is its strength-to-weight ratio. A prop carved from solid foam can be several feet long and still weigh less than a comparable hollow build, which matters enormously for anything worn or carried at a convention all day. The foam's fine, uniform cell structure carves cleanly without the tearing that plagues softer foams, so rasps, knives, and rotary tools leave crisp surfaces that need minimal filling. Unlike expanding spray foam, carving foam has consistent density throughout, so it shapes predictably and does not hide voids that collapse mid-carve. For props that need to survive handling, transport, and the occasional bump, the foam core plus a hard shell is lighter and tougher than solid wood and more dimensionally interesting than flat-built foam.
Carving: from block to shape
Start by transferring your design to the block: draw front and side profiles on the foam and cut away the waste with a saw or hot wire to establish the rough form. Then refine with rasps, Surform tools, and knives, working from coarse to fine the way a woodcarver does. A rotary tool with burr bits handles concave areas and detail that hand tools cannot reach. Work symmetrically on paired features, checking both sides frequently, because foam removes fast and it is easy to carve past a line. Leave the surface slightly proud of your final dimension; the hard shell and filler you apply later will add thickness, and it is far easier to remove foam now than to add it back. For deep undercuts or complex assemblies, carve in sections and join them; a large prop built from well-fitted sections is stronger and easier to handle than one heroic single block.
Joining and internal structure
Large foam props usually need an internal armature: a core of PVC pipe, wooden dowels, or aluminum rod that carries the structural loads while the foam provides the shape. Plan the armature before carving, carving channels for it as you shape the sections. Join foam sections with polyurethane glue or epoxy, which bond the foam chemically rather than just sticking to the surface; pin the joints with dowels or skewers while the glue cures for alignment. Fill seams and imperfections with a lightweight filler, epoxy-based fillers made for foam work best, and sand the whole prop to a uniform surface. The goal at this stage is a clean, solid foam sculpture with no visible joints, ready for its shell.
The hard shell: sealing and strengthening
Bare foam dents, and paint sinks into its pores, so every foam prop gets a hard shell. The standard approach is several coats of epoxy resin, sometimes with a layer of fiberglass cloth on high-wear areas, which creates a tough, sandable skin a millimeter or two thick. Brush the epoxy on in thin coats, letting each tack up before the next, and sand between coats for a smooth finish. Alternatives include brush-on polyurethane coatings and purpose-made foam hard-coats; whatever you choose, it must be compatible with polyurethane foam, since some solvents and polyesters attack it. Test compatibility on scrap first: a coating that melts your prop is a lesson you only need once. The shell is also what makes the prop survive a convention: it resists dings, takes paint evenly, and gives the piece a satisfying solid feel.
Dust, fumes, and shop safety
Foam work generates hazards that the material's friendly appearance conceals. Sanding and carving rigid polyurethane foam produces fine dust that irritates lungs, eyes, and skin: wear a respirator rated for fine dust, not just a paper mask, plus eye protection and long sleeves. Epoxy resins and their hardeners are sensitizers; use them with ventilation and nitrile gloves, because epoxy sensitivity, once developed, is permanent and career-altering for a prop builder. Hot-wire cutting produces fumes that need extraction or outdoor work. None of this should scare you off the material; it should just normalize the protective gear as part of the process, as routine as the rasp.
Carve the shape, armature the structure, join it solid, shell it hard, and protect your lungs throughout. Rigid foam turns ambitious prop designs from impossible into merely laborious, which is the best deal in cosplay building.
Related Guides
- Make a Safe EVA Foam Cosplay Sword: Craft Convention-Safe Props! EVA foam swords are the standard for cosplay and LARPing because they're lightweight, safe, durable, and look amazing
- Fiberglass Core Tension in Oversized Fantasy Glaives: An oversized fantasy glaive, with a long haft and a broad blade head, puts serious leverage on its core. Fiberglass rods and tubes are the standard
- Balancing Counterweights in Large Foam Swords: A great foam sword feels alive in the hand: it swings fast, stops where you aim it, and does not tire your wrist during a long convention day. That
- Internal Aluminum Spine Rigging for Giant Anime Props: A giant anime prop, a sword taller than its wielder, a scythe with a blade like a sail, looks like foam and paint on the outside. Inside, it needs a
- Aluminum Spine Bracing for Massive Anime Prop Swords: Anime swords are drawn without regard for physics: six feet long, a foot wide, wielded one-handed by characters who never visit the gym. Building one