
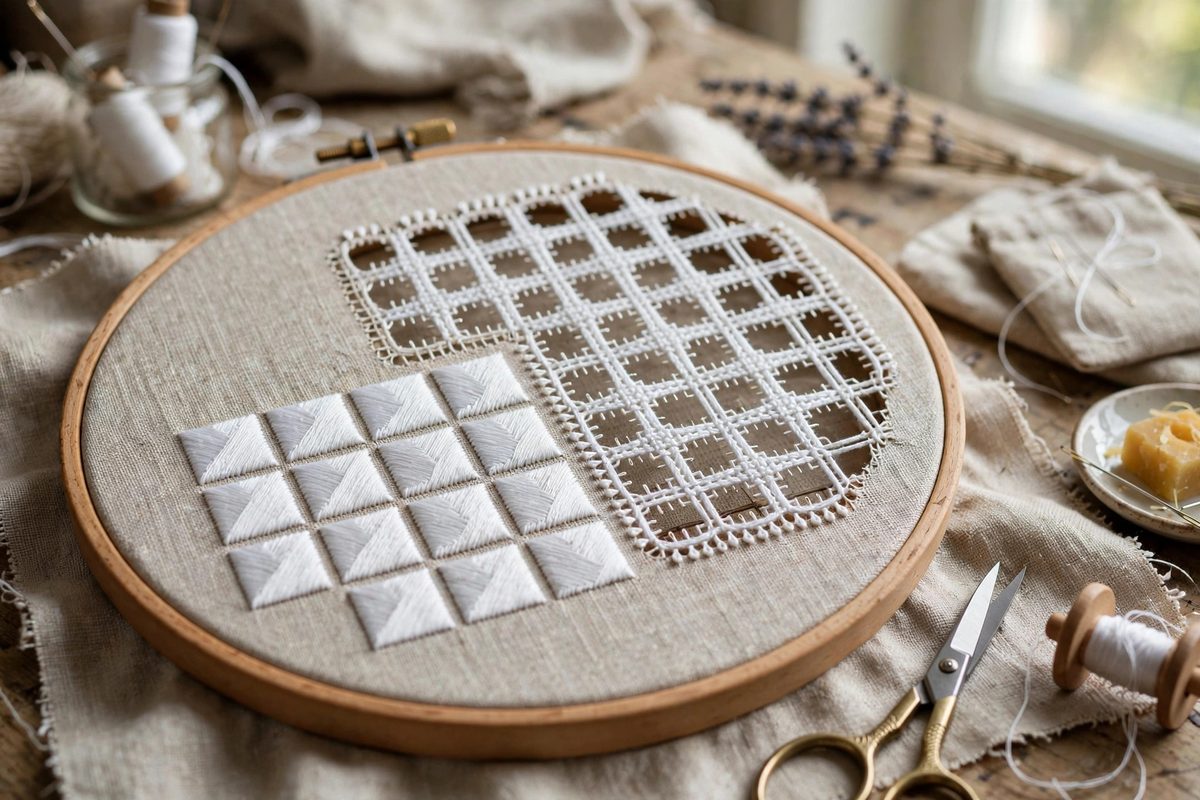
Hardanger embroidery is built on a tension paradox: the satin stitch blocks (kloster blocks) must lie flat and smooth, while the needle-woven bars and picots that fill the cutwork areas need a precise, slightly springy tension to hold their shape. The wefts, the threads woven across open areas after the fabric threads are cut away, are where this balance is most delicate. Too loose and they sag; too tight and they pucker the surrounding fabric. Here is how to tension them correctly.
What the wefts have to do
After kloster blocks are stitched and the fabric threads inside a motif are cut and withdrawn, what remains is an open grid crossed by the surviving fabric threads. Needle weaving wraps new threads around those survivors, building bars, and then weaves weft threads across the open squares to fill them with lace-like patterns. These wefts carry no structural load from the fabric; they are suspended embroidery. Their tension must be firm enough to lie flat and even, yet relaxed enough not to bow the bars they anchor to. They are judged entirely by eye, which makes consistent tension a practiced skill rather than a setting.
Setting up for even tension
Work Hardanger in a hoop or frame that holds the fabric truly flat; stitching cutwork in hand invites distortion because the open areas have no fabric left to stabilize them. Use a tapestry needle with a blunt point so you slide between threads rather than piercing them, which would change the tension unpredictably. Cut your weaving thread to comfortable lengths, no longer than about eighteen inches; long threads abrade as they are pulled through repeatedly, and abraded thread weaves unevenly. Keep the working thread untwisted as you weave, since built-up twist shortens the thread and tightens each pass slightly.
Weaving the wefts
Weave each pass with the same hand motion and the same gentle pull. The correct tension is the one where the weft lies straight across the opening without deflecting the bars on either side. A useful check: after every few passes, look at the bars from the side. If they bow inward toward the weaving, your wefts are too tight; ease off. If the woven fill looks rippled or the wefts visibly sag when the piece is held up, tighten slightly. Consistency matters more than any absolute value; a fill woven uniformly at slightly relaxed tension looks far better than one that alternates tight and loose.
Picots and edge details
Picots, the small loops along bar edges, need their own tension discipline. Form each picot around the same gauge, a needle shaft or a consistent finger width, and pull the securing stitch with the same firmness every time. Uneven picots are almost always a tension inconsistency, not a technique problem. Dove's eyes and other woven eyelets at bar intersections should be worked with relaxed tension; pulling them tight puckers the intersection and distorts the surrounding bars.
Blocking and finishing
Hardanger almost always benefits from blocking: the cutwork areas relax into their final geometry when the piece is dampened and pinned square. Block before judging your tension too harshly; minor unevenness in wefts often settles out. But blocking cannot fix wefts woven at wildly inconsistent tension, so treat it as a finishing step, not a rescue. Press from the wrong side on a soft towel to preserve the texture of the kloster blocks and the dimensionality of the weaving.
Weft tension is a feel developed stitch by stitch. Watch the bars, keep the pull consistent, and the openwork will sit flat and true.
Related Guides
- Tension Control in Open Work Drawn Thread Borders: Drawn thread work removes fabric threads to create open, lacy borders, and the remaining threads are then stitched into decorative patterns. The open
- Thread Twist Tension Balance in Blackwork Diaper Patterns: Blackwork's diaper patterns, the repeating geometric fills that give the style its woven texture, are built from hundreds of identical small
- Even Weft Tension in Drawn Thread Open Border Work: Drawn thread work creates open, lacy borders by removing threads from the fabric and embellishing what remains: the remaining threads are grouped
- Diagonal Drawn Thread Lattice Hemstitching Steps: Hemstitching turns a plain hem into an openwork border: threads withdrawn from the fabric leave a lattice, and the remaining threads are grouped and