
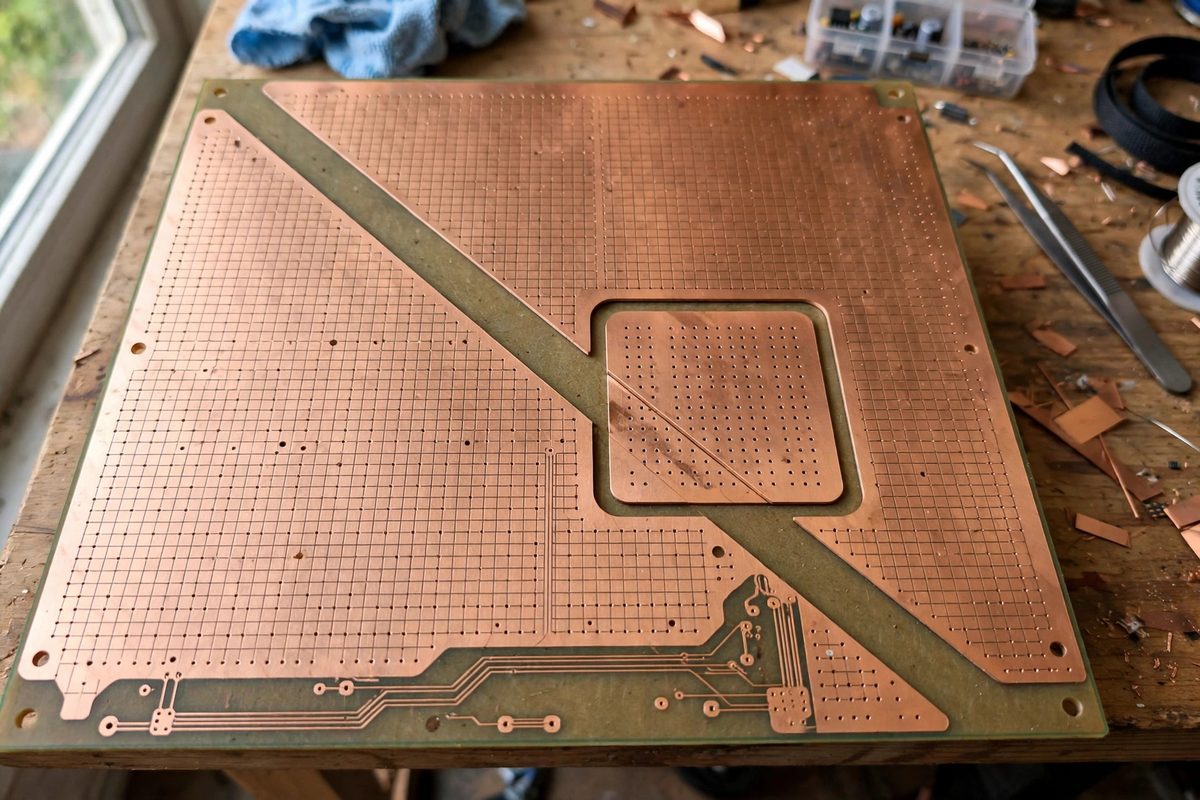
KiCad's copper zones, the poured fills for grounds, power, and signals, overlap constantly in real designs: a ground pour covering the board with a power island inside it, a keepout cutting through both, an antenna keepout inside the keepout. Zone priority is the numbering system that decides which zone wins where they overlap. Misunderstood priorities produce the classic poured-board surprises: the power island that never poured, the ground that swallowed the keepout, the antenna area mysteriously coppered. The rules are simple once stated, and everything follows from them.
How Priority Numbers Work
Each zone carries a priority number, and where zones overlap, the higher priority zone's geometry wins: it pours its copper (or its keepout) and the lower priority zone yields, pulling back to respect the winner's boundaries plus the configured clearances. Equal priorities produce undefined-ish behavior that depends on fill order; never rely on it. The system is deterministic and simple: bigger number wins the overlap.
The practical assignment follows the design's intent. Keepouts and rule areas, which exist to exclude copper, get the highest priorities, because an exclusion that loses to a pour is not an exclusion. Small, specific pours (power islands, sensitive analog regions) outrank large general pours (board-wide ground). The big background pour gets the lowest priority; it fills whatever nobody else claimed.
The Standard Priority Stack
A working default, from highest to lowest: rule areas and keepouts at the top, then small functional zones (power nets, guarded analog pours), then the main ground pour at the bottom. Within the same category, the smaller or more specific zone outranks the larger or more general one. This stack expresses a clear principle: specificity beats generality, and exclusions beat inclusions.
Assign priorities deliberately when creating each zone, not as an afterthought during the final pour. A zone created with the default priority in the middle of a designed stack will misbehave in exactly the overlap you forgot to check. The priority is part of the zone's identity; set it at birth.
Clearances at Zone Boundaries
Priority decides who wins the overlap, but clearances decide the geometry of the victory: the losing zone pulls back from the winner's edge by the configured clearance, and the winner respects its own clearance to other objects. Overlapping zones with inadequate clearances produce slivers and isolated copper islands: fragments of the losing pour trapped between the winner's boundary and nearby features, too small to connect anywhere.
- Set zone clearances to meet the fabricator's minimums with margin; slivers below minimum become manufacturing defects.
- Check the poured result, not just the zone outlines; the outlines promise, the pour delivers.
- Use thermal relief settings appropriate to each zone's function; power zones often want solid connections, signal zones want relief.
- Refill zones after any edit; KiCad does not always auto-update pours, and stale pours lie.
Keepouts Versus Zones: a Special Relationship
Keepout areas in KiCad are zones of a sort, and they participate in the priority system: a keepout with higher priority than a copper zone excludes the copper, which is the entire point. But keepouts can be selective, excluding only certain layers or certain object types (tracks, vias, copper pour), and the priority interaction follows the keepout's scope. A keepout that excludes vias but not copper pour will still let the pour flood the area; the priority only governs what the keepout actually excludes.
Verify keepout behavior in the poured board view. The keepout's outline on the screen is a promise about geometry; the poured copper is the reality. Where they disagree, the priority or the scope is wrong, and the poured view shows you which.
Debugging Pour Problems
When a zone does not pour as expected, the diagnostic sequence is: check the priority (is something outranking it in the overlap?), check the clearances (is it being squeezed into nothing?), check the net assignment (is it trying to pour a net with no pads to connect?), and check for stale fills (has it been refilled since the last edit?). The vast majority of pour mysteries resolve at one of these four steps.
For the stubborn cases, isolate the zones: hide or delete the suspects one at a time and repour, watching which removal fixes the behavior. The zone whose absence restores sanity is the one whose priority or geometry was wrong. Systematic elimination beats staring at the whole board hoping for insight.
Specific beats general, exclusions beat pours, set priorities at creation, and always judge by the poured result. Zone priority is a small numbering system with large consequences; run it deliberately and the copper goes exactly where the design intends.
Related Guides
- Ground Plane Stitching Via Spacing in KiCad Layouts: Stitching vias tie the ground planes of a multilayer board together into a single low-impedance reference, and their spacing decides how well that
- Copper Pour Clearance in KiCad Ground Planes: A copper pour turns empty board area into a ground plane, which lowers impedance, improves EMC, and simplifies return paths. But a pour placed with
- Differential Pair Length Matching in KiCad PCB: Differential pairs carry high-speed signals as equal-and-opposite voltages on two traces, and the receiver reads the difference between them. This
- Thermal Relief Spoke Angles on Fine Pitch Pads: A pad connected directly to a large copper pour acts as a heatsink during soldering: the pour wicks heat away and the joint never flows properly