
A microphone's output transformer does quiet, critical work: it isolates the mic electrically from the preamp, balances the signal for long cable runs, and often provides the voltage step-up that makes a weak capsule or ribbon usable. A center-tapped transformer adds a valuable option, giving you a choice of output impedances and wiring configurations from a single part. For the DIY mic builder, understanding what the center tap offers (and what it demands) turns transformer selection from guesswork into design.
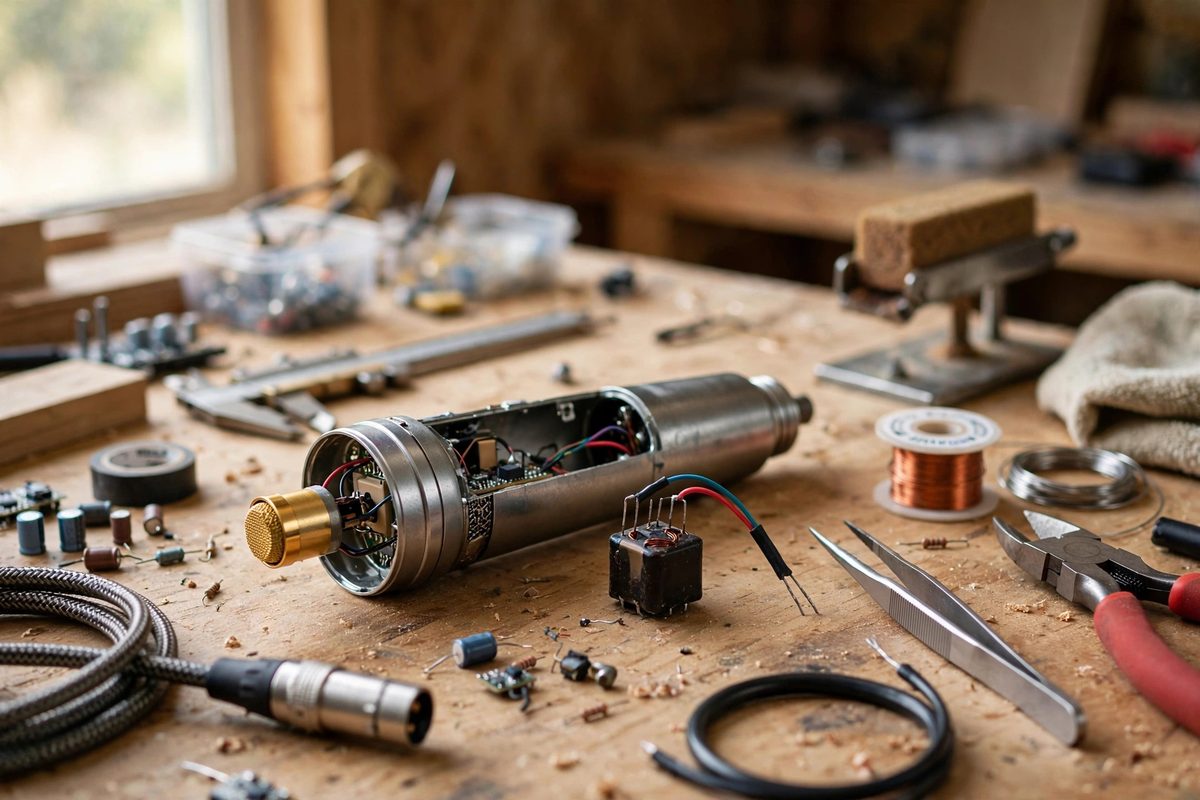
Isolation: The Primary Job
Isolation means there is no direct electrical connection between the microphone's internal circuitry and the outside world; signal crosses only as a magnetic field between windings. This breaks ground loops, blocks phantom power faults from reaching delicate capsules, and keeps the mic's internal grounding scheme independent of whatever preamp it plugs into. Every output transformer provides this; it is the baseline. The center tap is an additional feature on top, not a substitute for proper isolation, so verify the transformer is genuinely isolated (separate primary and secondary windings) before worrying about taps.
What the Center Tap Gives You
A center-tapped secondary is a winding with a connection at its electrical midpoint, effectively splitting it into two equal halves. This gives you two wiring options: use the full winding for one impedance and output level, or use half the winding (one end to center tap) for a lower impedance and lower output. In practical terms, a center-tapped transformer lets one microphone serve both high-impedance and low-impedance inputs, or lets you wire a balanced output with the center tap as the ground reference. For a DIY builder who does not know what preamp the mic will meet, that flexibility is worth having.
Impedance Matching and Why It Matters
Microphones want to see a load impedance roughly five to ten times their own output impedance; too low a load drags down the level and dulls the frequency response, too high invites noise. The transformer's turns ratio sets the impedance transformation as the square of the ratio, so a transformer that steps voltage up by 1:5 transforms impedance by 1:25. The center tap lets you halve the secondary turns, quartering the impedance ratio, which is a coarse but useful adjustment. Choose the tap that lands the mic's output impedance in the comfortable range of your preamps, typically a few hundred ohms for modern low-impedance inputs.
Wiring the Center Tap Correctly
When using the full winding, leave the center tap unconnected (or tie it to ground through the appropriate scheme for your design) and take the balanced output from the two ends. When using half the winding, connect between one end and the center tap, and be consistent about which end; the unused half should be left floating, not shorted. Keep all transformer leads short and twisted, especially the primary side, because the transformer sits at the highest-gain point in the signal path and picks up hum readily. Mount the transformer away from power transformers and, in tube mics, away from the heater wiring.
Shielding and Hum
Output transformers are hum antennas. A mu-metal shield can around the transformer (or a transformer supplied in one) makes an enormous difference in noisy environments, and it is cheap insurance in any DIY build. Orient the transformer so its core is at right angles to any nearby power transformer, which minimizes inductive coupling. Ground the shield can to the mic's chassis ground, not to the audio ground, to keep shield currents out of the signal path. If the mic hums and the circuit is otherwise correct, the transformer placement and shielding are the first suspects.
Testing Before You Close the Body
Before final assembly, test the wired transformer with the actual capsule or ribbon: check output level, verify both taps if you wired a switch, and listen for hum with the mic in its intended position. Measure the output impedance roughly with a load resistor and a meter if you have the means; a sanity check beats a surprise. Transformer wiring errors are easy to fix on the bench and miserable to fix inside a finished mic body, so prove the whole output stage works before the body goes together for the last time.
A center-tapped isolation transformer is a small part that carries a large share of a DIY microphone's performance: isolation, impedance matching, and configuration flexibility in one component. Wire it carefully, shield it well, test it before assembly, and the mic will be quiet, properly loaded, and ready for whatever preamp it meets.
Safety note: if your build involves phantom power (48V) or tube high voltages, treat those supplies with respect: discharge capacitors before handling, keep one hand in your pocket around live high voltage, and never work on powered circuits with wet hands or on a conductive bench.
Related Guides
- Center-Tapped Transformer Balancing in Ribbon Mics: A ribbon microphone produces a tiny, delicate signal from a thin metal ribbon moving between magnets, and the transformer sitting right behind that
- Tuning JFET Bias Voltage in DIY Condenser Mics: The JFET (junction field-effect transistor) is the heart of most DIY condenser microphone circuits: it converts the capsule's tiny, high-impedance
- Electret Capsule Diaphragm Dampening for DIY Mics: Electret condenser capsules are the tiny microphones inside nearly every inexpensive mic, headset, and phone: cheap, sensitive, and surprisingly
- Phantom Power Ripple Filtering for Condenser Mics: Phantom power, the 48 volts that travels up the microphone cable to energize a condenser mic, is supposed to be pure DC. In practice, cheap supplies
- Shielded Capsule Enclosure Baffling for DIY Condensers: A DIY condenser microphone is a high-impedance circuit sitting next to a sensitive capsule, and both of them are antennas for every hum, buzz, and