
Electret condenser capsules are the tiny microphones inside nearly every inexpensive mic, headset, and phone: cheap, sensitive, and surprisingly capable. They are also peaky. A bare electret capsule has a resonant, harsh top end that makes DIY microphones sound cheap no matter how nice the enclosure is. Diaphragm dampening, adding controlled acoustic resistance behind the capsule, tames that resonance and is the single biggest sonic upgrade available to the DIY mic builder. It costs almost nothing and it transforms the sound.
Why bare capsules sound harsh
An electret capsule is a thin metallized diaphragm stretched over a backplate, with the air trapped behind the diaphragm acting as a spring. That diaphragm-plus-air-spring system has a resonant frequency, typically up in the high frequencies, where the capsule's response peaks sharply. The result is the familiar cheap-mic sound: sibilant, edgy, with an exaggerated presence that fatigues the ear. Commercial microphone designers damp this resonance as a matter of course, using acoustic resistance materials and carefully tuned rear cavities. The DIY builder buying bare capsules gets none of that engineering, just the raw capsule and its raw peak. Dampening is how you add the missing engineering back.
How acoustic dampening works
Dampening adds friction to the air moving behind the diaphragm. When the diaphragm tries to resonate, it must push air through a resistive material, and that resistance converts the resonant energy into a tiny amount of heat instead of letting it ring. The effect is to flatten the response peak: the capsule still hears the highs, but without the exaggerated ring. The classic dampening material is open-cell foam or felt placed directly behind the capsule, filling the rear cavity. The density and thickness of the material set the amount of dampening: too little and the peak remains, too much and the capsule sounds dull and loses sensitivity. The goal is the minimum dampening that tames the peak, found by listening, not by formula.
Practical dampening builds
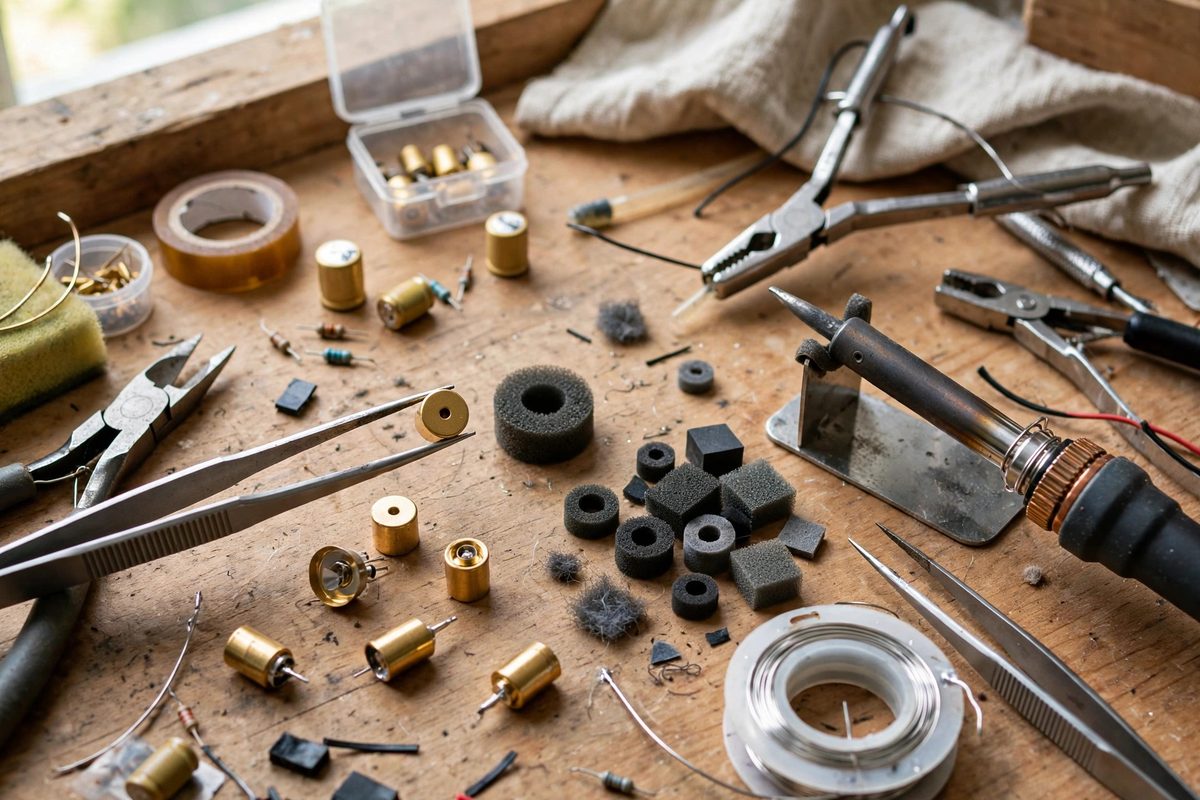
The simplest effective dampening is a small disc of open-cell foam pressed gently against the back of the capsule inside its housing. Craft foam, microphone windscreen foam, or felt all work; the material must be open enough for air to move through it with resistance, not sealed. Cut the disc to fit the cavity snugly so air cannot bypass it around the edges, because bypass air is undampened air and it preserves the peak. For capsules mounted in tubes or pipes, pack a short section of foam behind the capsule, experimenting with depth: deeper foam generally means more dampening. Some builders layer materials, a disc of felt against the capsule plus foam behind it, to shape the dampening across frequencies. Keep notes on what you try, because small changes in foam density make audible differences and you will want to reproduce the good ones.
The enclosure as part of the system
The capsule does not hear in isolation; the enclosure shapes its sound through reflections and cavity resonances. A bare capsule in a metal tube rings differently than the same capsule in a wooden body. Dampen the enclosure too: line reflective interior surfaces with felt or foam to kill the hollow, tinny coloration that plagues DIY mics. Vent the rear cavity thoughtfully if the design allows; a completely sealed rear cavity raises the resonant frequency and can make the peak worse, while a small, resistive vent lowers it into a more manageable range. Mount the capsule in a compliant suspension, a rubber grommet or a wrap of soft material, to decouple it from handling noise transmitted through the body. Each of these is a small job, and together they are the difference between a capsule in a tube and a microphone.
Listening, measuring, and iterating
Tune dampening by ear with material you know well: record speech and acoustic guitar, listen for the harsh edge on sibilants and the metallic ring on transients, and add dampening until the edge relaxes without the sound going dead. Compare against a reference microphone if you have one; the goal is not to clone it but to calibrate your ear. If you want to be rigorous, free measurement software and a known test signal can show you the response peak directly, turning the tuning from guesswork into engineering. Change one variable at a time and keep the losers labeled, because the foam disc that was too dull in one build might be perfect in another. DIY microphone building is an iterative craft, and dampening is its most rewarding adjustment.
A foam disc behind the capsule, a felt-lined enclosure, and patient listening: that is the recipe that turns a three-dollar capsule into a microphone you will actually reach for. The harshness was never in the capsule's destiny, only in its lack of dampening.
Related Guides
- Shielded Capsule Enclosure Baffling for DIY Condensers: A DIY condenser microphone is a high-impedance circuit sitting next to a sensitive capsule, and both of them are antennas for every hum, buzz, and
- Center-Tapped Isolation Transformers in DIY Mics: A microphone's output transformer does quiet, critical work: it isolates the mic electrically from the preamp, balances the signal for long cable
- Tuning JFET Bias Voltage in DIY Condenser Mics: The JFET (junction field-effect transistor) is the heart of most DIY condenser microphone circuits: it converts the capsule's tiny, high-impedance
- Center-Tapped Transformer Balancing in Ribbon Mics: A ribbon microphone produces a tiny, delicate signal from a thin metal ribbon moving between magnets, and the transformer sitting right behind that
- Phantom Power Ripple Filtering for Condenser Mics: Phantom power, the 48 volts that travels up the microphone cable to energize a condenser mic, is supposed to be pure DC. In practice, cheap supplies