
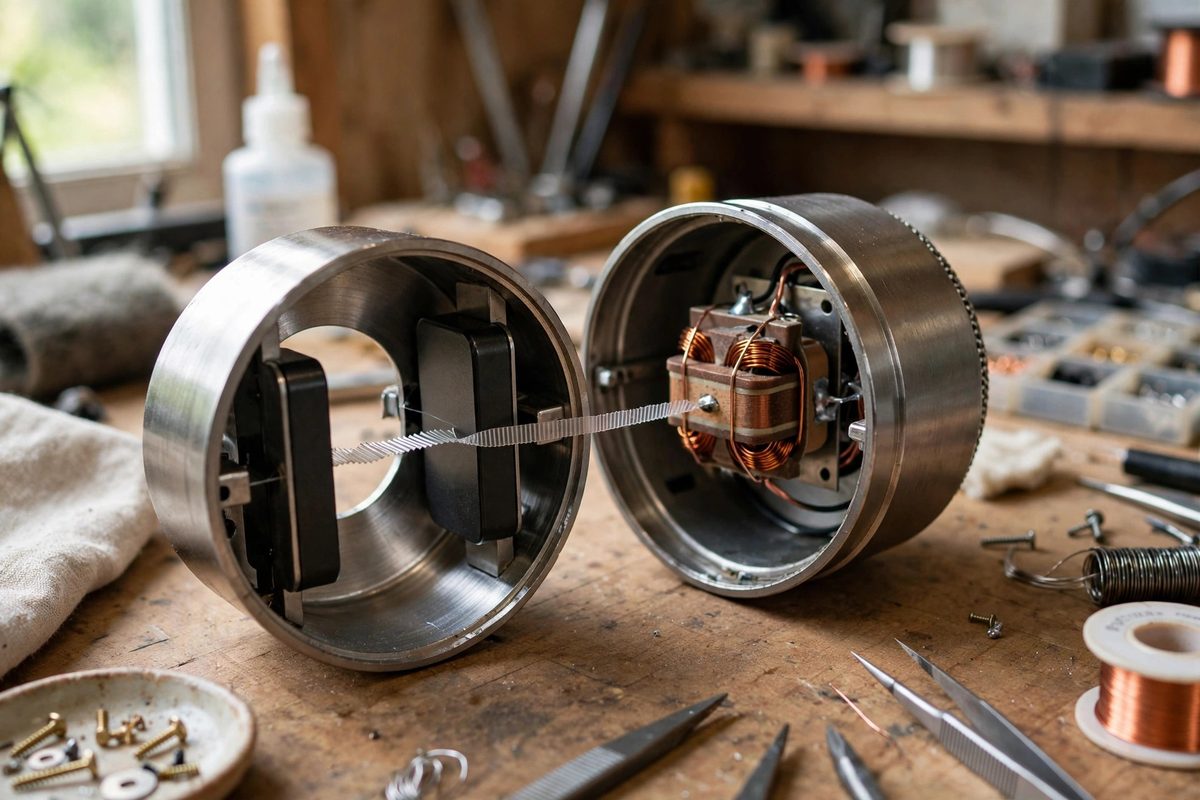
A ribbon microphone produces a tiny, delicate signal from a thin metal ribbon moving between magnets, and the transformer sitting right behind that ribbon does most of the heavy lifting. A center-tapped output transformer converts the ribbon's low impedance and faint output into a usable balanced microphone-level signal. Getting that center tap wired and grounded correctly is the difference between a quiet, clean ribbon mic and one that hums, buzzes, or sounds thin on one side.
What the Center Tap Actually Does
The secondary winding of a ribbon mic transformer typically has two ends, one for pin 2 and one for pin 3 of the XLR, plus a center tap at the electrical midpoint of the winding. That center tap provides the ground reference point for the balanced output. Because the tap sits exactly halfway along the winding, the voltage at pin 2 relative to ground is equal and opposite to the voltage at pin 3 relative to ground. The preamp measures the difference between the two pins and rejects anything common to both, which is how balanced lines kill hum. Without a proper center tap, the output floats, and the balance between the two legs is whatever the stray capacitance and leakage decide it will be. That usually means noise.
Why Balance Matters More for Ribbons
Ribbon microphones run much lower signal levels than condensers or dynamics, so every decibel of common-mode noise rejection counts. A balanced output lets the preamp subtract interference picked up along the cable, but subtraction only works if the two legs are truly symmetric. A center-tapped transformer gives you that symmetry at the source, before the signal ever leaves the mic body. It also sets the output impedance in a predictable way, which matters because ribbon mics are sensitive to preamp input impedance. Many builders prefer preamps with input impedance five to ten times the mic's output impedance, because loading a ribbon down changes its damping and frequency response. A correctly balanced transformer keeps that relationship stable instead of drifting with cable length or handling.
Grounding the Center Tap
The standard approach grounds the center tap to the mic body and to pin 1 of the XLR, giving interference currents a low impedance path to ground instead of letting them modulate the signal. There is an important subtlety here: the ribbon element itself must stay floating and electrically isolated from the body. If one end of the ribbon shorts to ground, the transformer still passes signal, but the balance is destroyed and the mic becomes noisy and fragile. Builders often see this as a weak, thin sound with prominent hum. When you assemble a ribbon mic, check with a meter that neither end of the ribbon has continuity to the body before you trust the transformer wiring. Ground the tap, not the element.
Phantom Power and the Center Tap
Phantom power puts equal DC voltage on pins 2 and 3 relative to pin 1, so a properly balanced ribbon mic with a center-tapped transformer theoretically sees no net voltage across the ribbon. In practice, DIY ribbon mics should never receive phantom power unless the manufacturer or designer explicitly says so. The reason is that faults, hot-plugging, and miswired cables can send unbalanced DC through the transformer and across the ribbon, and a two-micron ribbon cannot survive that. Many builders add blocking or simply use a clearly labeled preamp or cable that they know carries no phantom. The center tap helps by keeping the DC common to both legs under ideal conditions, but "ideal conditions" is not something you should bet a ribbon on. Treat phantom as a hazard, not a feature.
Winding Symmetry and Rejection
True center tapping means the tap is at the electrical center, not just somewhere near the middle of the coil. Quality ribbon transformers are wound with this in mind, often using bifilar or carefully sectioned windings so each half of the secondary has identical resistance, inductance, and capacitance to ground. When you test a build, measure the DC resistance from the tap to each end of the secondary. The two readings should match within a few percent. A significant mismatch means the winding is asymmetric, which shows up as reduced common-mode rejection and slightly uneven frequency response between the legs. You cannot fix a badly wound transformer with clever wiring, so this measurement belongs in your parts acceptance routine before the transformer goes into the mic.
Practical Wiring Checks Before First Power-Up
Work through a short checklist on every build. Confirm the ribbon has no continuity to the body. Confirm the center tap connects to pin 1 and the body shell with low resistance. Confirm pins 2 and 3 each show the expected half-winding resistance to the tap, and that the two readings match. Confirm no continuity between the primary and secondary of the transformer. Then do a listening test with a quiet preamp and a long cable in a room with typical electrical noise, like near a dimmer or a monitor. A correctly balanced ribbon mic should be strikingly quiet for its low output level, with hum only appearing when you crank gain far past normal use. If hum is loud at modest gain, the balance is broken somewhere, and the center tap wiring is the first place to look.
A center-tapped transformer is simple in concept but it is the whole foundation of a ribbon mic's noise performance. Ground the tap properly, keep the ribbon floating, verify symmetry with a meter, and keep phantom power away. Do those four things and the transformer will do its job quietly for years.
Related Guides
- Center-Tapped Isolation Transformers in DIY Mics: A microphone's output transformer does quiet, critical work: it isolates the mic electrically from the preamp, balances the signal for long cable
- Tuning JFET Bias Voltage in DIY Condenser Mics: The JFET (junction field-effect transistor) is the heart of most DIY condenser microphone circuits: it converts the capsule's tiny, high-impedance
- Electret Capsule Diaphragm Dampening for DIY Mics: Electret condenser capsules are the tiny microphones inside nearly every inexpensive mic, headset, and phone: cheap, sensitive, and surprisingly
- Phantom Power Ripple Filtering for Condenser Mics: Phantom power, the 48 volts that travels up the microphone cable to energize a condenser mic, is supposed to be pure DC. In practice, cheap supplies
- Shielded Capsule Enclosure Baffling for DIY Condensers: A DIY condenser microphone is a high-impedance circuit sitting next to a sensitive capsule, and both of them are antennas for every hum, buzz, and