
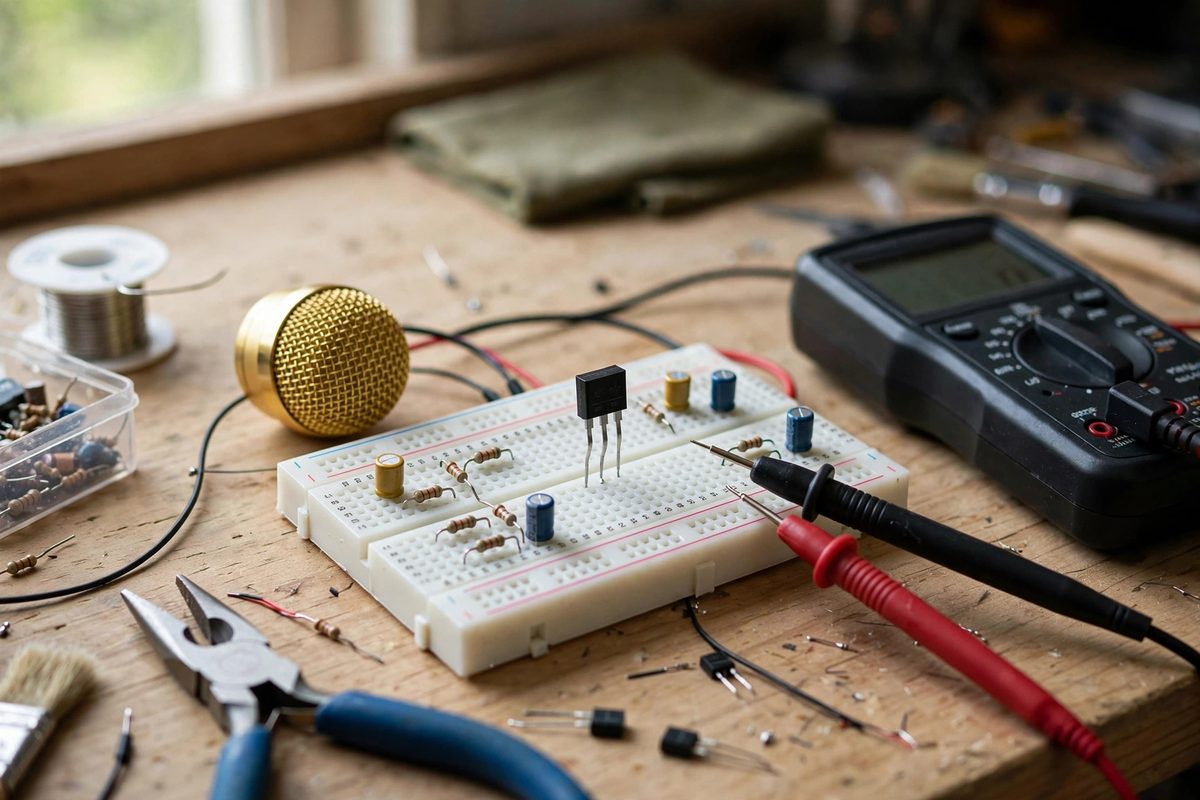
The JFET (junction field-effect transistor) is the heart of most DIY condenser microphone circuits: it converts the capsule's tiny, high-impedance signal into something the rest of the circuit can use. Its bias voltage, the DC operating point set by surrounding resistors, determines the mic's headroom, distortion, and noise. Tuning that bias is the single most impactful adjustment in a DIY condenser build, and it requires nothing more exotic than a multimeter and patience.
What bias does in the circuit
A JFET conducts current between its drain and source, controlled by the voltage on its gate. In the classic condenser circuit, the capsule connects to the gate, and a high-value resistor sets the gate's DC bias point. That bias point positions the transistor's operating region: biased correctly, the JFET amplifies the capsule's AC signal symmetrically with maximum clean headroom. Biased too high or too low, the transistor clips one side of the waveform early, producing distortion that rises with level, or it runs at a current that raises the noise floor. The bias is the difference between a clean mic and a gritty one.
Finding the right bias point
The standard method: power the circuit, measure the DC voltage at the JFET's drain with no signal applied, and adjust the source resistor until the drain sits at roughly half the supply voltage. Half-supply centers the operating point, giving equal headroom for positive and negative signal swings, which maximizes clean output before clipping. Use a trimmer potentiometer for the source resistor during tuning, then measure its final value and replace it with a fixed resistor of the nearest standard value; trimmers can drift and add noise. Every JFET is slightly different, even within the same part number, so this adjustment is per-transistor, not per-design.
Listening to the result
After setting the bias electrically, verify by ear. Record a loud, dynamic source, handclaps or a strummed acoustic guitar close up, and listen for asymmetric distortion or premature breakup as level rises. Then record something quiet and listen for hiss; a misbiased JFET can be noisier than a correct one. If the mic sounds clean loud and quiet, the bias is right. If it distorts early on transients, nudge the bias and re-measure; small changes make audible differences.
Common bias mistakes
Copying a resistor value from someone else's build without measuring is the classic error; their JFET's characteristics differ from yours, so their value is a starting guess, not a solution. Another mistake is tuning with the capsule disconnected or shorted, which changes the gate impedance and gives a false reading; tune with the actual capsule in circuit. And do not chase the bias to compensate for other problems: a noisy capsule, a leaky coupling capacitor, or a bad solder joint will not be fixed by bias adjustment, and misbiasing to mask them just adds distortion to the noise.
Safety and handling
Condenser mics run on phantom power, 48 volts, which is low but deserves respect around the capsule's high-impedance node; handle the powered circuit with dry hands and avoid shorting the supply. JFETs are static-sensitive: ground yourself before handling them, and do not socket and un-socket them repeatedly. Keep leads short around the gate node; that node is so high-impedance that it picks up hum and noise from nearby wiring, and no bias adjustment fixes bad layout.
Measure the drain, trim to half supply, verify by ear, and lock in the value. Ten minutes with a multimeter is what separates a DIY mic that works from one that sings.
Related Guides
- Phantom Power Ripple Filtering for Condenser Mics: Phantom power, the 48 volts that travels up the microphone cable to energize a condenser mic, is supposed to be pure DC. In practice, cheap supplies
- Center-Tapped Isolation Transformers in DIY Mics: A microphone's output transformer does quiet, critical work: it isolates the mic electrically from the preamp, balances the signal for long cable
- Electret Capsule Diaphragm Dampening for DIY Mics: Electret condenser capsules are the tiny microphones inside nearly every inexpensive mic, headset, and phone: cheap, sensitive, and surprisingly
- Center-Tapped Transformer Balancing in Ribbon Mics: A ribbon microphone produces a tiny, delicate signal from a thin metal ribbon moving between magnets, and the transformer sitting right behind that
- Shielded Capsule Enclosure Baffling for DIY Condensers: A DIY condenser microphone is a high-impedance circuit sitting next to a sensitive capsule, and both of them are antennas for every hum, buzz, and