
Before foam, upholsterers built seat comfort from curled horsehair, and antique seats stuffed with it can still be comfortable a century later if the hair was layered correctly. Rebuilding a seat top with curled hair is traditional upholstery at its most satisfying: natural materials, hand technique, and a result that breathes and lasts. The layering is what makes it work.
Why Curled Hair
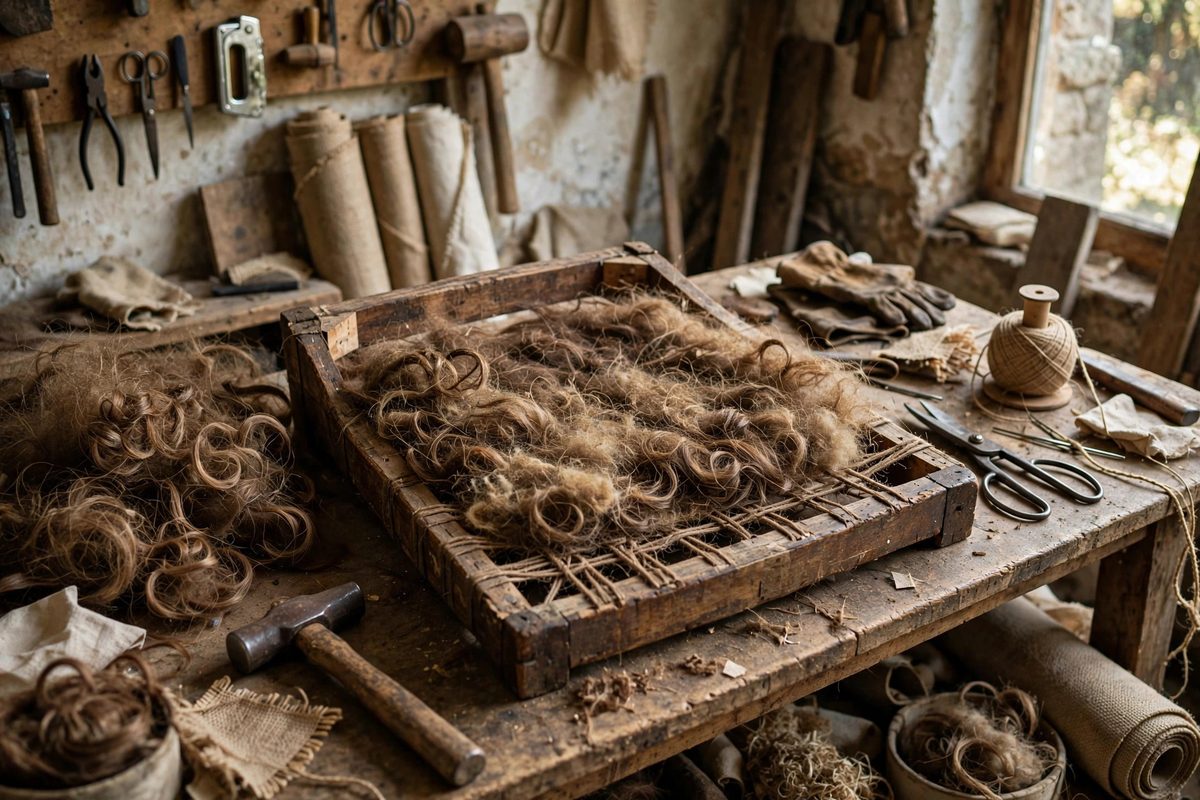
Curled hair, traditionally horsehair curled by heat and mechanical working, forms a springy, interlocking mass that compresses under weight and recovers when released. Unlike foam, it does not break down into crumbs with age; it slowly compacts and can be picked apart and refluffed. It breathes, so seats do not get clammy, and it is naturally resistant to the dust-mite issues of some synthetics. For antique restoration, it is also the historically correct material, which matters when the piece's value includes its authenticity.
Preparing the Hair
Work with clean, good-quality curled hair, picking out any matted clumps, debris, or weak short fibers before layering. Tease the hair apart by hand so it is lofty and even; compressed wads from the bale become hard spots in the seat. If reusing the original hair from the piece, which is often possible, clean it thoroughly and discard the broken-down dust at the bottom of the old stuffing. The hair should feel springy and uniform in the hand before it goes into the seat; what feels lumpy in the hand feels lumpy under the sitter.
The Layering Technique
Build the seat top in layers, not as one stuffed mass. Lay down an even layer of teased hair over the webbing or spring unit, then stitch it down through to the base with long upholstery stitches, regulating the thickness as you go. Add the next layer and stitch again, building the crown, the gentle dome of the seat, deliberately thicker in the middle. Each stitched layer locks the one below, preventing the shifting and bunching that ruins a single-mass stuffing. The classic seat has a firm edge roll and a resilient crown, and the layering is how those different densities are created in one continuous material.
Shaping the Crown and Edges
The edge roll, the firm border around the seat's perimeter, gets denser, tighter-packed hair, stitched firmly to create the crisp edge the cover will wrap. The crown gets lofty, resilient hair built up to the desired dome. Use the regulator, the long upholstery needle, to adjust fullness after stitching, pulling hair from thick spots to thin ones until the surface is even. Cover the shaped hair with a layer of cotton felt or scrim to smooth the surface before the final cover; the felt prevents individual hairs from working through the top fabric over time.
Longevity and Maintenance
A well-layered hair seat lasts decades and can be rebuilt indefinitely; when it eventually compacts, the cover comes off, the hair gets picked and refluffed, and the seat is restitched. Keep the seat dry, since prolonged dampness mats the hair, and rotate the piece's use if possible to even out wear. The maintenance is the point: unlike foam, which is replaced when dead, hair is renewed, which is why antique hair seats are still serviceable after generations. Build the layers right once and the seat becomes a lifetime piece.
Tease the hair lofty, layer it in stitched courses, build the crown and firm the edges, smooth with felt, and cover. The antique seat gets a top that is resilient, breathable, and rebuildable, the way upholstery was meant to be.
Related Guides
- Needle Punching Horsehair Into Burlap Layers: Traditional upholstery builds its comfort from natural materials layered with intention, and the horsehair-over-burlap sandwich is one of the oldest
- Pleating Heavy Velvets Around Curved Armrests: A curved armrest is one of upholstery's honest tests: the fabric must travel around a compound curve, which means it has to go somewhere, and pleats
- Stripping Lacquer Without Degrading Veneers: Old lacquer finishes fail in familiar ways: they craze, yellow, chip, and go cloudy, and the only real fix is removal. On solid wood, stripping is
- Solvent Gels for Stripping French Polish Safely: French polish, the traditional shellac finish built up in hundreds of thin layers, eventually needs to come off: alligatored, blackened, or damaged
- Tufting Button Pull Depth Limits on Heavy Damasks: Deep button tufting on heavy damask is the signature look of traditional luxury upholstery, but the pull depth, how far the button sinks below the