
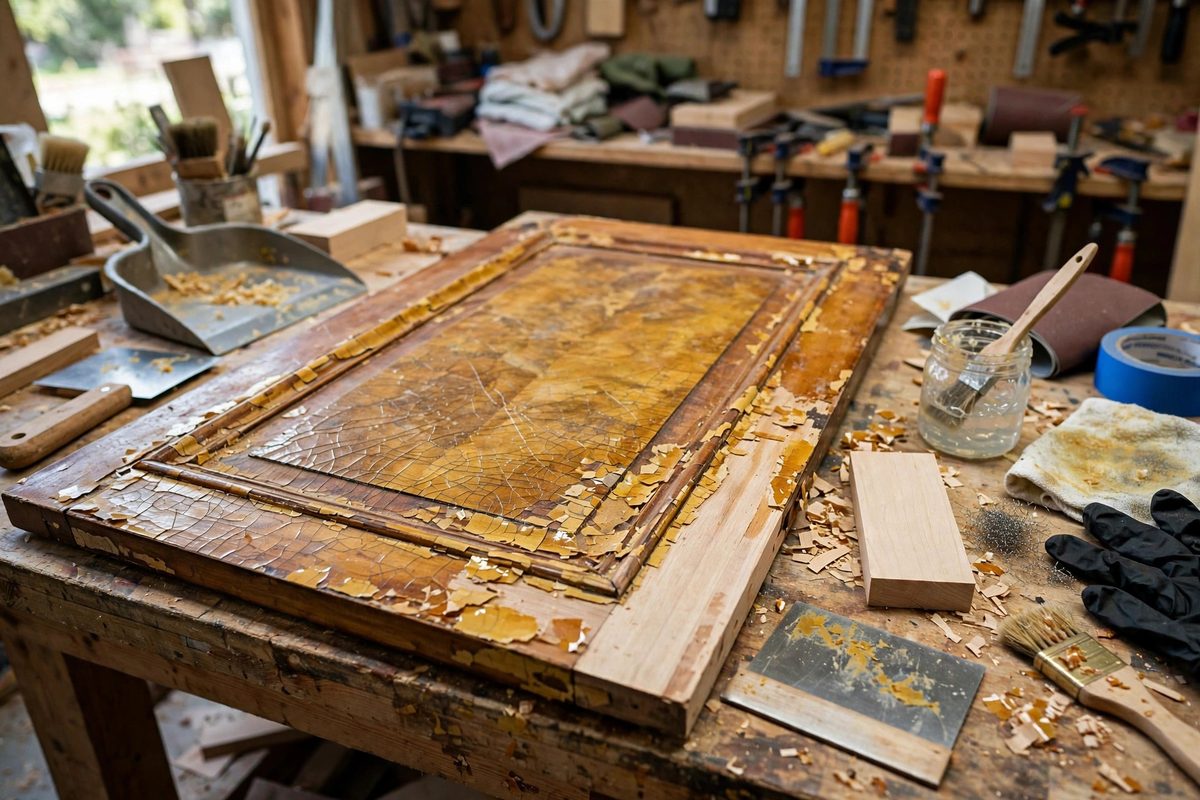
Old lacquer finishes fail in familiar ways: they craze, yellow, chip, and go cloudy, and the only real fix is removal. On solid wood, stripping is straightforward. On veneer, it is surgery: the decorative surface may be less than a millimeter thick, glued to a substrate, and every stripping method that is aggressive enough to remove lacquer is also capable of destroying the veneer. The craft is in choosing methods that attack the finish and spare the wood, and in knowing when to stop.
Why Veneer Changes the Stripping Equation
Veneer is thin by design, which means there is no margin for sanding through mistakes, no second chance if a chemical lifts the glue line, and no forgiveness for heat that bubbles the bond. The lacquer sits on top of this fragile layer, and it has often bonded to it over decades, with the finish's solvents long ago softened into the veneer's surface fibers.
The glue line is the hidden vulnerability. Many older veneers were laid with hide glue, which softens with heat and moisture; some were laid with early synthetics that certain solvents attack. A stripper that dissolves the lacquer beautifully but also softens the adhesive will leave you with lifted, bubbled veneer, which is a far worse problem than the old finish was.
Chemical Strippers: Choosing Gently
Solvent-based strippers that dissolve lacquer without prolonged soaking are the safest chemical route. Lacquer, being a solvent-release finish, re-dissolves in its own solvents, which means it often strips with relatively mild chemistry and short dwell times. Apply the stripper, let it soften the finish, and remove it promptly; the enemy is dwell time, during which the solvent migrates past the finish and into the veneer and glue.
Avoid caustic, lye-based strippers on veneer entirely. They are formulated for paint on solid wood and millwork, and they attack both veneer adhesives and the wood fibers themselves, raising grain and discoloring the surface. If the stripper's safety sheet warns about wood damage, believe it.
Mechanical Removal With Restraint
Scraping with a sharp cabinet scraper or a plastic scraper after chemical softening removes the bulk of the finish with minimal abrasion. The key is sharpness: a sharp scraper shears the softened lacquer cleanly, while a dull one requires pressure that dents and scratches the veneer. Keep the scraper flat and work with the grain.
- Never use a heat gun on veneer; the heat needed to soften lacquer is the heat that bubbles hide glue.
- Sand only as a final step, with fine grit and a light touch, to remove residue, not finish.
- Work in small sections so the stripper never dries on the surface, which re-deposits dissolved finish.
- Neutralize or rinse according to the stripper's directions; residue left in the veneer interferes with refinishing.
Testing in the Hidden Spot
Before committing to a method, test it somewhere inconspicuous: the back of a leg, under a top, inside a drawer opening. Apply the stripper, dwell the intended time, remove it, and inspect. Look for veneer lifting at edges, discoloration, softening of the surface, or any sign the glue line is compromised. The test spot costs minutes and can save the piece.
Test the full sequence, not just the stripper. If you plan to follow with light sanding and a wash, do all of it on the test spot, because problems sometimes appear at the combination stage. A stripper that is safe alone can become risky when followed by aggressive sanding on the sensitized veneer.
Dealing With Damage Found Underneath
Stripping sometimes reveals why the piece was refinished before: veneer patches, filled areas, or repairs hidden under the old lacquer. Assess before proceeding: small stable patches can be worked around, but lifting veneer needs re-gluing before any new finish goes on. Do not finish over loose veneer hoping the new topcoat will hold it; it will not.
If the veneer is too far gone, with large areas lifting or missing, the honest options are re-veneering or accepting a painted finish. A new finish over failing veneer is a short-term cosmetic that fails on the veneer's schedule, not yours.
Strip gently, test first, keep the heat away, and respect the glue line. The veneer survived decades under that lacquer; with careful stripping, it will survive the removal too, ready for a finish that shows it properly.
Related Guides
- Solvent Gels for Stripping French Polish Safely: French polish, the traditional shellac finish built up in hundreds of thin layers, eventually needs to come off: alligatored, blackened, or damaged
- Needle Punching Horsehair Into Burlap Layers: Traditional upholstery builds its comfort from natural materials layered with intention, and the horsehair-over-burlap sandwich is one of the oldest
- Pleating Heavy Velvets Around Curved Armrests: A curved armrest is one of upholstery's honest tests: the fabric must travel around a compound curve, which means it has to go somewhere, and pleats
- Curled Hair Layering for Resilient Antique Seat Tops: Before foam, upholsterers built seat comfort from curled horsehair, and antique seats stuffed with it can still be comfortable a century later if the
- Tufting Button Pull Depth Limits on Heavy Damasks: Deep button tufting on heavy damask is the signature look of traditional luxury upholstery, but the pull depth, how far the button sinks below the