
Vegetable tanned leather arrives from the tannery with a glazed surface: a smooth, slightly sealed finish from the final rolling and burnishing that looks clean and feels slick. That glaze is the enemy of dye. It blocks penetration, so dye sits on top instead of soaking in, producing blotchy color, a finish that rubs off on hands and clothing, and a surface that resists every subsequent step. Deglazing, stripping that surface glaze before dye touches the leather, is the step that makes the difference between dye that lives in the leather and dye that merely visits.
What the Glaze Is and Why It Blocks Dye
The tannery glaze is a combination of compressed surface fibers, residual tanning liquors, and often a light wax or oil dressing applied for storage and handling. It is there to protect the hide in transit, not to help you dye it. Dye needs open fiber to wick into; the glaze presents a sealed skin that the dye cannot penetrate evenly.
The symptom is unmistakable: dye that pools in some areas and skips others, color that looks fine wet and dries patchy, and a finished piece that crocks (rubs color off) the first time it is handled. Every one of those failures traces back to dye sitting on the glaze instead of in the fiber. Deglazing opens the fiber so the dye has somewhere to go.
Deglazers and How to Use Them
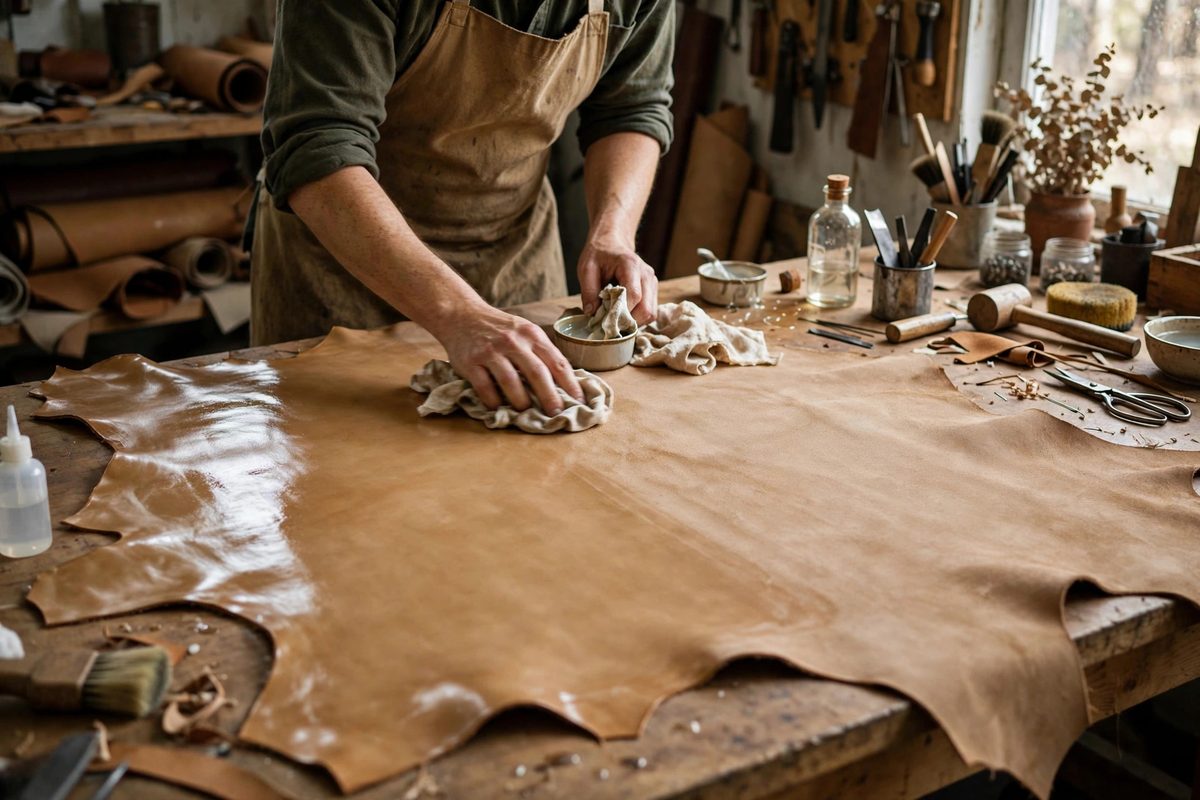
A deglazer is typically a solvent blend, often with some alcohol content, that dissolves the surface waxes and oils and lifts the compressed finish. Apply it with a clean cloth or sponge, working in small sections with firm, even strokes. You will feel the surface change under the cloth: the slick glaze gives way to a slightly rougher, more absorbent texture. That change in feel is the signal that the glaze is coming off.
Work the whole piece, not just the areas you plan to dye darkest. Partial deglazing produces partial dye penetration, which is just blotchiness with extra steps. Let the deglazer flash off completely before dyeing; dye applied over wet deglazer can react unpredictably or refuse to penetrate the solvent film.
The Water Drop Test
The reliable check is simple: flick a few drops of water onto the deglazed surface. On properly deglazed leather, the water soaks in within seconds, darkening the spot as it penetrates. On leather that still carries glaze, the water beads and sits. If it beads, deglaze again.
- Test several areas, including edges and anywhere your hands rested during handling.
- Touch the leather as little as possible after deglazing; skin oils re-contaminate the open fiber.
- Dye soon after deglazing, the same session if possible; open fiber picks up shop dust and moisture.
- If the water soaks in instantly everywhere, the surface is ready; uneven absorption means uneven deglazing.
Dyeing on Open Fiber
Dye behaves differently on deglazed leather, and the difference is all good news. It penetrates quickly and evenly, so work fast and keep a wet edge to avoid lap marks. Because the fiber drinks the dye instead of letting it pool, you will likely use less dye per coat and need fewer coats to reach full color. The color also goes deeper, which means it wears better: surface dye scuffs off, penetrated dye does not.
One caution: open fiber also shows every inconsistency in application. Streaks from a dry applicator, drips, and uneven pressure all read clearly. Use a consistent applicator, a wool dauber or sponge with even saturation, and maintain steady, overlapping strokes. The leather is ready to take dye beautifully; your job is to give it evenly.
When Not to Deglaze
There are finishes where the glaze is the point. If you are antiquing over a sealed surface, or applying a topcoat that is meant to sit on top, deglazing can be counterproductive. And some pre-dyed or specialty leathers arrive ready to finish; stripping their surface removes the tannery's work for no gain. Deglazing is specifically the preparation for dye penetration on natural veg tan.
Also note that deglazing slightly darkens and roughens the surface even before dye. That is normal and expected; it is the open fiber showing itself. The dye will even out the appearance, and the final finish steps will restore the surface you want.
Strip the glaze, test with water, and dye while the fiber is open. It adds minutes to the job and removes the single most common cause of bad dye work. The tannery glazed the hide for shipping; you deglaze it for craft.
Related Guides
- Oxalic Acid Bleaching of Stained Vegetable Tanned Calf: Vegetable-tanned calfskin picks up stains: iron marks from hardware, darkening from handling, blotches from uneven exposure. Oxalic acid bleaching
- Cast Stitch Tension on Diamond Chisel Spacing: The saddle stitch is the strongest hand stitch in leatherwork, and its strength lives or dies on tension. Each stitch is a small knot of thread
- Molding Heavy Saddle Skirting for Cuirasses: A cuirass, the torso armor of breastplate and backplate, demands leather that is thick enough to hold a shape under its own weight and shaped closely
- Swivel Knife Depth Control on Casing Leather: The swivel knife is the pencil of leather tooling: every carved line starts as a swivel knife cut, and every bevel, background, and decorative stamp
- Hot Water Hardening of Heavy Skirting Armor Leather: Vegetable-tanned skirting leather can be hardened into rigid armor plates with nothing but hot water, a technique as old as armor itself. The heat