
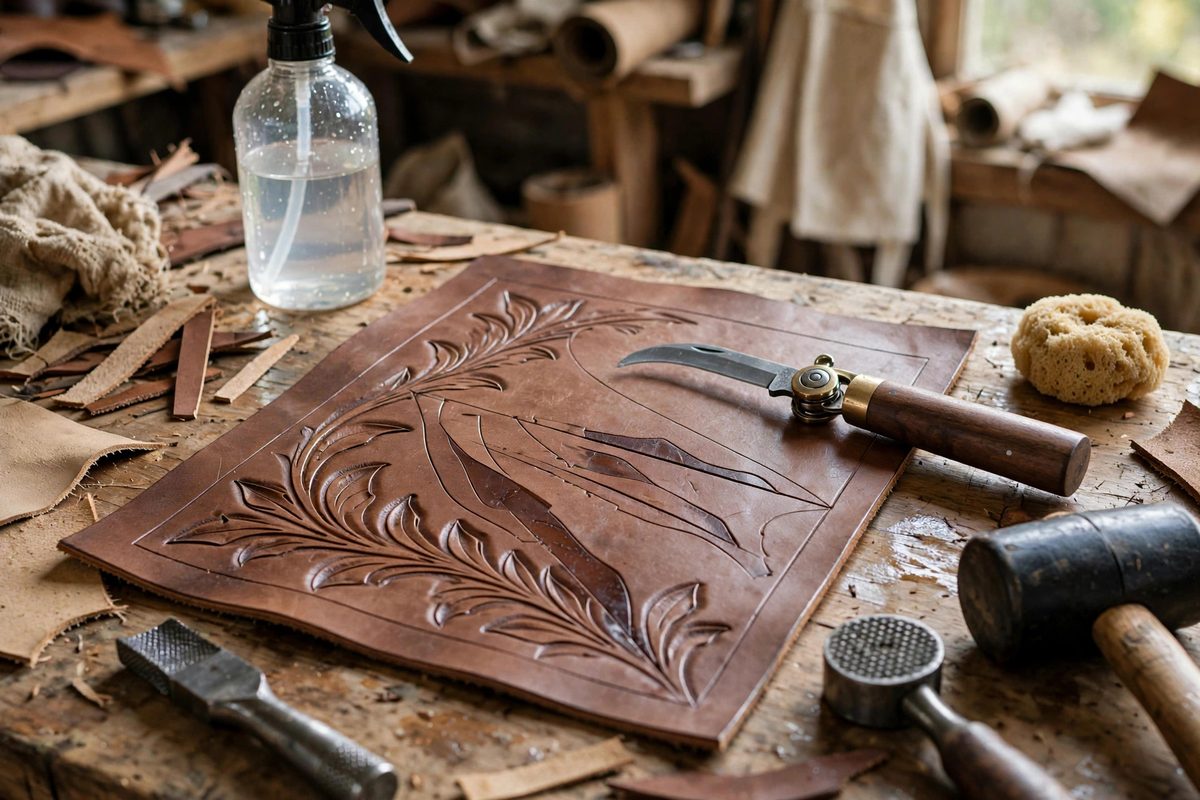
The swivel knife is the pencil of leather tooling: every carved line starts as a swivel knife cut, and every bevel, background, and decorative stamp registers against that cut. Depth control is the whole skill. Cut too shallow and the beveling tools have nothing to work with, so the design looks stamped on rather than carved in. Cut too deep and the knife slices through the leather's strength, weakening the piece and letting bevels crush the cut walls instead of shaping them. The right depth is a narrow band, and hitting it consistently is what separates tooling from scratching.
Casing: the Condition That Makes Cutting Possible
Leather cuts cleanly only when it is properly cased: damp through its thickness, with the surface just returning to its natural color. Too wet, and the knife drags and tears, leaving ragged cut walls that bevel badly. Too dry, and the knife skips and chatters, refusing to bite. The casing window for heavy tooling leather is generous but real, and the knife will tell you immediately which side of it you are on.
Case the leather, then wait. The surface should look almost dry while the interior stays damp; that is the state where the knife slices the fibers cleanly instead of pushing them aside. If you are unsure, test on a scrap corner: a proper cut opens slightly and shows clean, vertical walls. A wet cut looks mushy; a dry cut looks torn.
Finding the Right Depth
The target is roughly one-third to one-half the thickness of the leather. On typical tooling leather, that means the cut visibly opens but the bottom of the cut is well above the flesh side. You should not see daylight through the leather, and you should not feel the cut as a deep groove from the back. The cut is a guide trench for the beveler, not a separation.
Depth is controlled by downward pressure and blade angle together. Hold the knife as vertical as the design allows; a tilted blade cuts a beveled trench that is deep on one side and shallow on the other, which bevels unevenly. Press with the weight of your hand and forearm, not a stabbing push from the shoulder. The knife should glide, with the depth coming from steady pressure rather than force.
Blade Sharpness Is Depth Control
A dull blade is the most common cause of depth problems, because a dull blade requires more pressure, and more pressure means less control. The cut goes too deep in the easy spots and too shallow where the leather resists, and the line varies along its length. A sharp blade cuts with light pressure, and light pressure is controllable pressure.
- Strop the blade regularly during a tooling session; a few passes on the strop every few minutes keeps the edge keen.
- If the knife starts to drag or the cut walls look ragged, stop and strop before continuing.
- Keep the blade angle consistent through curves; the natural tendency is to tilt on turns, which changes the depth.
- On tight curves, make the cut in shorter segments rather than forcing the swivel through.
Cutting Technique Through the Design
Cut the design in a logical order, usually the main outlines first, then the interior details. Cut each line in one confident pass where possible; going back over a cut to deepen it almost always produces a double line or a ragged wall. If a line needs to be deeper, it is better to have cut it right the first time, which is why the practice piece matters.
At line intersections, lift the knife cleanly rather than dragging through. Dragging through an intersection deepens it into a pit that the beveler will turn into a crater. Clean stops and starts are part of depth control: the depth at the ends of the cut matters as much as the depth in the middle.
Practicing on Scrap
Before cutting the real piece, cut the same design, or at least the same kinds of lines, on a scrap of the same leather cased the same way. Check the depth by beveling a section: if the beveler has a clean wall to work against and the cut holds its shape, the depth is right. Adjust pressure until the scrap cuts correctly, then move to the project without changing anything.
Depth control is a hand calibration, not a measurement. The scrap piece is where the calibration happens, and the few minutes it costs are nothing against the hours in a tooled piece. Cut the scrap, bevel the scrap, trust the scrap, then cut the work.
Case it right, keep the blade sharp, hold it vertical, and cut with steady pressure to a third of the thickness. The swivel knife rewards the patient hand with lines that bevel like they were always meant to be there.
Related Guides
- Strop Dressing Selection for Ultra Sharp Swivel Blades: A swivel knife is the leatherworker's pencil, and its blade needs to be scary sharp to cut clean curves without dragging. Stropping maintains that
- Hot Water Hardening of Heavy Skirting Armor Leather: Vegetable-tanned skirting leather can be hardened into rigid armor plates with nothing but hot water, a technique as old as armor itself. The heat
- Cast Stitch Tension on Diamond Chisel Spacing: The saddle stitch is the strongest hand stitch in leatherwork, and its strength lives or dies on tension. Each stitch is a small knot of thread
- Deglazing Vegetable Tanned Hides Before Dye: Vegetable tanned leather arrives from the tannery with a glazed surface: a smooth, slightly sealed finish from the final rolling and burnishing that
- Molding Heavy Saddle Skirting for Cuirasses: A cuirass, the torso armor of breastplate and backplate, demands leather that is thick enough to hold a shape under its own weight and shaped closely