
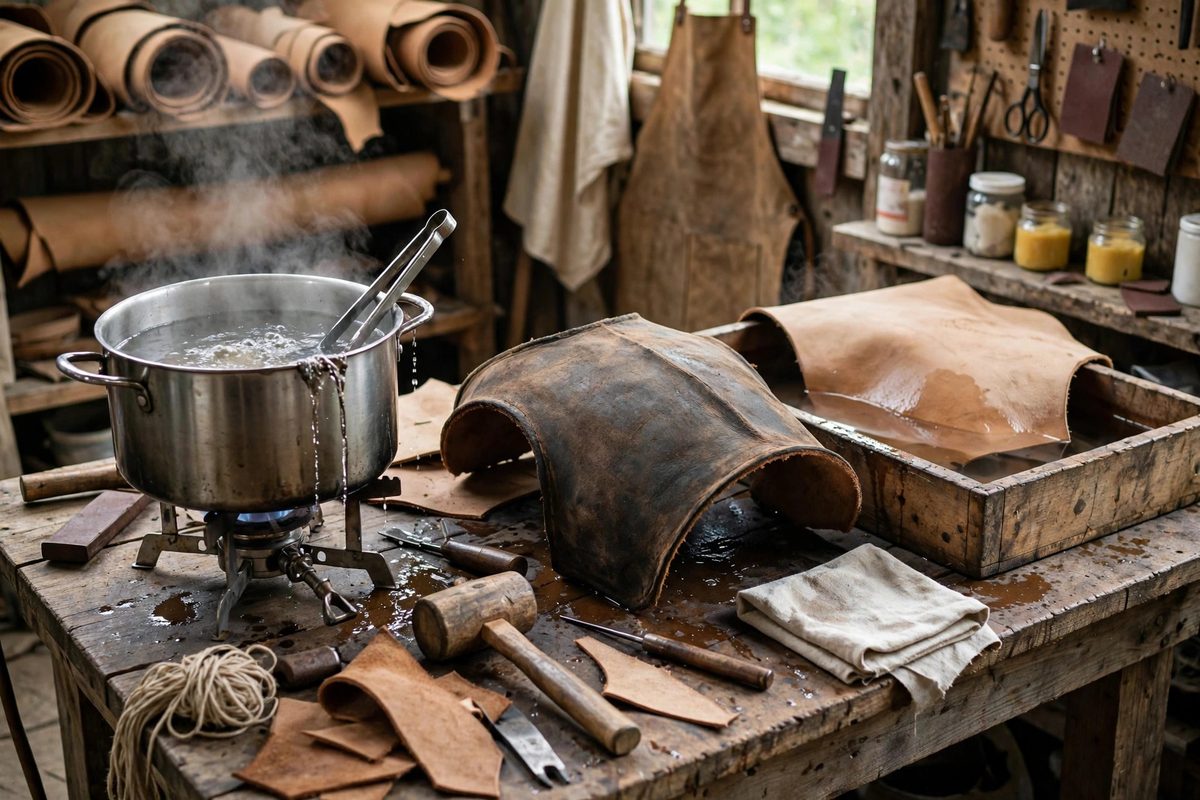
Vegetable-tanned skirting leather can be hardened into rigid armor plates with nothing but hot water, a technique as old as armor itself. The heat shrinks and sets the leather's fibers into a dense, hard structure that holds its shape and resists cuts. Done right, it produces plates that are light, tough, and historically honest; done wrong, it produces shrunken, brittle crisps.
How Hot Water Hardens Leather
Heat denatures the collagen fibers in vegetable-tanned leather, causing them to contract and bond more tightly. The leather shrinks, thickens slightly, and becomes rigid as it dries in its new configuration. The temperature controls the result: warm water firms the leather mildly, while hotter water produces dramatic hardening with more shrinkage. The transformation is one-way; once hardened, the leather cannot be softened back. This permanence is why the technique demands testing before committing the real pieces.
Temperature Control
The working range sits roughly between 140 and 180 degrees Fahrenheit, with the lower end giving firming and the upper end giving serious hardening. Below the range, little happens; above it, the leather cooks, becoming brittle and dark. Use a thermometer, not guesswork, because the difference between hardening and ruining is a handful of degrees. Heat the water, verify the temperature, and maintain it through the soak; a pot that keeps climbing while the leather sits in it is how armor becomes charcoal.
Shaping During Hardening
The leather hardens in whatever shape it dries in, so form the pieces as they come out of the water. Work quickly while the leather is hot and pliable: mold it over forms, curve it around mandrels, or press it into shaped molds, then clamp or tie it in position until fully dry. The window of pliability is short, minutes not hours, so have the forms ready before the leather goes into the water. For armor plates with compound curves, work in stages, hardening and shaping one area while protecting the rest, rather than trying to shape the whole piece in one frantic session.
Managing Shrinkage
Expect the leather to shrink, noticeably, in all directions, with more shrinkage at higher temperatures. Cut the pieces oversize to compensate, based on test pieces hardened at the same temperature; the test tells you the shrinkage percentage for your leather and your process. Account for the shrinkage in hole placement and edge finishing, since holes drilled before hardening will move. The shrinkage is also why fitted armor must be shaped on the body or a form, not cut to final dimensions flat and hoped into shape later.
Finishing Hardened Leather
Once dry and hard, the leather takes edge finishing, dyeing, and sealing like any veg-tan, though it is less absorbent than unhardened leather. Seal the finished pieces against moisture, because water can soften hardened leather over time and undo the work; waxes and appropriate sealants protect the hardening. Inspect for brittleness by flexing gently; properly hardened armor leather is rigid but not glass-fragile, and pieces that crack under light flexing were overheated. Those pieces become test data for the next batch, not armor.
Hot water hardening turns skirting leather into armor: control the temperature with a thermometer, shape the pieces while pliable, cut oversize for shrinkage, and seal against moisture. The plates that result are hard, light, and shaped to the body, exactly what armor has always needed to be.
Related Guides
- Molding Heavy Saddle Skirting for Cuirasses: A cuirass, the torso armor of breastplate and backplate, demands leather that is thick enough to hold a shape under its own weight and shaped closely
- Swivel Knife Depth Control on Casing Leather: The swivel knife is the pencil of leather tooling: every carved line starts as a swivel knife cut, and every bevel, background, and decorative stamp
- Cast Stitch Tension on Diamond Chisel Spacing: The saddle stitch is the strongest hand stitch in leatherwork, and its strength lives or dies on tension. Each stitch is a small knot of thread
- Deglazing Vegetable Tanned Hides Before Dye: Vegetable tanned leather arrives from the tannery with a glazed surface: a smooth, slightly sealed finish from the final rolling and burnishing that
- Oxalic Acid Bleaching of Stained Vegetable Tanned Calf: Vegetable-tanned calfskin picks up stains: iron marks from hardware, darkening from handling, blotches from uneven exposure. Oxalic acid bleaching