
An antique plane body caked in decades of rust presents a dilemma: aggressive mechanical cleaning removes the rust but also the patina, the crisp edges, and sometimes the markings that make the tool collectible. Electrolytic rust removal offers a gentler path. Submerge the plane in a mild alkaline bath, pass a low-voltage current through it, and the rust converts and releases while the underlying metal, including japanning and patina in many cases, survives. It is not magic, and it is not fast, but for collectible tools it is often the kindest effective method available.
How electrolysis removes rust
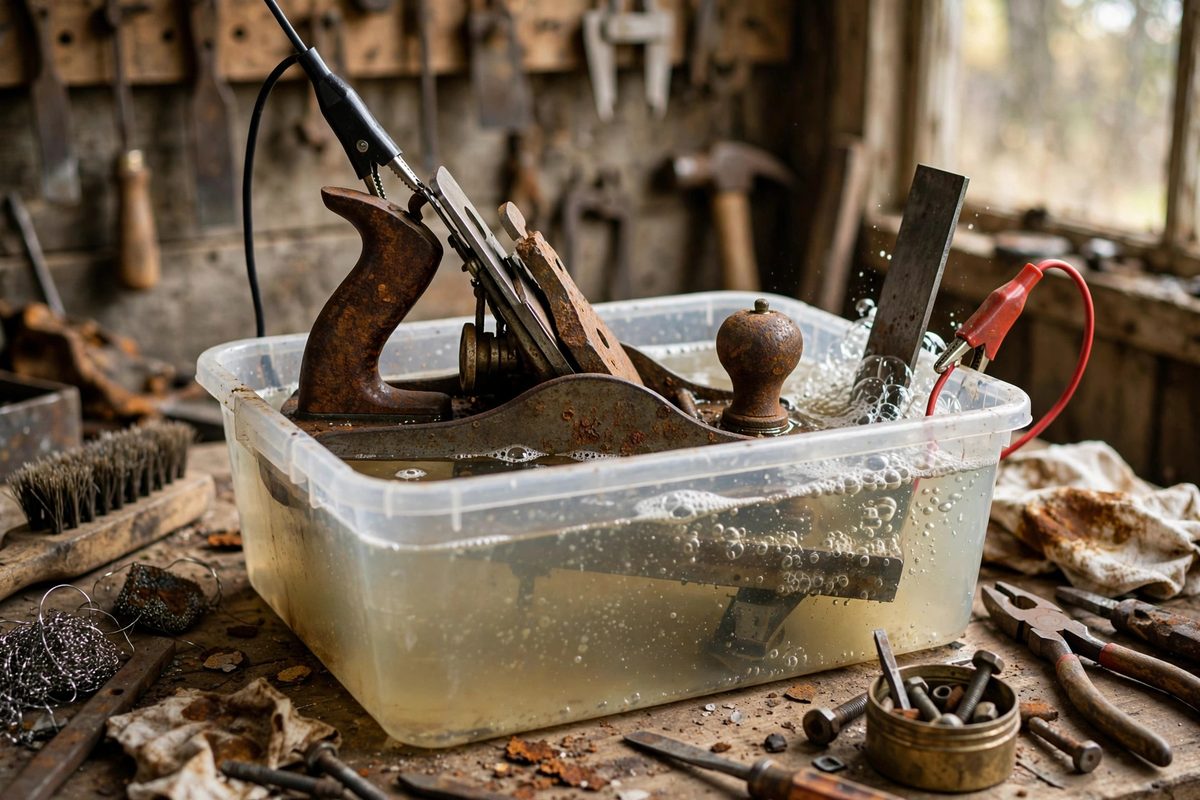
The setup is simple: a plastic container filled with water and washing soda (sodium carbonate), the rusty plane connected as the cathode (negative), a sacrificial steel anode (positive), and a DC power source like a battery charger. Current flowing through the bath drives reduction reactions at the plane's surface: the iron oxide rust converts to a form that loosens and sloughs off, while hydrogen bubbles generated at the surface help lift the loosened material. Crucially, the process is line-of-sight: current flows most strongly to surfaces facing the anode, so recesses and the far side clean more slowly. The underlying steel is not etched the way acid would etch it, which is why electrolysis preserves details that chemical rust removers destroy. Paint and japanning often survive because the process targets the oxide, though loose or already-failing finishes will come off with the rust beneath them.
Building the bath
Use a non-conductive container sized to submerge the plane fully: a plastic tub or bucket works. Mix washing soda into the water at roughly a tablespoon per gallon; the exact concentration is not critical, since the soda just makes the water conductive. For the anode, use plain steel or iron: rebar, sheet steel, or pipe. Arrange the anode so it surrounds the work as much as practical, since coverage follows line-of-sight; some builders use multiple anodes or a steel container liner. Suspend the plane from a non-conductive support so it does not touch the anode (a short circuit wastes the session and can damage the charger). Connect the charger's negative lead to the plane and positive to the anode, double-checking polarity, because reversed connections will happily dissolve your plane instead of cleaning it. A manual battery charger works; many automatic smart chargers refuse to run without sensing a battery, so the old-fashioned kind is actually preferable.
Running the process
Power up and watch for fine bubbles rising from the plane's surface: that fizzing is the process working. A typical plane body needs several hours to overnight, depending on rust severity. Check periodically, brushing the loosened black sludge off with a soft brush under running water to expose fresh rust underneath; the black coating that forms is converted rust, and removing it lets the process continue. Reposition the plane partway through to expose shadowed areas to the anode. The bath solution gradually loads up with iron and slows down; mix fresh solution when progress stalls. When the rust is gone, the surface will be dark gray and slightly rough, not shiny: electrolysis removes rust, it does not polish. Rinse thoroughly, dry immediately and completely (the freshly cleaned steel flash-rusts with enthusiasm), and protect it at once with oil, wax, or your chosen finish.
What electrolysis will and will not do
Set expectations honestly. Electrolysis removes rust; it does not fill pits, restore plating, or fix mechanical damage. Deep pitting remains as pitting, just clean pitting. It will not restore a mirror polish to a sole; that is lapping work afterward. It can loosen tight parts usefully, since rust in threads and joints is exactly what it attacks, but disassemble what you can first for better coverage. Markings stamped into the metal usually survive beautifully, which is a major reason collectors prefer this method. And it is slow: if you need a user plane working this afternoon, electrolysis is the wrong tool; reach for the wire wheel and accept the cosmetic cost. Choose the method that matches the tool's destiny: collector preservation gets electrolysis, workshop users get whatever is fastest.
Safety: hydrogen, electricity, and anodes
The safety notes here are non-negotiable. Electrolysis generates hydrogen gas at the cathode: work in ventilated air, never in a sealed space, and keep sparks and flames away from the bath. Use only low-voltage DC, and keep the electrical connections dry and clear of the bath. Never use stainless steel for the anode: it releases hexavalent chromium into the bath, a serious toxin that turns your waste solution into hazardous waste. Plain steel anodes are consumed slowly and the resulting solution, while messy, is far less hazardous; still, dispose of spent bath liquid responsibly rather than pouring it on the garden. Wear eye protection and gloves when handling the alkaline solution and the cleaned parts. Respect the chemistry and the process is perfectly safe; ignore it and it is not.
Washing soda, a steel anode, a manual charger, and patience: that bath will strip decades of rust off a collectible plane while leaving its character intact. Just keep the ventilation open, the polarity correct, and the stainless steel far away from the anode clip.
Related Guides
- Electrolyte Solution Ratios for Antique Steel Baths: Electrolysis (electrolytic rust removal) cleans antique steel tools by turning rust back into metal at the molecular level: the tool becomes the
- Electrolyte Solution Ratios for Rust Electrolysis: Electrolysis strips rust from iron and steel using a battery charger, a tub of water, and a sacrificial electrode. It reaches into every pit and
- Evapo-Rust Immersion Timing for Precision Rules: Precision rules, the steel scales machinists and woodworkers measure with, rust like any steel, but they cannot be cleaned like any steel: abrasive
- Low-Deacidification Soaking for Antique Steel Tools: Antique steel tools often arrive from barns and estate sales carrying more than rust: they carry acidity. Decades of exposure to acidic environments
- Chelating Agent Baths for Delicate Cast Iron Salvage: Delicate cast iron, thin-walled skillets, ornate hardware, antique tools with fine detail, rusts in ways that aggressive restoration destroys. Wire