
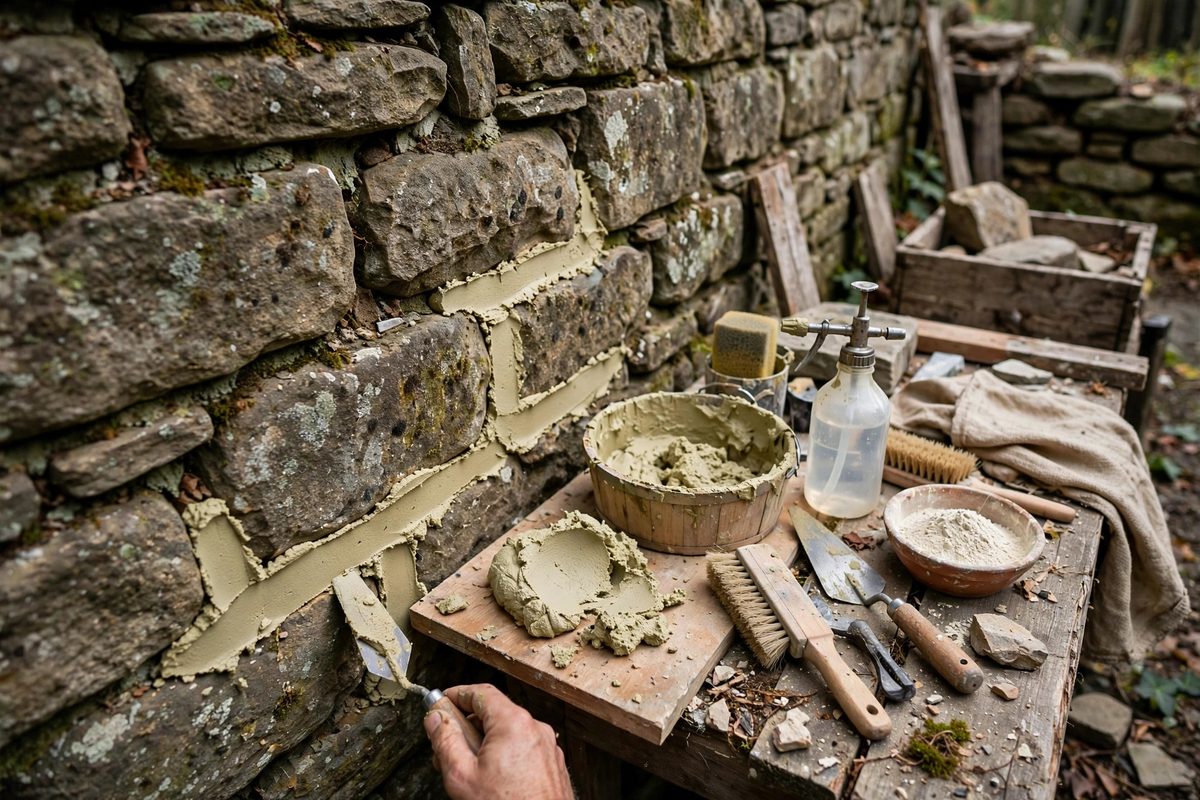
Pointing historic fieldstone with modern Portland cement is one of the fastest ways to destroy an old wall; the cement is harder than the stone and traps moisture, so the stone spalls while the mortar smirks. Hydraulic lime mortar, the material the wall was likely built with, flexes with the wall and lets it breathe. Getting the ratio right gives the wall another century; getting it wrong gives it a different set of problems.
Why Hydraulic Lime
Hydraulic lime sets partly through reaction with water, unlike pure lime putty which needs air, so it works in damp joints and thick wall cores. It remains softer and more permeable than Portland cement, which means it sacrifices itself before the stone: when the wall moves or moisture cycles through, the mortar erodes gracefully instead of the stone faces blowing off. For historic fieldstone, which is often relatively soft and irregular, this compatibility is not a preference but a preservation requirement. Match the mortar to the masonry, not to modern convenience.
The Mix Ratio
The traditional working ratio for hydraulic lime pointing mortar is roughly one part hydraulic lime to two and a half to three parts well-graded sharp sand, measured by volume. The sand does the structural work; the lime is the binder. Too much lime makes a sticky, shrinkage-prone mortar that cracks; too little makes a crumbly mortar with no strength. The sand should be clean, sharp, and well-graded from fine to coarse, because the grading determines how densely the mortar packs and how well it bonds to the irregular fieldstone. Match the sand color and texture to the original mortar as closely as possible; the eye reads the aggregate more than the binder.
Mixing Technique
Mix hydraulic lime mortar thoroughly and let it rest. Combine the dry ingredients first, add water to a workable consistency, mix well, then let the mortar sit covered for a while before a final remix; the rest lets the lime fully wet out and improves workability dramatically. The mortar should be firm enough to hold its shape on the trowel but plastic enough to press into joints. Re-temper by remixing as it stiffens during the workday, adding only small amounts of water; hydraulic lime mortar tolerates reworking far better than cement mortar, which is one of its practical virtues on a long pointing day.
Pointing the Joints
Rake out failed mortar to a sound depth, typically at least twice the joint width, and dampen the joints before pointing; dry stone sucks the water from the mortar and kills the bond. Press the mortar firmly into the joint in layers for deep joints, compacting each layer, and finish the surface to match the original profile, whether flush, slightly recessed, or weathered. Tool the joints when the mortar is thumbprint-hard, not wet and not fully set. Protect fresh pointing from sun, wind, and rain for several days; lime mortar cures slowly and needs gentle conditions to gain strength properly.
What Not to Do
Do not add Portland cement to "strengthen" the lime mortar; even small additions change the permeability and hardness enough to defeat the purpose. Do not point over unsound mortar; the new work needs a solid substrate. Do not use the wall as a materials test; if the original mortar analysis suggests a different binder or ratio, follow the evidence. And do not rush the cure: lime mortar pointed on Monday and rained on Tuesday suffers, so watch the forecast and tent the work if needed. Patience is part of the specification.
One part hydraulic lime to two and a half or three parts sharp sand, mixed well and rested, pressed into dampened joints, and cured gently. The fieldstone wall gets mortar that works with it instead of against it, and the next repointing is someone else's problem in the distant future.
Related Guides
- Mortar Hydration Balancing for Fieldstone Bonds: Fieldstone walls stand on mortar, and mortar stands on water: the right amount, held for the right time. Hydration is the chemical reaction between
- Pneumatic Pitching Chisel Angles on Limestone: Pitching is the rough removal of stone with a chisel struck along the edge, breaking off controlled flakes to shape the block. Done by hand it is
- Undercutting Depth Limits in Marble Sculptures: Undercutting, carving back beneath an overhanging form to create shadow and separation, is what gives marble sculpture its sense of depth and life. A
- Relief Carving Clearance Angles in Carrara Marble: Relief carving in Carrara marble is a negotiation between the design's depth and the stone's willingness to hold a crisp edge. Clearance angles, the
- Tuning Pneumatic Bushing Hammers for Granite Dressing: A bushing hammer, the pneumatic tool with a grid of pyramidal teeth, dresses granite by crushing the surface into a uniform textured finish. Tuning