
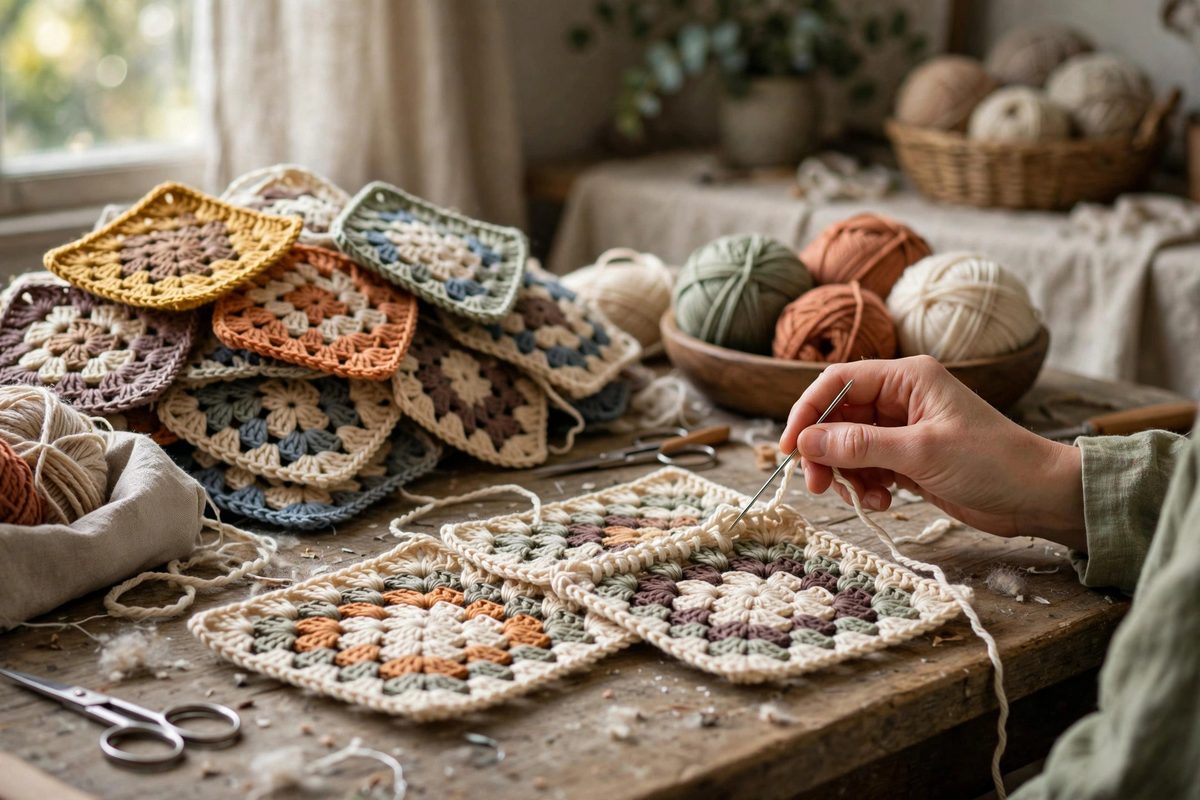
A pile of granny squares is a promise; the joining is where the promise is kept or broken. The seam between squares decides whether a blanket lies flat, drapes well, and survives years of use, or whether it ripples, gaps, and pulls apart at the joins. The mattress stitch, borrowed from knitting and adapted to crochet, produces a nearly invisible, flexible seam that disappears into the squares' edges. It is slower than crocheting squares together, and for a heirloom-quality finish it is worth every minute.
Why the join matters as much as the squares
Granny squares are forgiving to make and unforgiving to join badly. Each square has a slightly different edge tension, size, and shape, because handmade squares vary no matter how careful the maker. The joining method must absorb those variations without telegraphing them: a rigid or bulky seam locks the variations in as puckers, while a flexible, flat seam lets each square relax into the whole. The seam also carries the mechanical load of the finished piece; a blanket's joins endure pulling, washing, and gravity for decades. A join that is merely decorative will fail at the stress points, usually starting where four squares meet. Choose the joining method with the same seriousness as the square pattern, because the blanket will be judged as one fabric, not as a collection of squares.
The mattress stitch adapted to crochet
The mattress stitch works by weaving the seaming yarn back and forth between the two edges, catching the horizontal bars of the edge stitches on each side alternately. In crochet, the equivalent anchor points are the tops of the edge stitches or the chain spaces along the square's border; the seaming needle passes under one bar on the left square, then under the corresponding bar on the right square, drawing the edges together as the yarn is tensioned. Worked loosely and then gently tightened, the seam sinks into the edges and becomes nearly invisible from the front, with a tidy ladder of yarn hidden in the seam valley on the back. The key is corresponding points: always join stitch to stitch, space to space, so the squares align without creeping. Mark the corners and centers with pins before starting; the seam can only be as even as the alignment.
Preparing squares for joining
Joining goes smoothly when the squares are prepared. Block every square to the same dimensions before seaming; blocking evens out the size variations and sets the stitches, so the join deals with squares that actually match. Weave in all tails first, because tails left dangling become trapped in the seam or poke through later. Arrange the full layout and photograph it, since a large project will be seamed over many sessions and the arrangement must survive interruptions. Join in a consistent order, typically rows first and then rows to rows, or use a continuous join-as-you-go plan if the pattern supports it. Consistency of method across the whole piece matters more than the absolute choice of method; a blanket with three different seam styles looks indecisive.
Working the seam well
Thread a blunt tapestry needle with a comfortable length of the seaming yarn, usually the same yarn as the squares' final round for invisibility, or a contrasting color if the design calls for visible seams. Work with the squares flat on a table, right sides up, edges abutted. Take up the bars loosely for several inches, then draw the seam closed with a gentle, even pull; overtightening puckers, undertightening gaps. Check the front frequently: the seam should disappear into the edge texture with no ridge and no valley. At corners where four squares meet, take extra care to anchor all the layers securely without bulk; this intersection carries the most stress and shows the most flaws. Weave the seaming tails into the seam itself when finished, since the seam valley hides them perfectly.
Handling size mismatches
Even blocked squares vary slightly, and the mattress stitch can ease small differences: distribute the excess of the larger square evenly along the seam by catching two bars occasionally on the larger side while catching one on the smaller. This easing is invisible when spread across the full edge but obvious when dumped in one spot. For squares that differ by more than easing can absorb, typically more than half a stitch, re-block the offender or remake it; forcing a bad match into the seam stores distortion that appears later as rippling. The seam should never be asked to fix what blocking should have fixed. Honest preparation keeps the seaming session meditative instead of corrective.
Finishing and caring for the joined piece
Once joined, the piece benefits from a light final blocking to settle the seams into the fabric. Work any remaining ends in securely; a blanket's seams see enough stress that a casually woven tail will work free. If the design includes a border, work it after joining, since the border stabilizes the outer edges and gives the piece its finished frame. Care instructions should respect the seams: gentle washing, no wringing, dry flat. A well-joined granny square blanket, mattress-stitched with eased variations and secured tails, becomes an heirloom precisely because the joins disappear and the squares read as one continuous textile.
Join granny squares with the mattress stitch for seams that vanish: block to uniform size, align stitch to stitch, seam loosely then tension gently, ease minor variations, and secure the four-square intersections. Slow work, invisible result, and a blanket that holds together as beautifully as it looks.
Related Guides
- Mattress Stitch Seam Alignment on Dense Granny Blocks: Joining granny squares with a mattress stitch gives an invisible, flexible seam that looks professional, but dense blocks, those worked tightly with
- Blocking Gauge Symmetry in Joiner Granny Squares: A blanket of granny squares is an assembly problem: dozens of individually crocheted units that must join into a flat, even fabric. Blocking, shaping
- Corner Shell Cluster Spacing for Flat Afghan Squares: A granny square that will not lie flat is almost always a corner problem. The corners have to turn ninety degrees while the sides run straight, and
- How to Crochet a Granny Square (Step by Step): The granny square is the classic beginner crochet project. It's one small square made from the center out, and once you can make one, you can make a
- Corner Triple Treble Stacking in Flat Granny Motifs: The granny square's corner is its structural and visual anchor: the chain space where each round turns 90 degrees and where the motif grows. The