
Joining granny squares with a mattress stitch gives an invisible, flexible seam that looks professional, but dense blocks, those worked tightly with minimal gaps between stitches, present a specific challenge: there is almost no room to hide the seaming, and any misalignment shows as a crooked or puckered join. Getting mattress stitch seams straight on dense granny blocks is about preparation and stitch placement, not about sewing faster.
Why Dense Blocks Are Harder to Join
Open, lacy granny squares forgive a lot: the seaming yarn disappears into the gaps, and slight misalignments vanish into the texture. Dense blocks offer no such mercy. Every stitch of the seam sits on the surface, visible, and the blocks' stiffness means they do not ease into alignment the way softer squares do. If one block is even slightly larger than its neighbor, the denser fabric will not stretch to compensate; it will pucker or flare at the seam. The mattress stitch itself is also less forgiving on dense fabric: worked too tightly it dimples the surface, worked too loosely it gaps. Precision matters throughout.
Blocking Before You Seam
The single most important preparation is blocking every square to identical dimensions before joining. Measure, do not eyeball: dense blocks that look the same size can differ by enough to ruin a seam. Pin each block to the target measurements on a blocking board, steam or wet-block according to the fiber, and let them dry fully. Blocking also evens out the edge stitches, giving you a consistent row of edge loops to seam into. If some blocks will not block to size because of genuine stitch-count differences, sort them: join same-size blocks together and handle the outliers in a border or a separate section rather than forcing mismatched blocks into one seam.
Aligning Corners and Edges
Start every seam by pinning the corners together, then pin at intervals along the edge, matching stitch for stitch. On dense blocks, counting is essential: if one edge has 20 stitches and the other has 21, decide where to ease the extra stitch before you sew, not while you are sewing. Mark the corners with locking stitch markers so the alignment survives handling. Work from one corner to the other in a single pass rather than starting in the middle, because corner-to-corner seaming keeps the tension distribution even. Check the alignment after every few inches by laying the work flat: catching a drift early means unpicking inches, not feet.
Working the Mattress Stitch on Dense Fabric
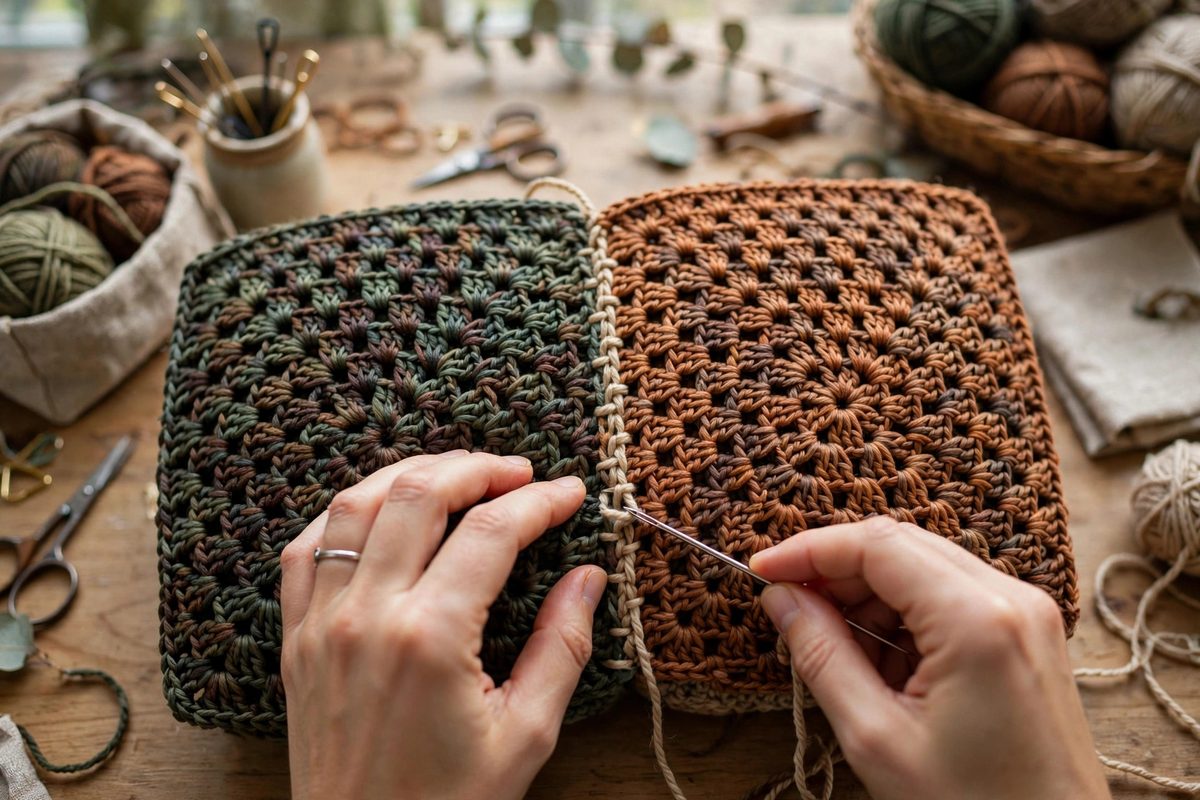
The mattress stitch joins by picking up the horizontal bars between edge stitches, alternating sides, and the seam disappears into the fabric when tensioned correctly. On dense blocks, pick up the bars consistently: always the same bar position relative to the edge (usually the first full bar inside the edge stitch) on both pieces, because inconsistent pickup wanders the seam line. Keep the seaming tension moderate and even: pull each stitch just snug enough to close the gap without dimpling. Dense fabric shows every tension variation, so develop a rhythm and stick to it. Use a blunt tapestry needle to avoid splitting the yarn, which is especially visible on dense surfaces.
Handling the Corners Where Four Blocks Meet
The intersection where four granny squares meet is the stress point of the whole blanket. Seam each pair fully, then secure the center junction with a few extra stitches through all layers, taking care not to create a hard lump. Some makers work a small stabilizing stitch at each four-corner junction before seaming the edges, which anchors the alignment. Whatever method you choose, keep the junction flat: a puckered center telegraphs through the whole blanket and no amount of blocking afterward fully fixes it.
Finishing and Checking the Work
Weave in the seaming ends securely, since seam ends bear stress when the blanket is used and washed. Give the joined piece a final light blocking or steam to settle the seams into the fabric. Then inspect critically: lay the work flat and sight along each seam for straightness, check that corners meet cleanly, and tug gently along the seams to confirm they hold. A well-executed mattress stitch seam on dense blocks should be nearly invisible from the front and lie perfectly flat: that is the standard, and it is achievable with patience.
Block to identical size, pin stitch-for-stitch, seam with even tension, and mind the corners. Dense granny blocks reward this discipline with seams that disappear and a finished piece that lies flat and drapes beautifully. The invisible seam is not luck; it is preparation.
Related Guides
- Joining Granny Squares With Mattress Stitch Seams: A pile of granny squares is a promise; the joining is where the promise is kept or broken. The seam between squares decides whether a blanket lies
- Blocking Gauge Symmetry in Joiner Granny Squares: A blanket of granny squares is an assembly problem: dozens of individually crocheted units that must join into a flat, even fabric. Blocking, shaping
- How to Crochet a Granny Square (Step by Step): The granny square is the classic beginner crochet project. It's one small square made from the center out, and once you can make one, you can make a
- Corner Triple Treble Stacking in Flat Granny Motifs: The granny square's corner is its structural and visual anchor: the chain space where each round turns 90 degrees and where the motif grows. The
- Corner Shell Cluster Spacing for Flat Afghan Squares: A granny square that will not lie flat is almost always a corner problem. The corners have to turn ninety degrees while the sides run straight, and