
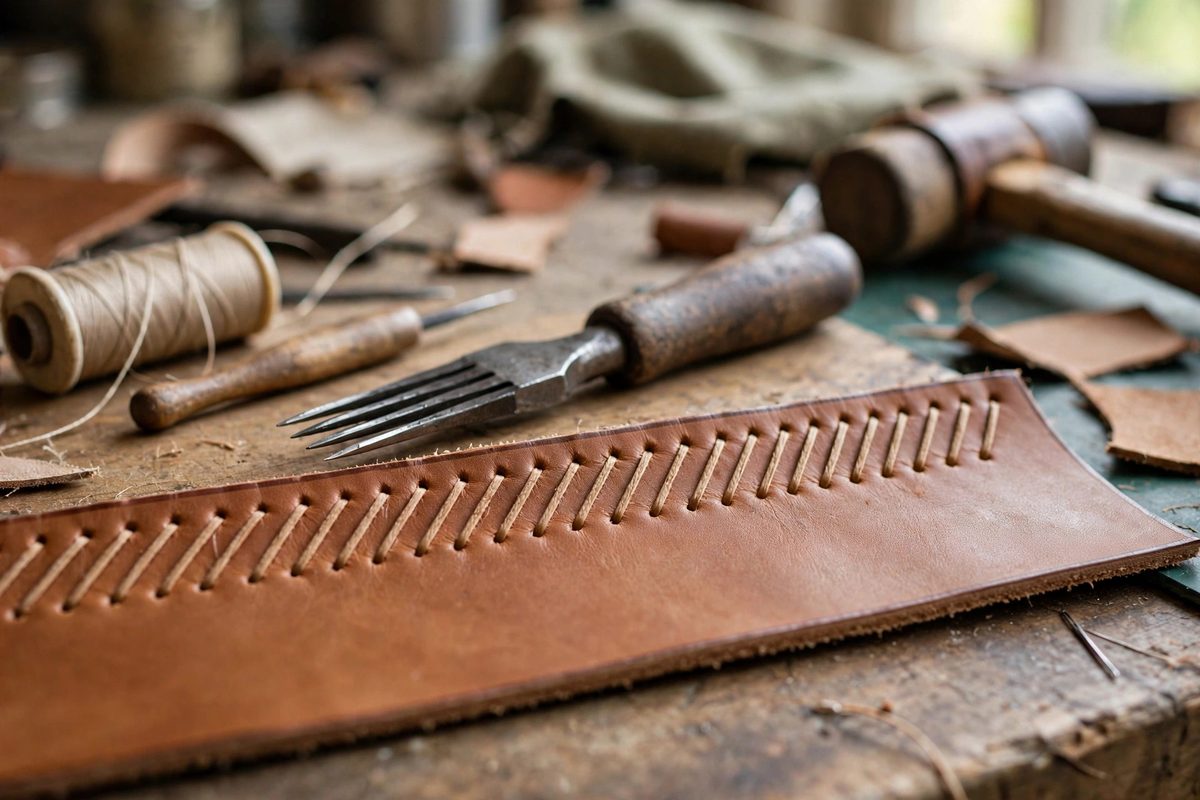
The saddle stitch's signature slant, those perfect angled stitches marching down a leather edge, comes from the pricking iron, not from the needles. The iron's tooth pitch and angle set the holes, and the holes dictate everything the thread can do. Choose and use the iron correctly and the stitching looks machine-perfect; get it wrong and no amount of careful stitching saves it.
What Pitch Means
Pitch is the spacing between the iron's teeth, measured in stitches per inch or in millimeters. Fine pitch, more stitches per inch, suits thin leather and refined small goods; coarse pitch suits heavy leather and bold work. The pitch must match the leather thickness: stitches too fine for thick leather look fussy and the thread sits proud, while stitches too coarse for thin leather look crude and the holes weaken the edge. As a working guide, the stitch length should be roughly proportional to the leather thickness, longer stitches for thicker stacks, and the iron's pitch is how you set that length.
The Angle of the Teeth
Pricking iron teeth are angled, and that angle is what gives saddle stitching its slant. The teeth lean consistently in one direction, and the holes they make lean the same way, which guides the thread into the characteristic angled stitch. Irons come in different tooth angles; the classic French-style irons have a pronounced slant that produces the dramatic angled stitch, while straighter teeth give a more upright look. Pick the angle for the aesthetic you want and use it consistently across the project, because mixing angles in one piece looks like a mistake even when each section is well done.
Marking Technique
Scribe a stitching groove or mark the stitch line first, at a consistent distance from the edge; the line's distance from the edge should suit the leather thickness, far enough in for strength, close enough for looks. Set the iron's first tooth at the line's start and strike firmly and vertically, driving the teeth to a consistent depth. For long runs, step the iron forward with the last tooth in the previous hole, which keeps the spacing continuous around the whole piece. Consistent depth matters as much as consistent spacing; shallow marks at one end and deep ones at the other produce uneven holes and uneven stitches.
Punching Through Cleanly
The pricking iron marks; the awl or the iron's full drive opens the holes. Drive the holes clean through all layers, keeping the awl perpendicular to the leather surface so the holes align front to back. On thick stacks, punch from both sides to meet in the middle rather than forcing one long hole that wanders. The holes should be just large enough for the needles and thread to pass without struggle; oversized holes let the stitches shift and look sloppy. Sharp tools make clean holes, and clean holes make the thread lie exactly where the iron told it to.
Stitching to Match the Holes
With good holes, the saddle stitch almost sews itself: two needles, one thread, each stitch locking the last. Keep the tension even and moderate; overtightened stitches pucker the leather, loose ones sag. Cast the thread the same way on every stitch so the slant stays consistent. The thread size should fill the holes without forcing; thread too fine for the holes looks lost, thread too thick distorts them. When the pitch, angle, holes, and thread all agree, the result is the flawless slanted stitching that defines fine leatherwork.
Match the pitch to the leather, pick the tooth angle for the look, mark consistently, punch cleanly, and stitch evenly. The pricking iron does the thinking; the needles just follow its instructions.
Related Guides
- Cast Stitch Tension on Diamond Chisel Spacing: The saddle stitch is the strongest hand stitch in leatherwork, and its strength lives or dies on tension. Each stitch is a small knot of thread
- Molding Heavy Saddle Skirting for Cuirasses: A cuirass, the torso armor of breastplate and backplate, demands leather that is thick enough to hold a shape under its own weight and shaped closely
- Deglazing Vegetable Tanned Hides Before Dye: Vegetable tanned leather arrives from the tannery with a glazed surface: a smooth, slightly sealed finish from the final rolling and burnishing that
- Swivel Knife Depth Control on Casing Leather: The swivel knife is the pencil of leather tooling: every carved line starts as a swivel knife cut, and every bevel, background, and decorative stamp
- Hot Water Hardening of Heavy Skirting Armor Leather: Vegetable-tanned skirting leather can be hardened into rigid armor plates with nothing but hot water, a technique as old as armor itself. The heat