
Every dimensional lumber joist has a crown: a slight bow along its length, a legacy of how the tree grew and how the board dried. Installed crown-down, that bow becomes a permanent sag in the floor, telegraphing through subfloor and finish flooring as a dip you feel with every step. Installed crown-up, the bow works with the loads instead of against them, and the floor stays flat. Checking and orienting the crown of every joist is a few seconds per board that determines the quality of the floor for the life of the building.
Finding the crown
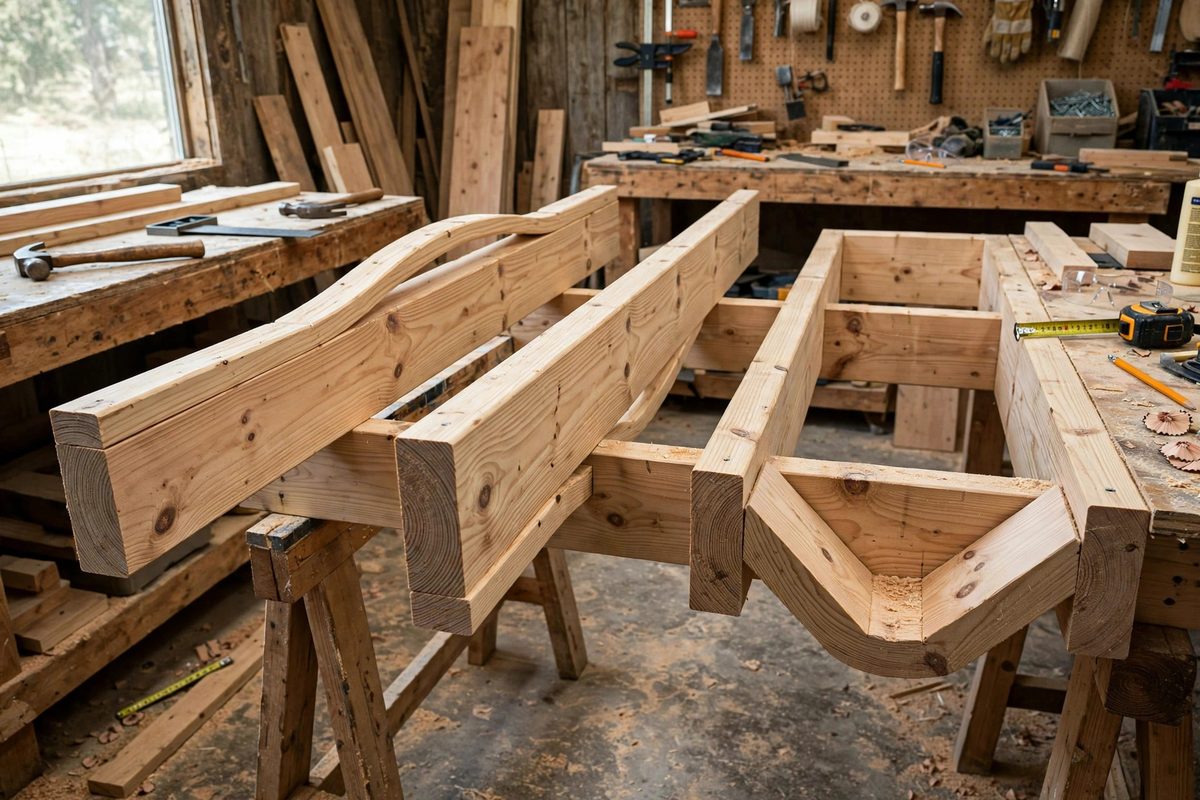
Sight down each joist before installing it: hold one end up and look along the edge, or lay it on a flat surface and look for the gap. The crown is the edge that bows outward, convex along the length. Mark it clearly with a lumber crayon or a carpenter's pencil, an arrow or an X on the crowned edge, because once joists are stacked and carried, the crown is easy to forget. Some framers mark every joist in the pile before installation begins, turning the check into a batch process. Cull or relegate the worst offenders: a joist with extreme crown, twist, or bow belongs in blocking, short spans, or the lumber rack, not in the floor system. Dimensional lumber varies enormously, and part of framing is sorting the pile honestly.
Why crown-up works
A floor joist carries load by bending slightly under weight; that bending is deflection, and all joists deflect within their design limits. A joist installed crown-up starts with its bow opposing the direction of deflection: as loads press it down, the crown flattens toward level rather than adding to the sag. A joist installed crown-down starts pre-sagged, and loads deepen the sag from an already bad starting point. The difference is not subtle over a long span: mixed crown orientations produce a floor with humps and dips that no amount of subfloor or underlayment fully hides. Consistent crown-up orientation gives the floor its best chance at flat, because every joist's natural shape is working in the same direction as the engineering assumes. This is also why consistent crown matters more than perfect lumber: a floor of uniformly crowned-up joists outperforms a floor of mixed orientations every time.
Installation discipline
Set each joist with its marked crown facing up, and verify as you go rather than trusting memory. When joists sit in hangers or on a ledger, the crown orientation is set at placement and hard to change later, so get it right the first time. For joists sistered or doubled, match crowns: two joists with opposing crowns fight each other and the fasteners, while matched crowns work as one. At rim joists and headers, crown orientation matters less structurally but still affects the plane of the floor edge; keep them consistent anyway. If a joist's crown is so slight you cannot detect it, the joist is effectively straight and orientation is moot; install it and move on. The goal is not perfection in every board but the elimination of the avoidable errors, the crown-down joists that guarantee a sag.
Beyond crown: the flat-floor system
Crown orientation is one part of a flat floor. Consistent joist depth matters too: joists from different mills or different drying batches vary in actual dimension, and a joist that sits proud of its neighbors creates a hump regardless of crown. Check the tops with a straightedge as you install, shimming or planing the outliers. Bridging or blocking between joists distributes concentrated loads and prevents individual joists from deflecting independently, which keeps the floor acting as a system rather than a collection of boards. And the subfloor installation, glued and screwed with proper fastening schedules, ties everything together into a diaphragm that resists the small variations any lumber pile contains. Crown-up is the foundation; the rest of the system builds on it.
Safety and handling
Floor joists are long, heavy, and awkward; handle them with the standard framing precautions. Lift with legs, not back, and get help with long spans rather than wrestling them alone. Keep the work area clear of offcuts and tripping hazards, since framing moves fast and floors are installed at height over open bays. Nail guns demand their usual respect: eyes on the work, finger off the trigger until placed, and awareness of where the person on the other side is standing. The crown check itself is safe and quick; build it into the rhythm so it never gets skipped under time pressure.
Sight every joist, mark the crown, install it up, and keep the orientations consistent across the floor. It is the cheapest quality improvement in framing: seconds per board, flat floors for decades.
Related Guides
- Rim Joist Fastening Schedules on Foundation: The rim joist caps the ends of the floor joists and ties the floor system together at the foundation, forming the perimeter that the walls sit on
- Diagonal Wall Bracing for Tall Shed Framing: A tall shed, with walls eight feet or more and a roof catching wind like a sail, needs more than studs and sheathing to stand straight: it needs
- Staggering End Wall Stud Splices in High Wind Zones: End walls take the brunt of wind loads on a building, and in high wind zones every framing connection matters more. Stud splices, where two shorter
- Calculating Rim Joist Shear Capacities on Rim Sills: The rim joist is the quiet workhorse of floor framing. It caps the ends of the floor joists, ties them together, and transfers the edge loads of the
- Structural Top Plate Lap Spices on Load Bearing Walls: The top plate ties a framed wall together and carries the loads from above into the studs below. Where two plate sections meet, the splice must
- Plywood Gusset Plate Nailing Pattern for Site Trusses: Site-built trusses for sheds and small outbuildings join their members with plywood gusset plates nailed across each joint, and the nailing pattern is what makes the joint develop its full strength